PROJECT BREAKDOWN
compositing breakdown for all of the shots
For the final class i'm going to breakdown shot 005 in which i did most of my work
for shot 005 i was responsable of doing:
-set dressing
-layout
-lighting
-compositing
Also im going to in depth in all of those aspects.
in the compositing part im going to breakdown this shot in depth as it represents most of the compositing work i did for the other shots (shot 002, 001, 003 and 006)
Final render
Compositing breakdown
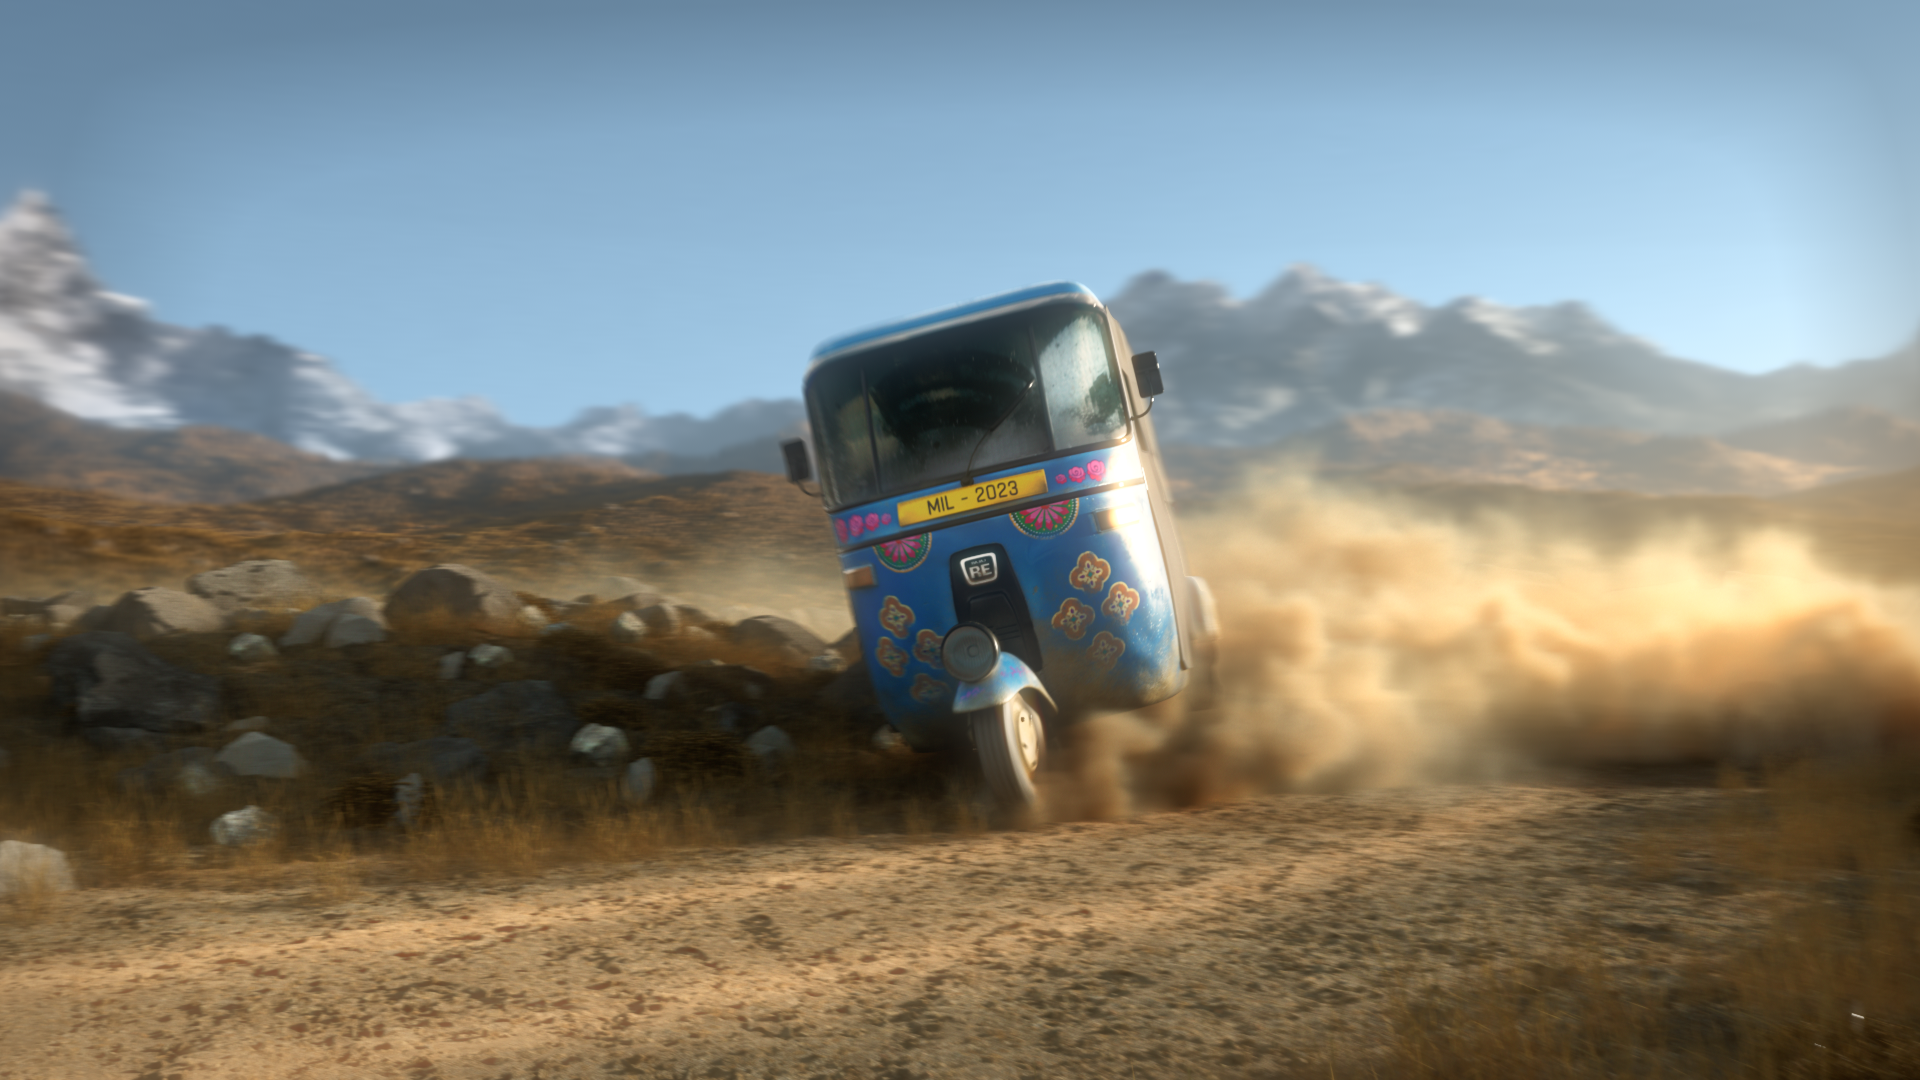
plus the result with the main plate 3rd time
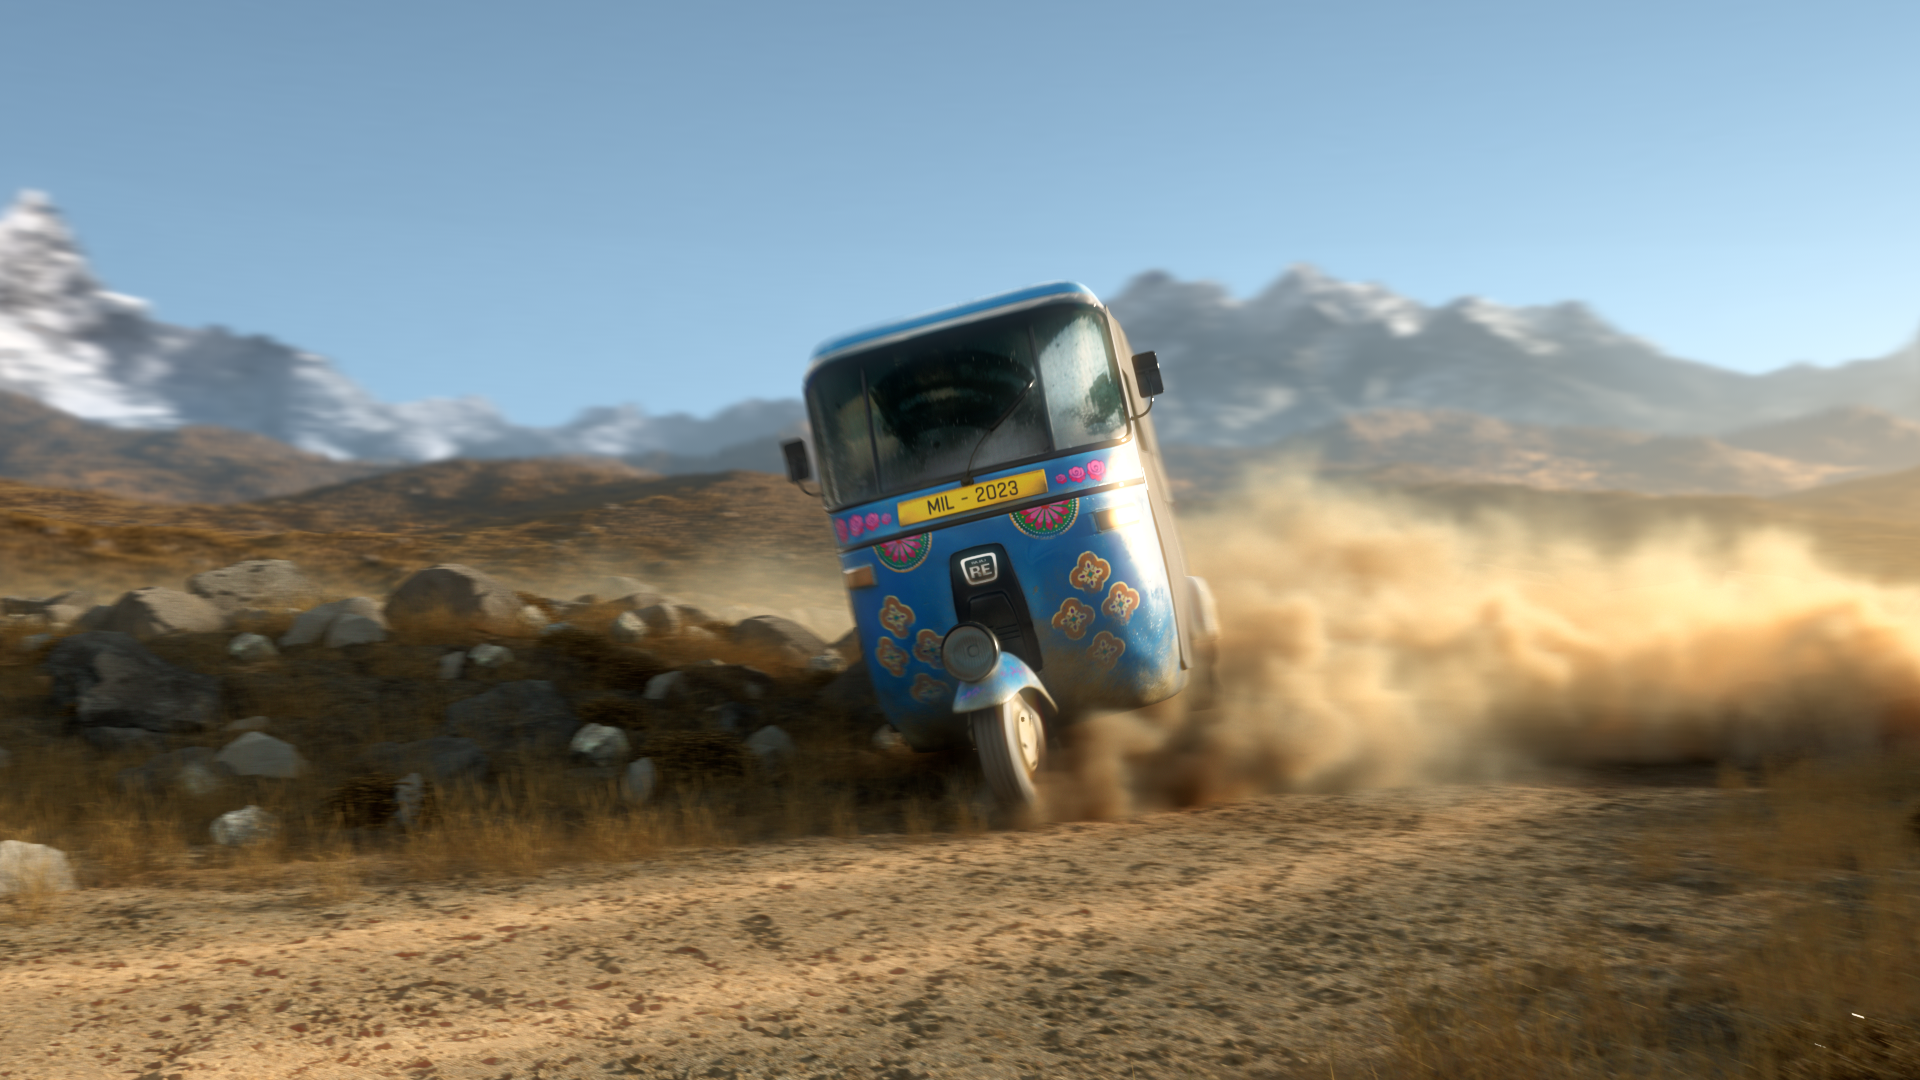
2nd time
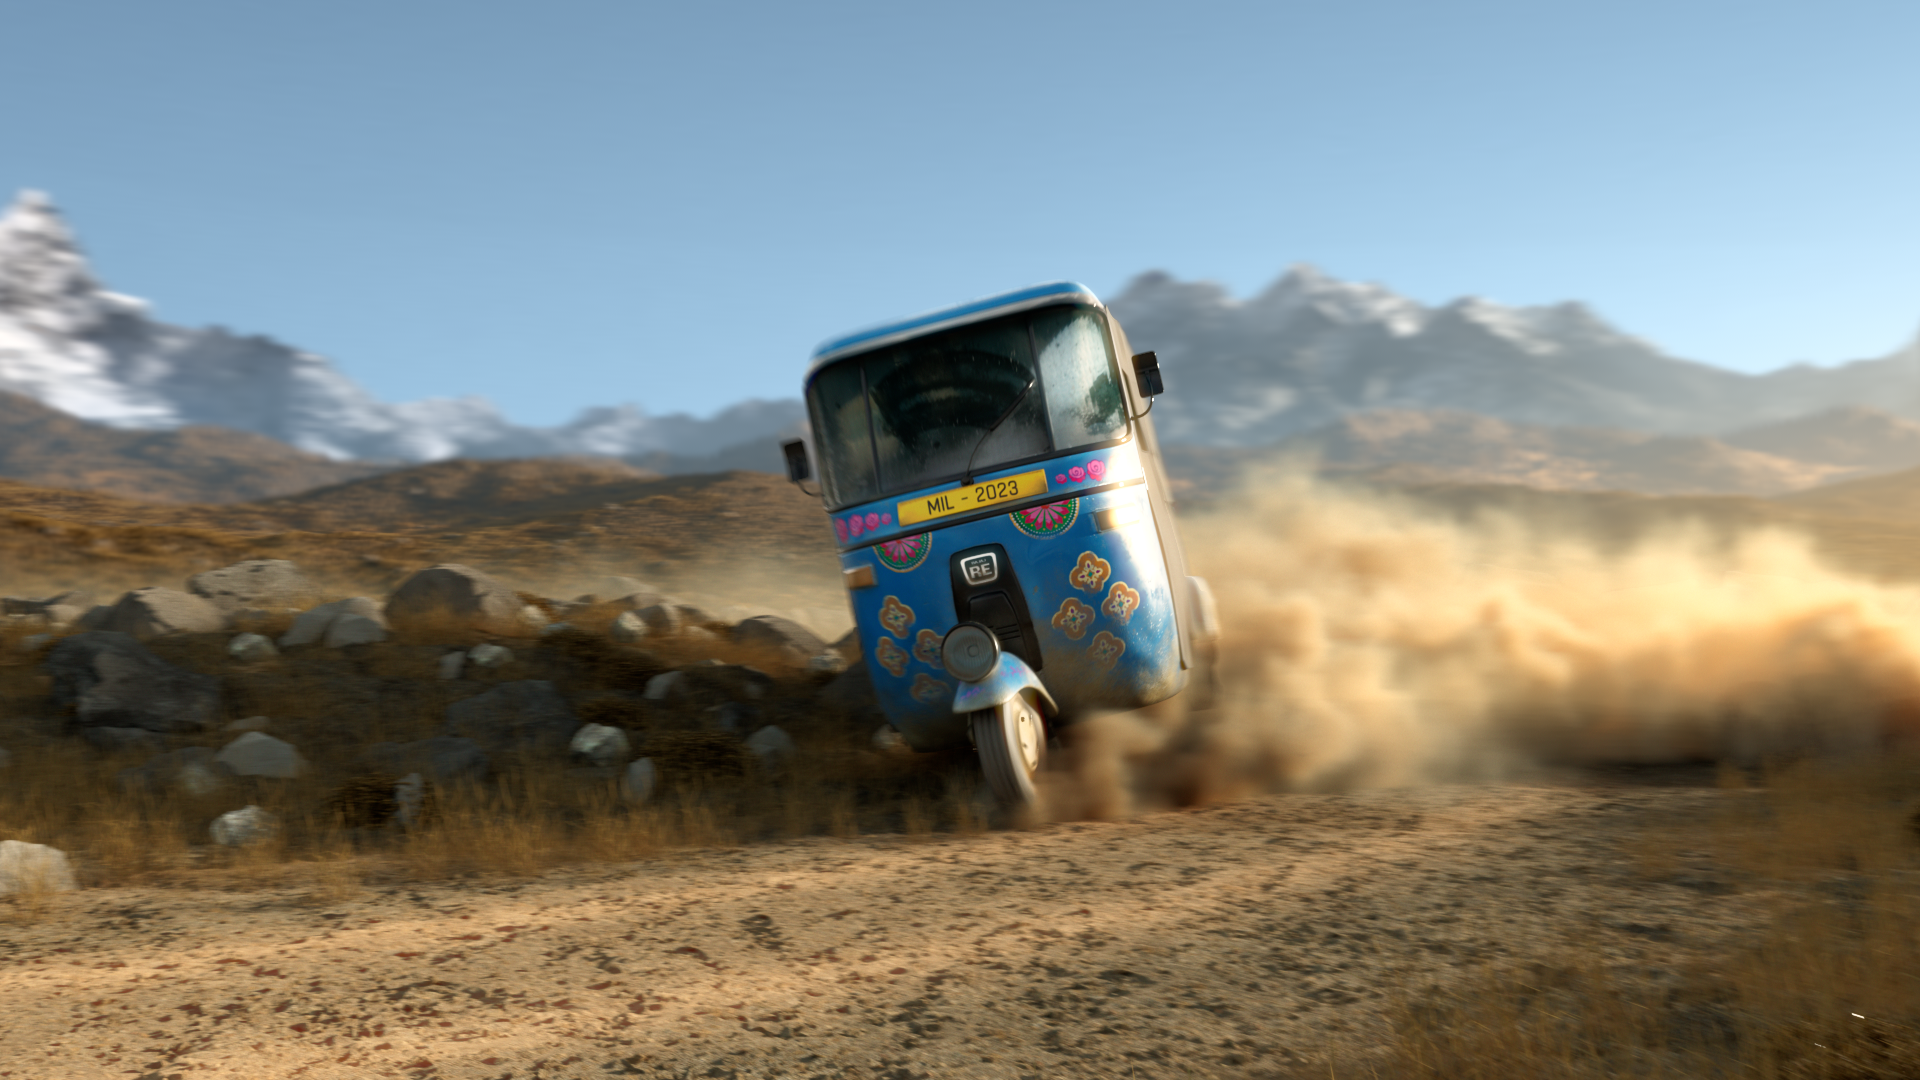
1st time
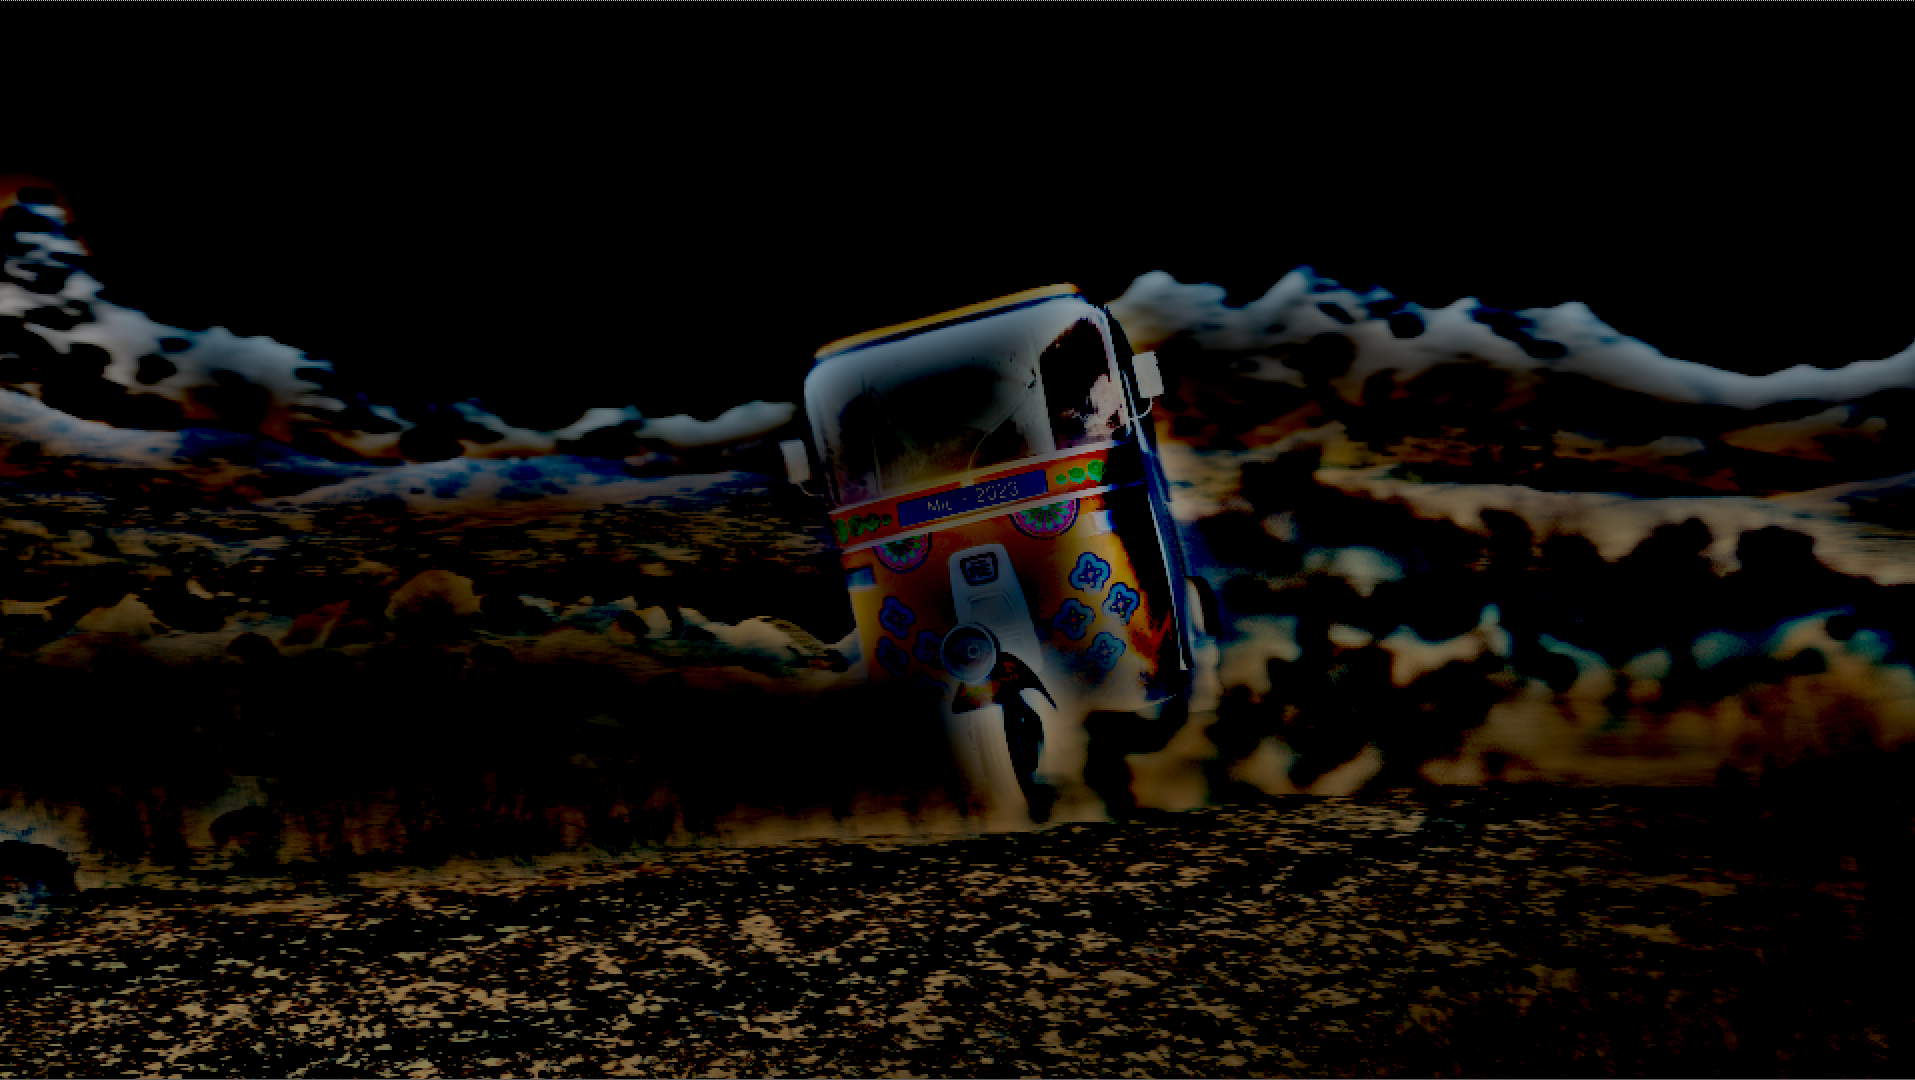
minus the main plate and result
grading (control how bright the lightbloom would be)
blur (control the size)
At the end i added three passes of lightbloom in the scene by bluring the plate, grading it so i can have more constrast and control on what bright parts are getting more lightbloom
then i minus the normal plate and the blured plate
then if necesary color correct that
then plus the result into the main plate
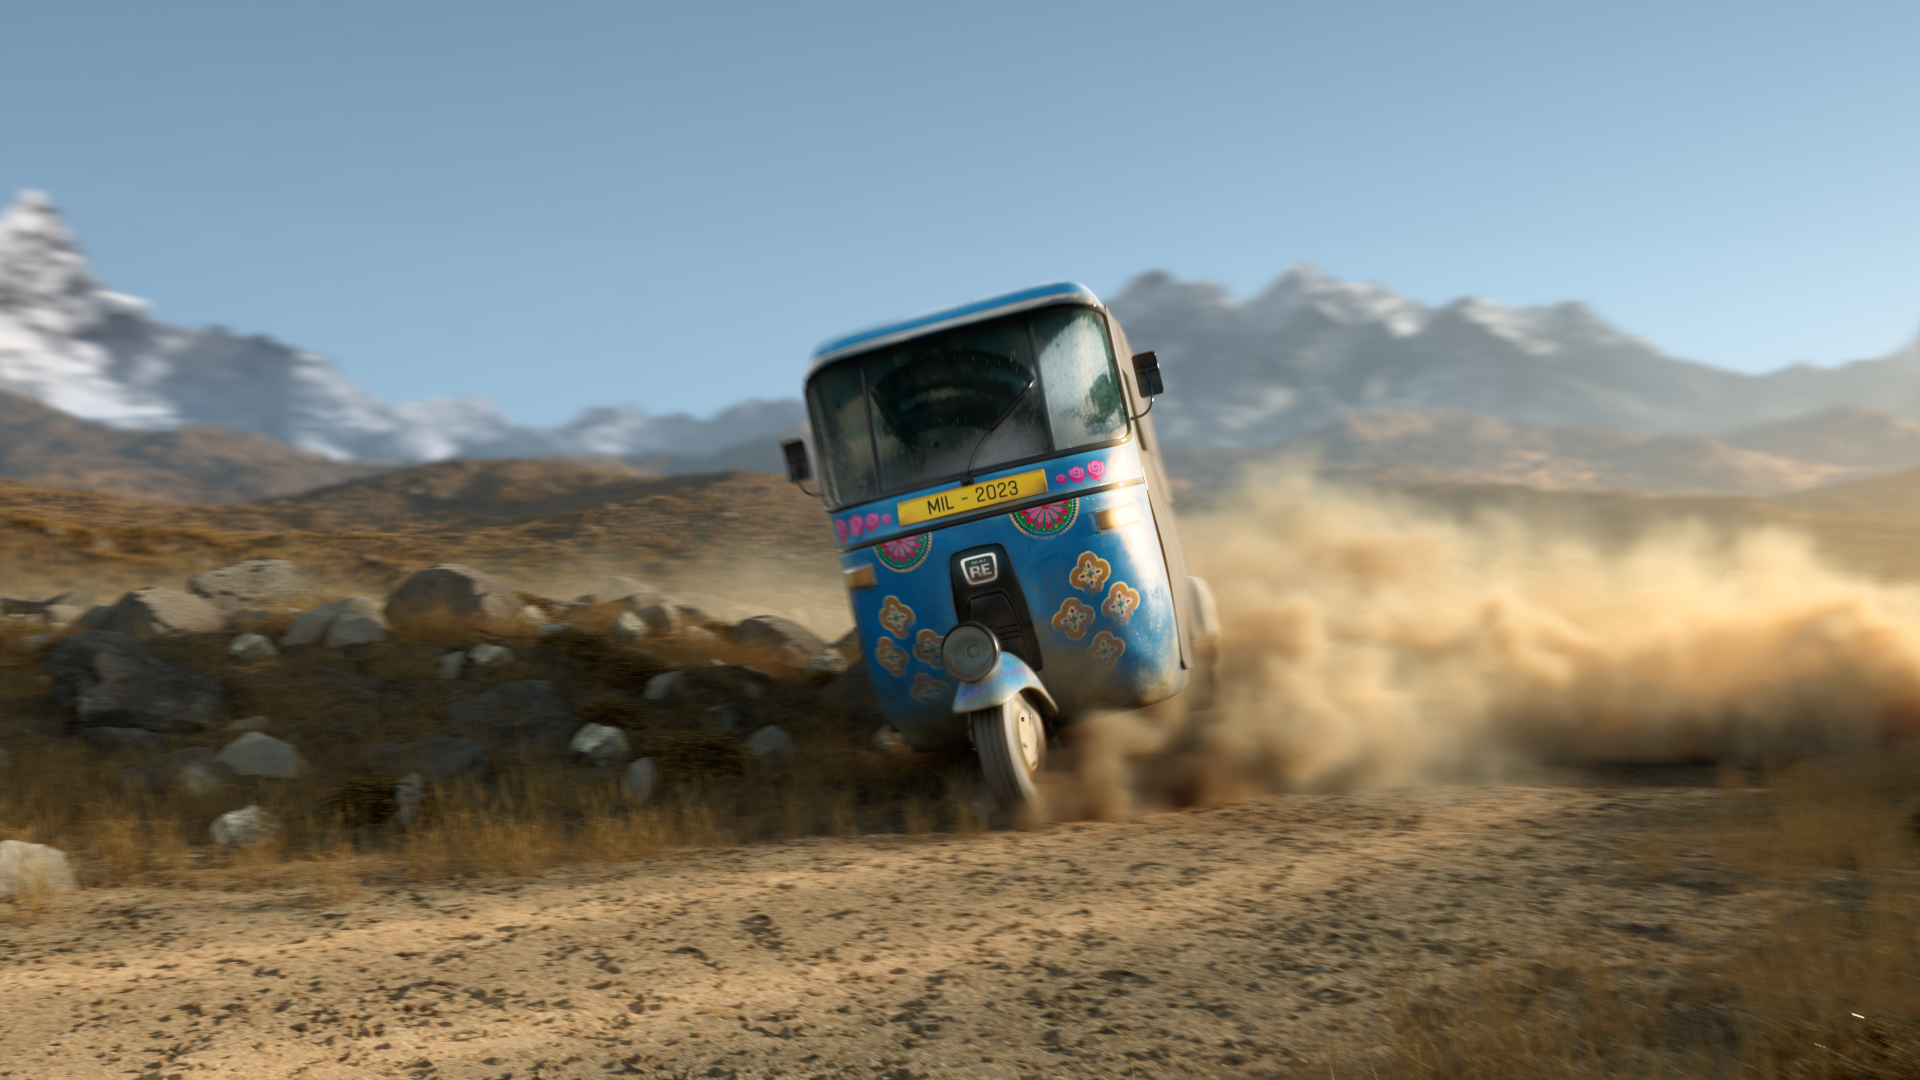
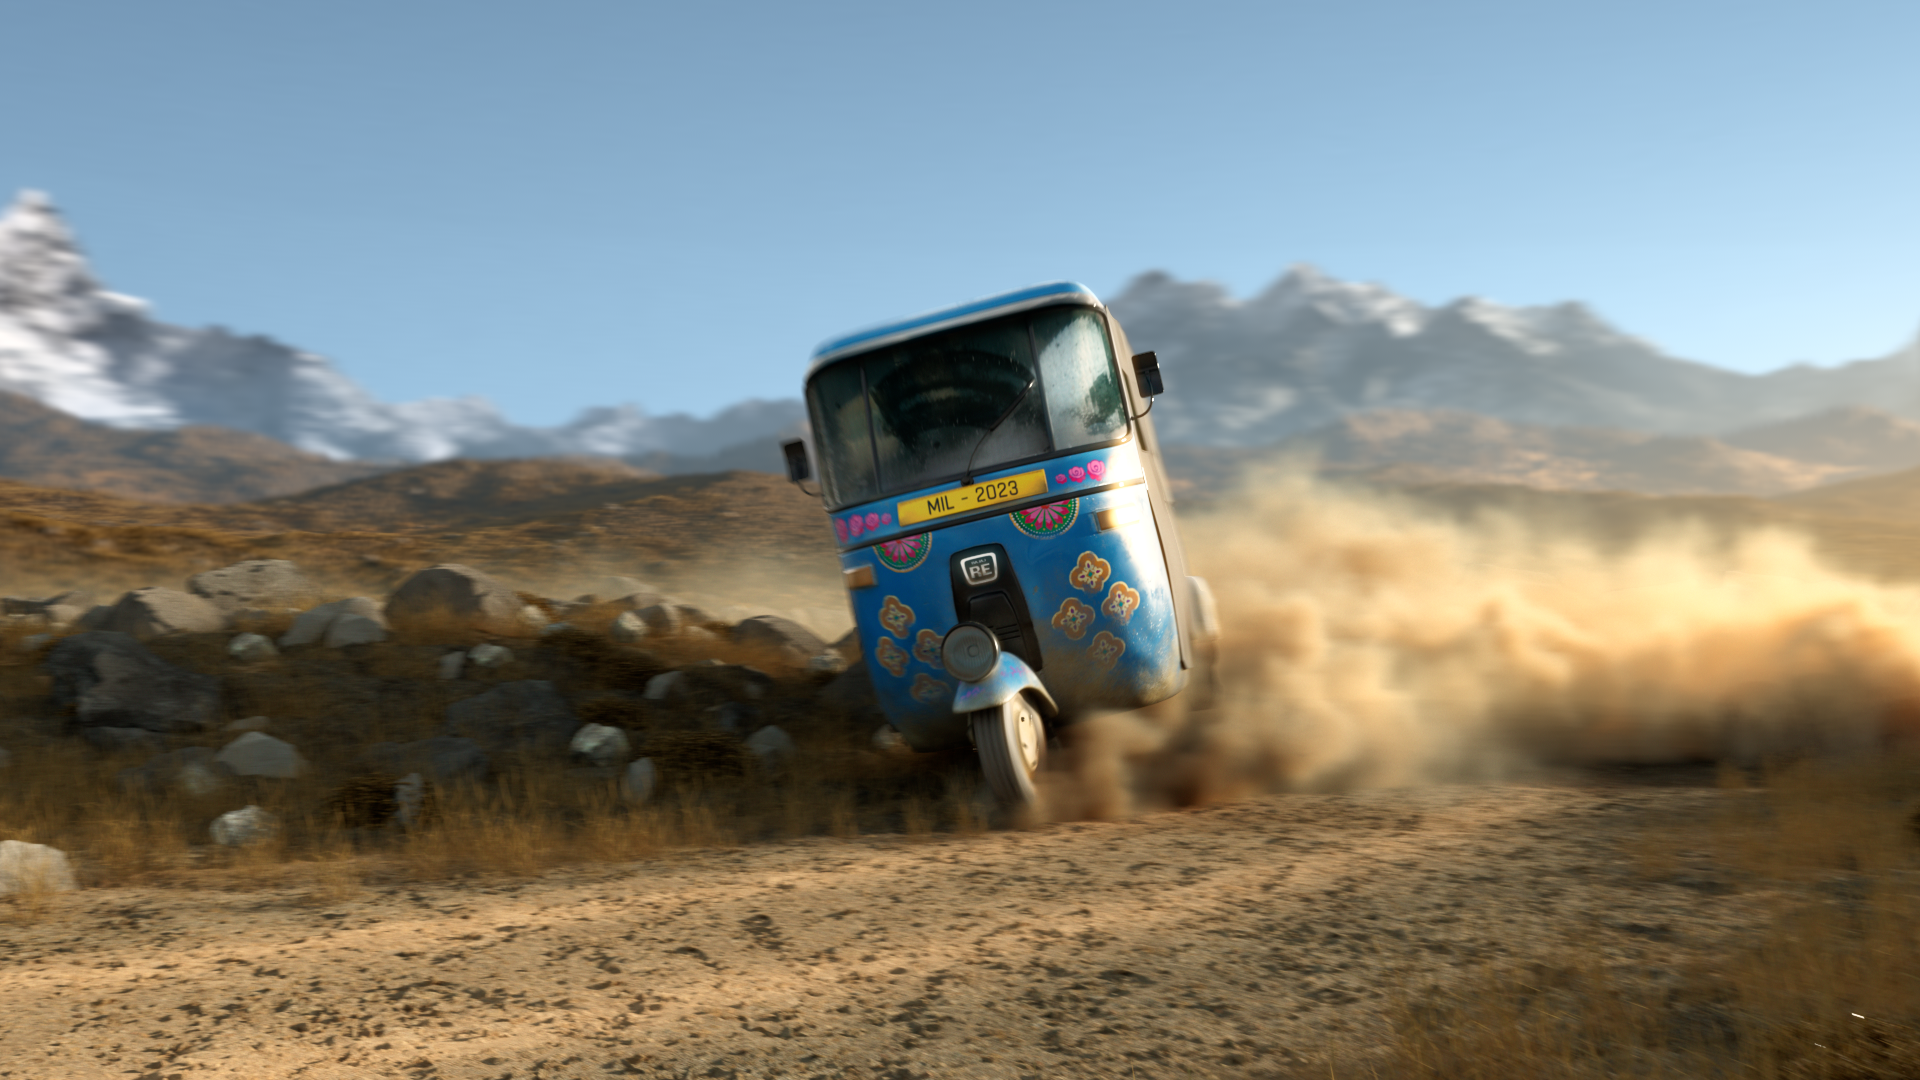
then i added some contrast to the shot so it feels a bit better
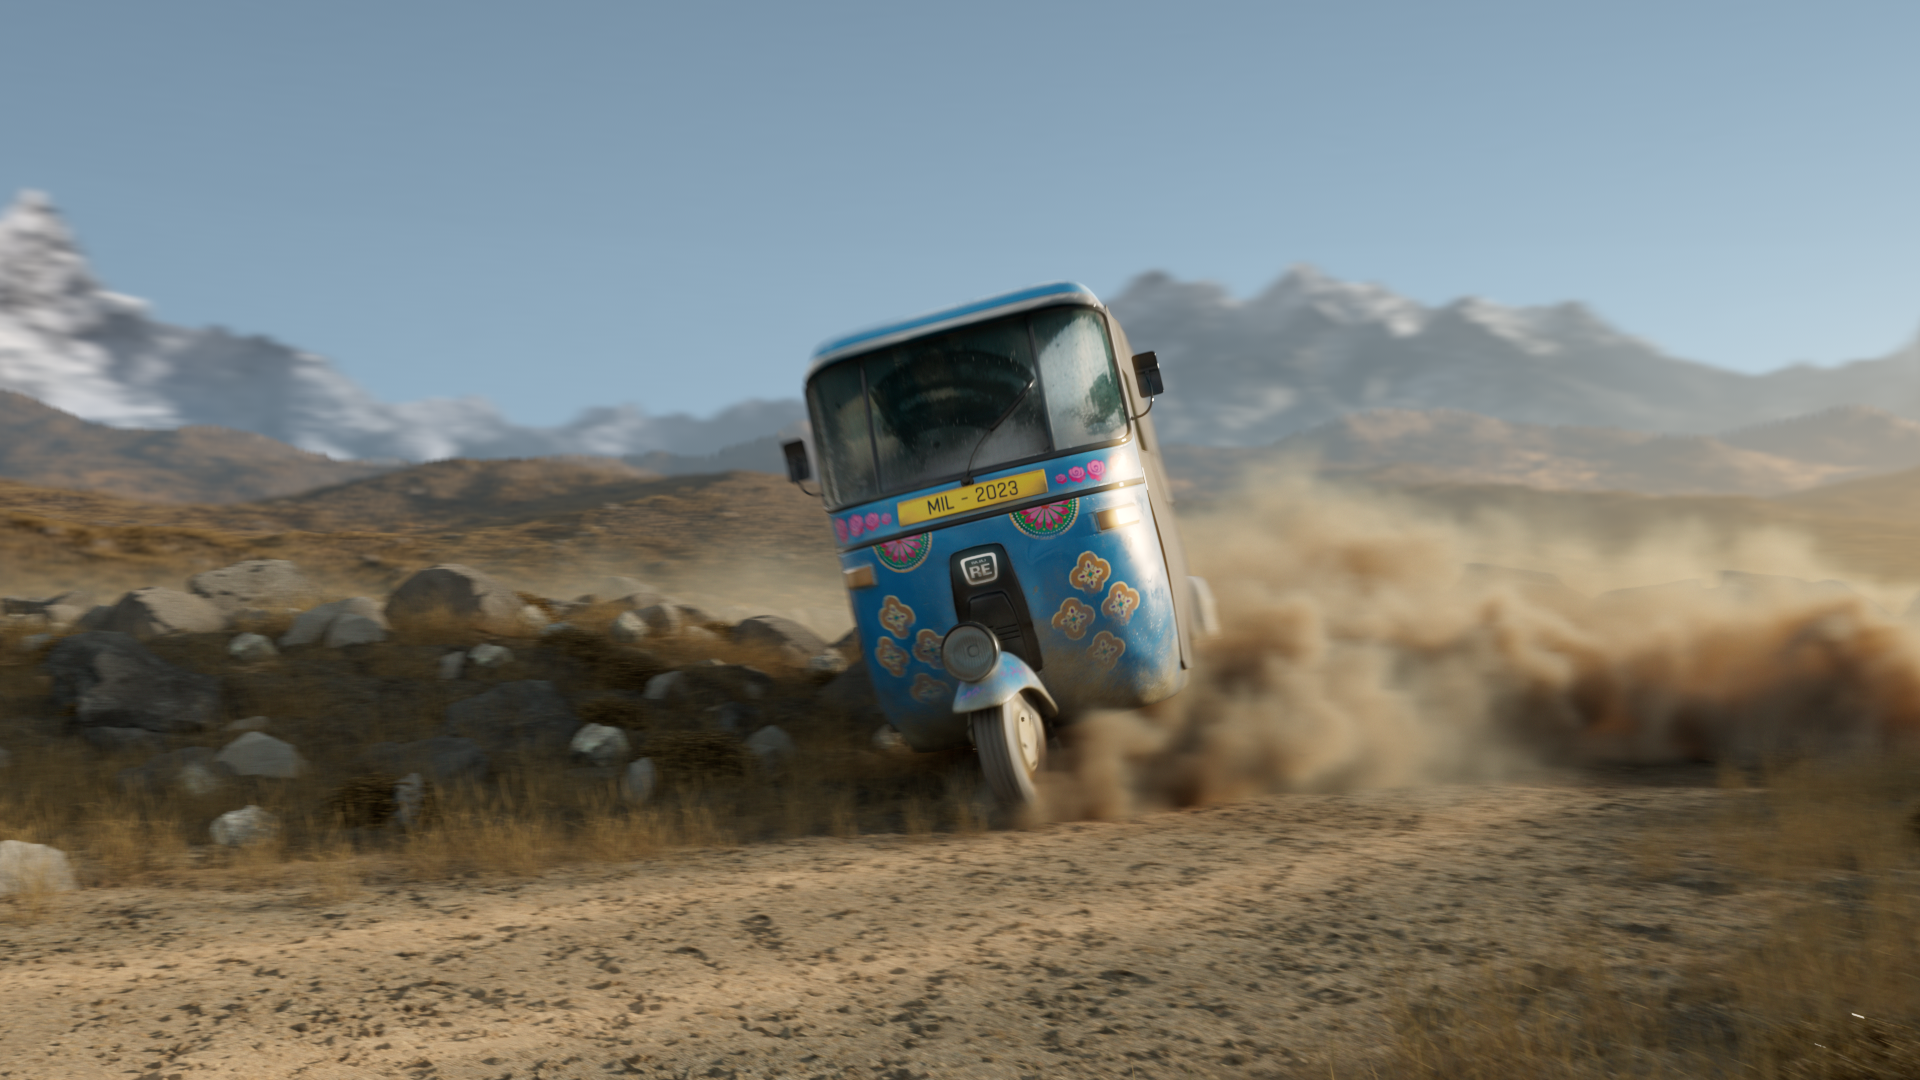
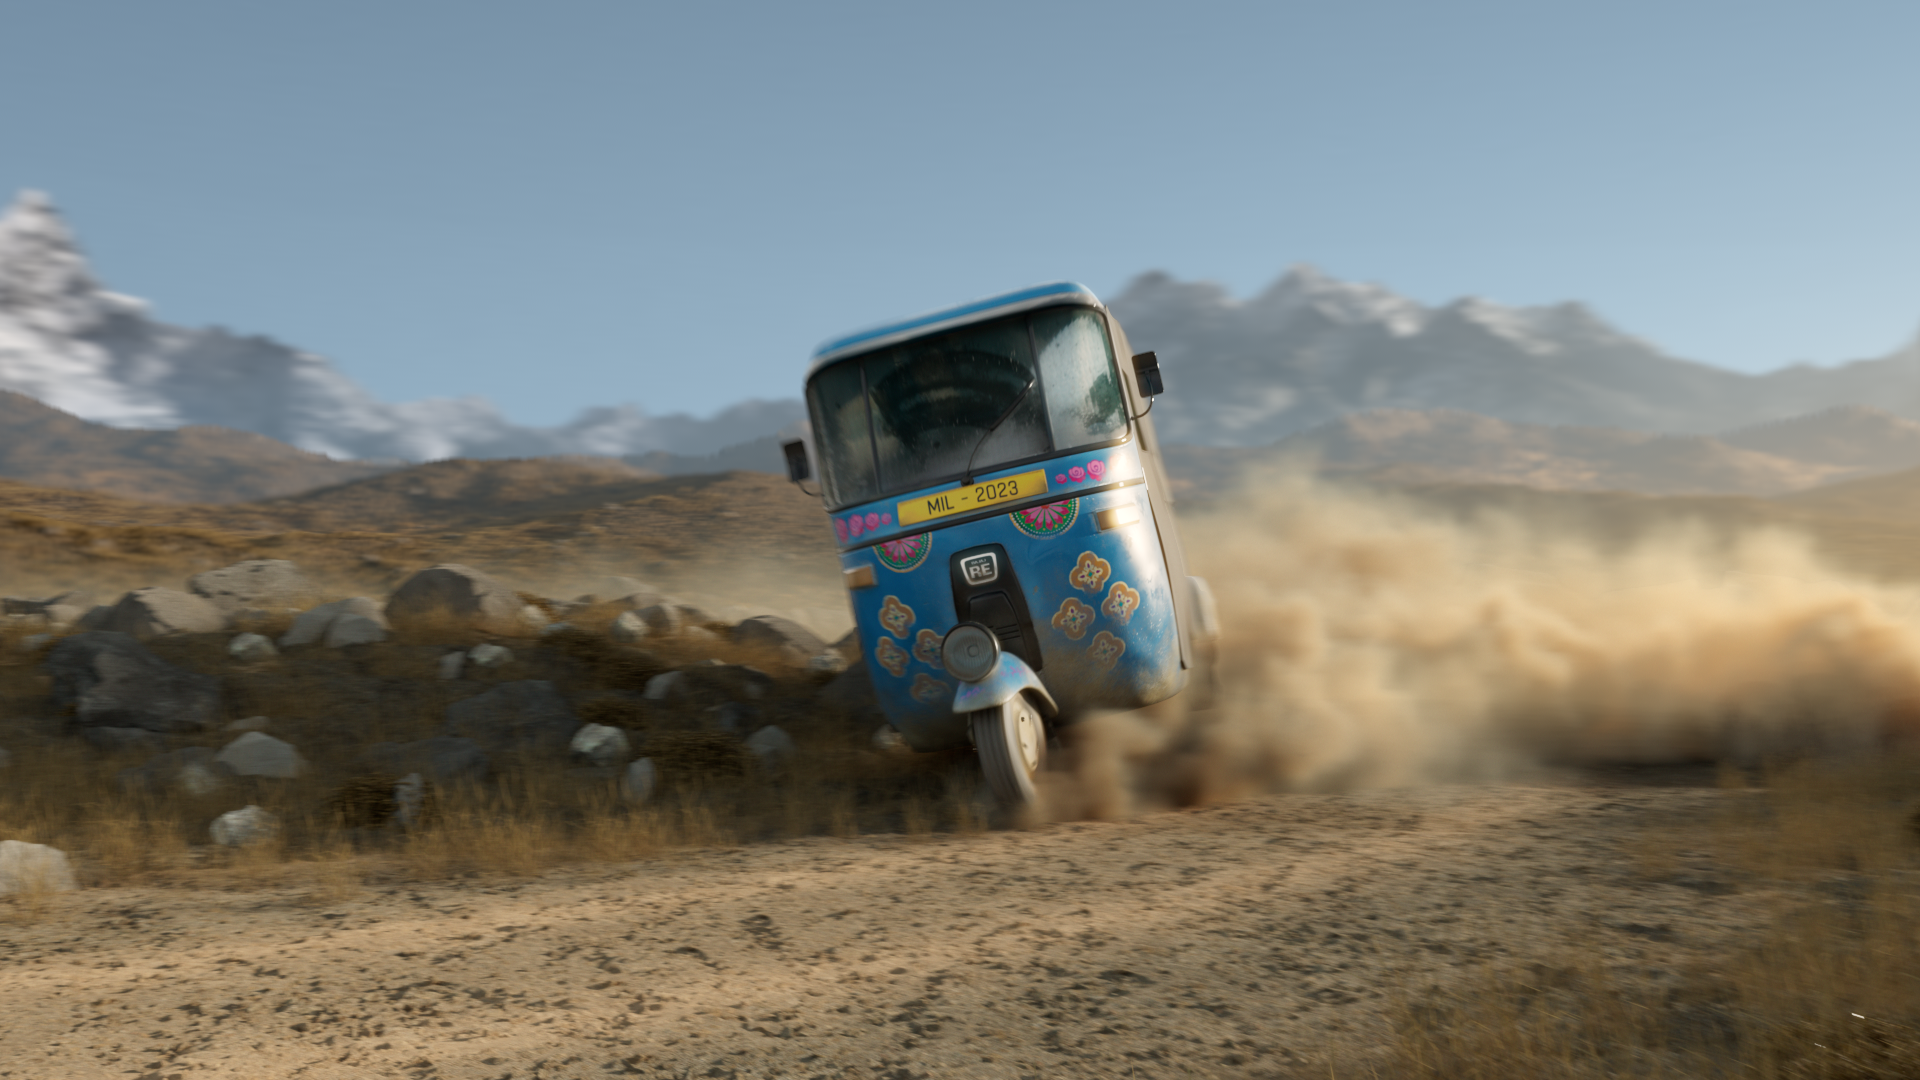
I used the same mask but inverted to add the lightray into the foreground
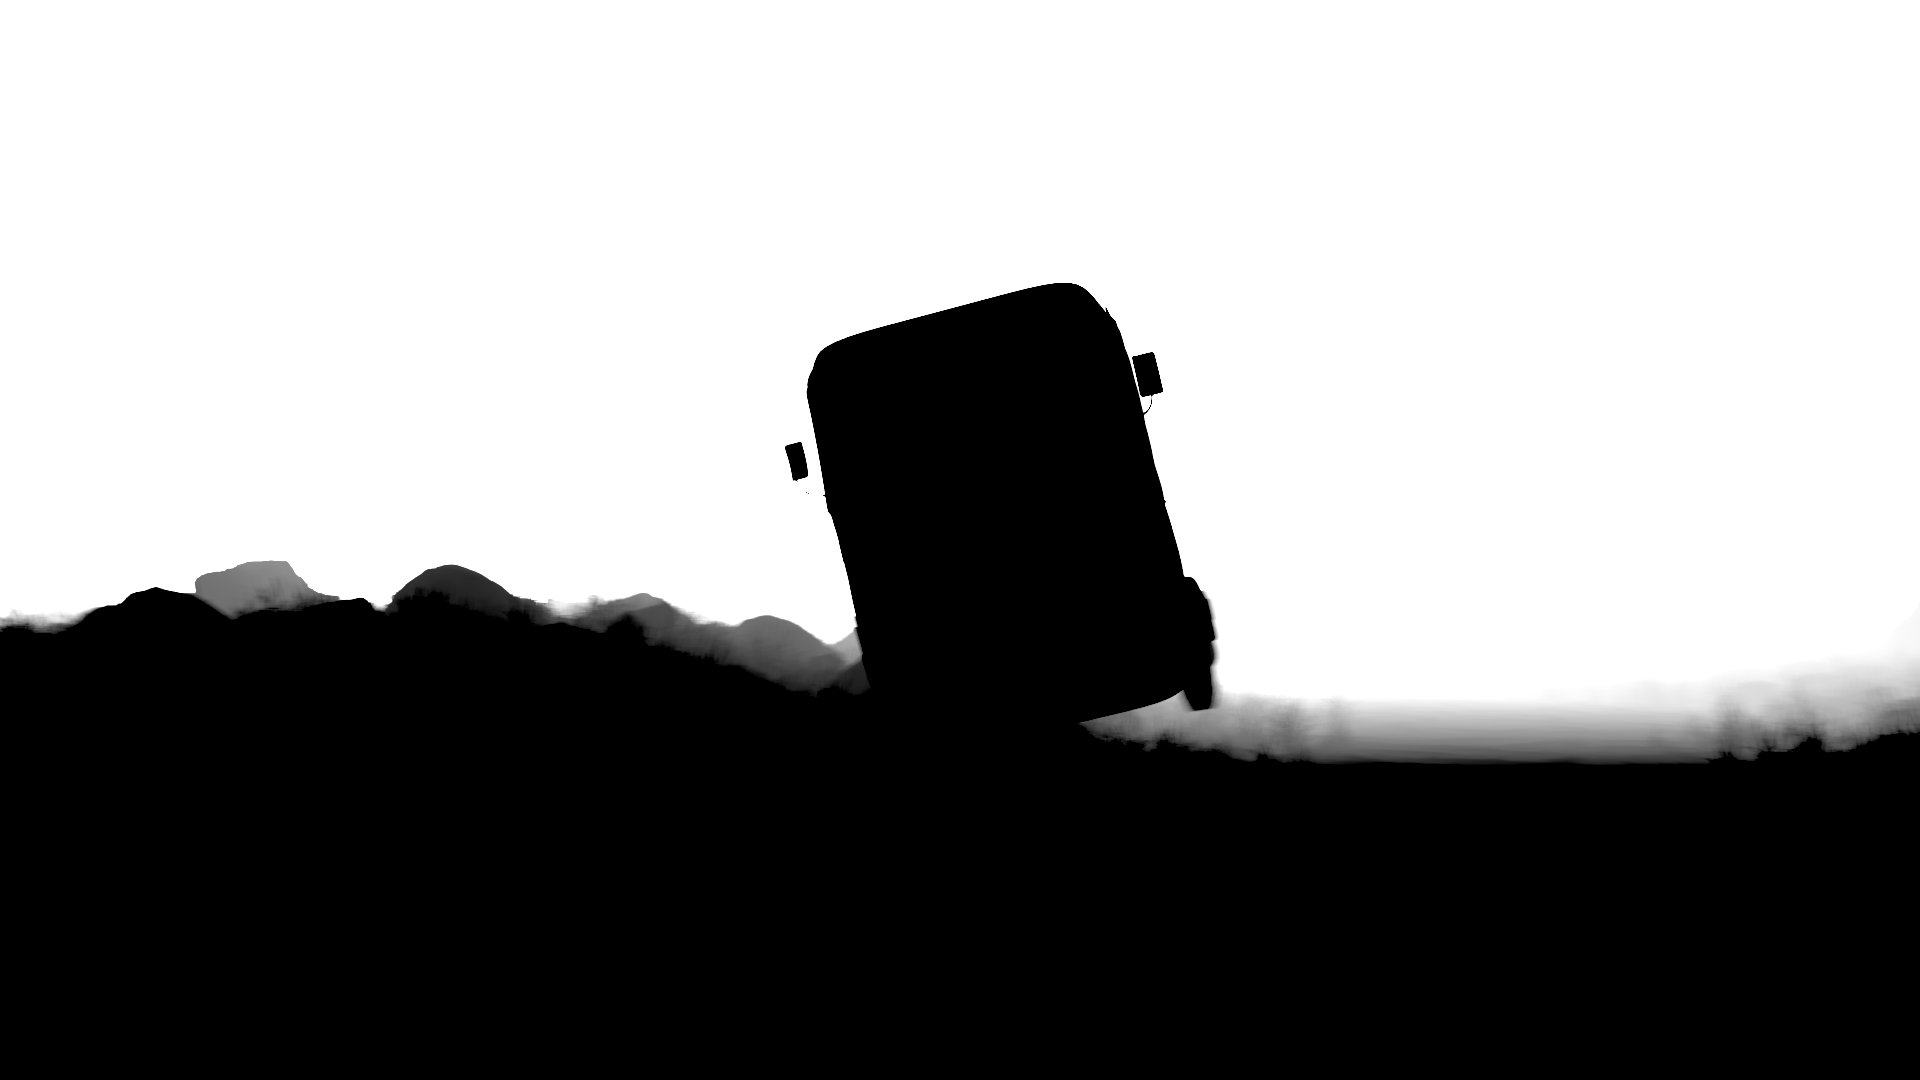
depth channel graded
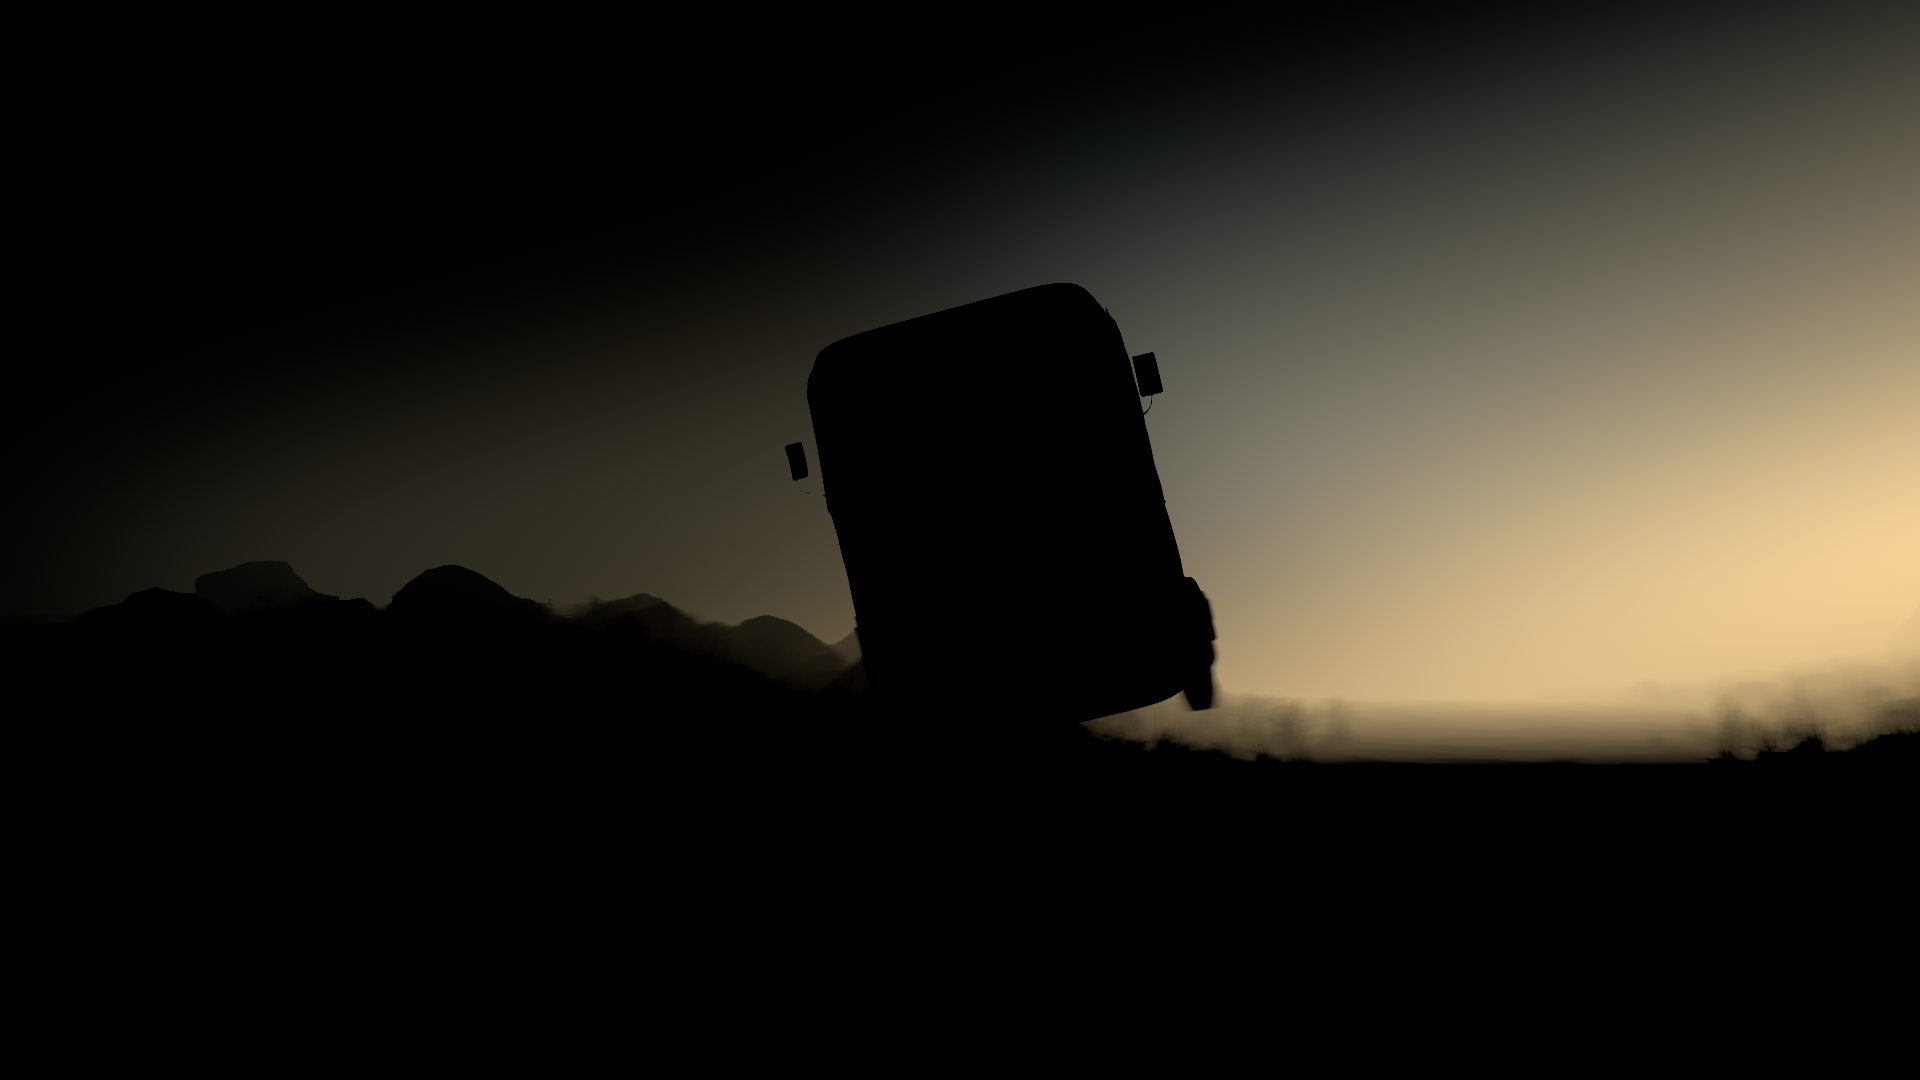
depth + lightrays mask
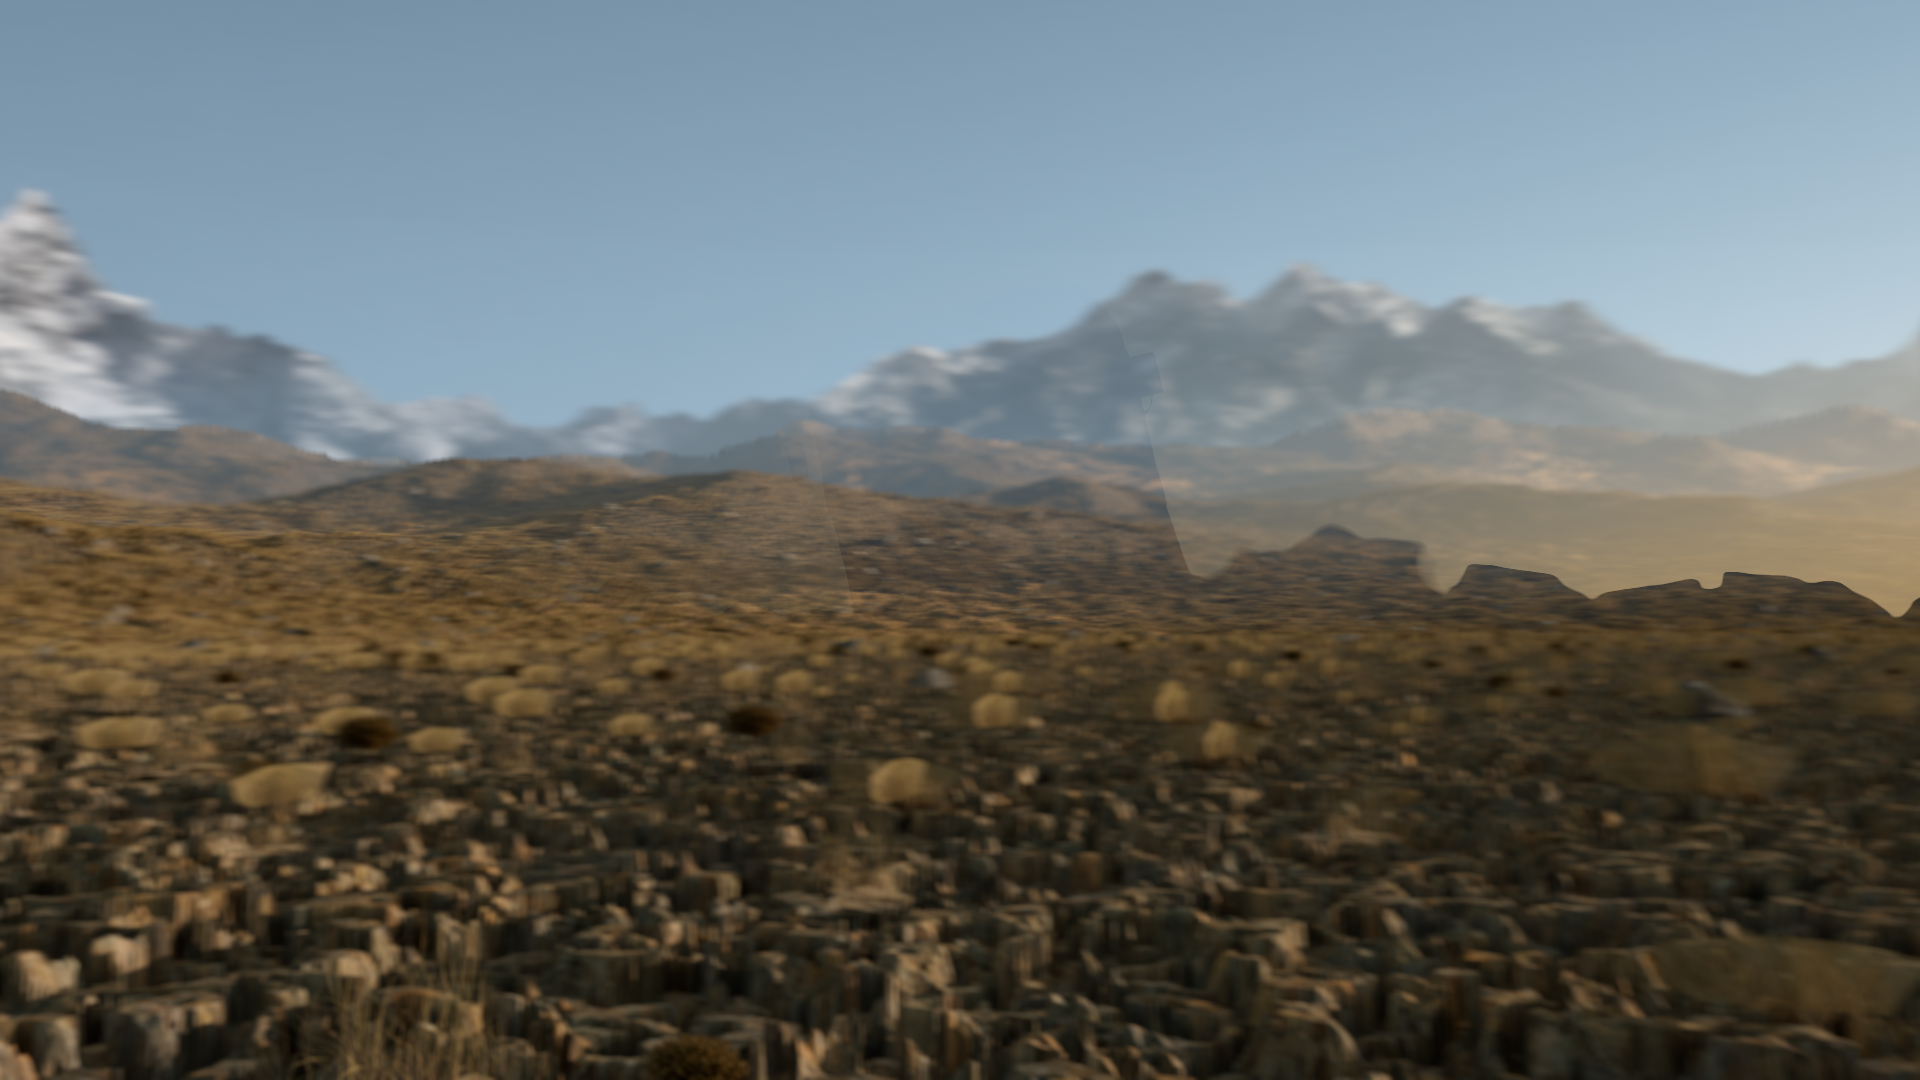
merge
then by using the depth channel i was able to put the lightrays just on the middleground so i can have control on the grading of the lightrays separately in middleground and foreground

grading

blur

lightrays
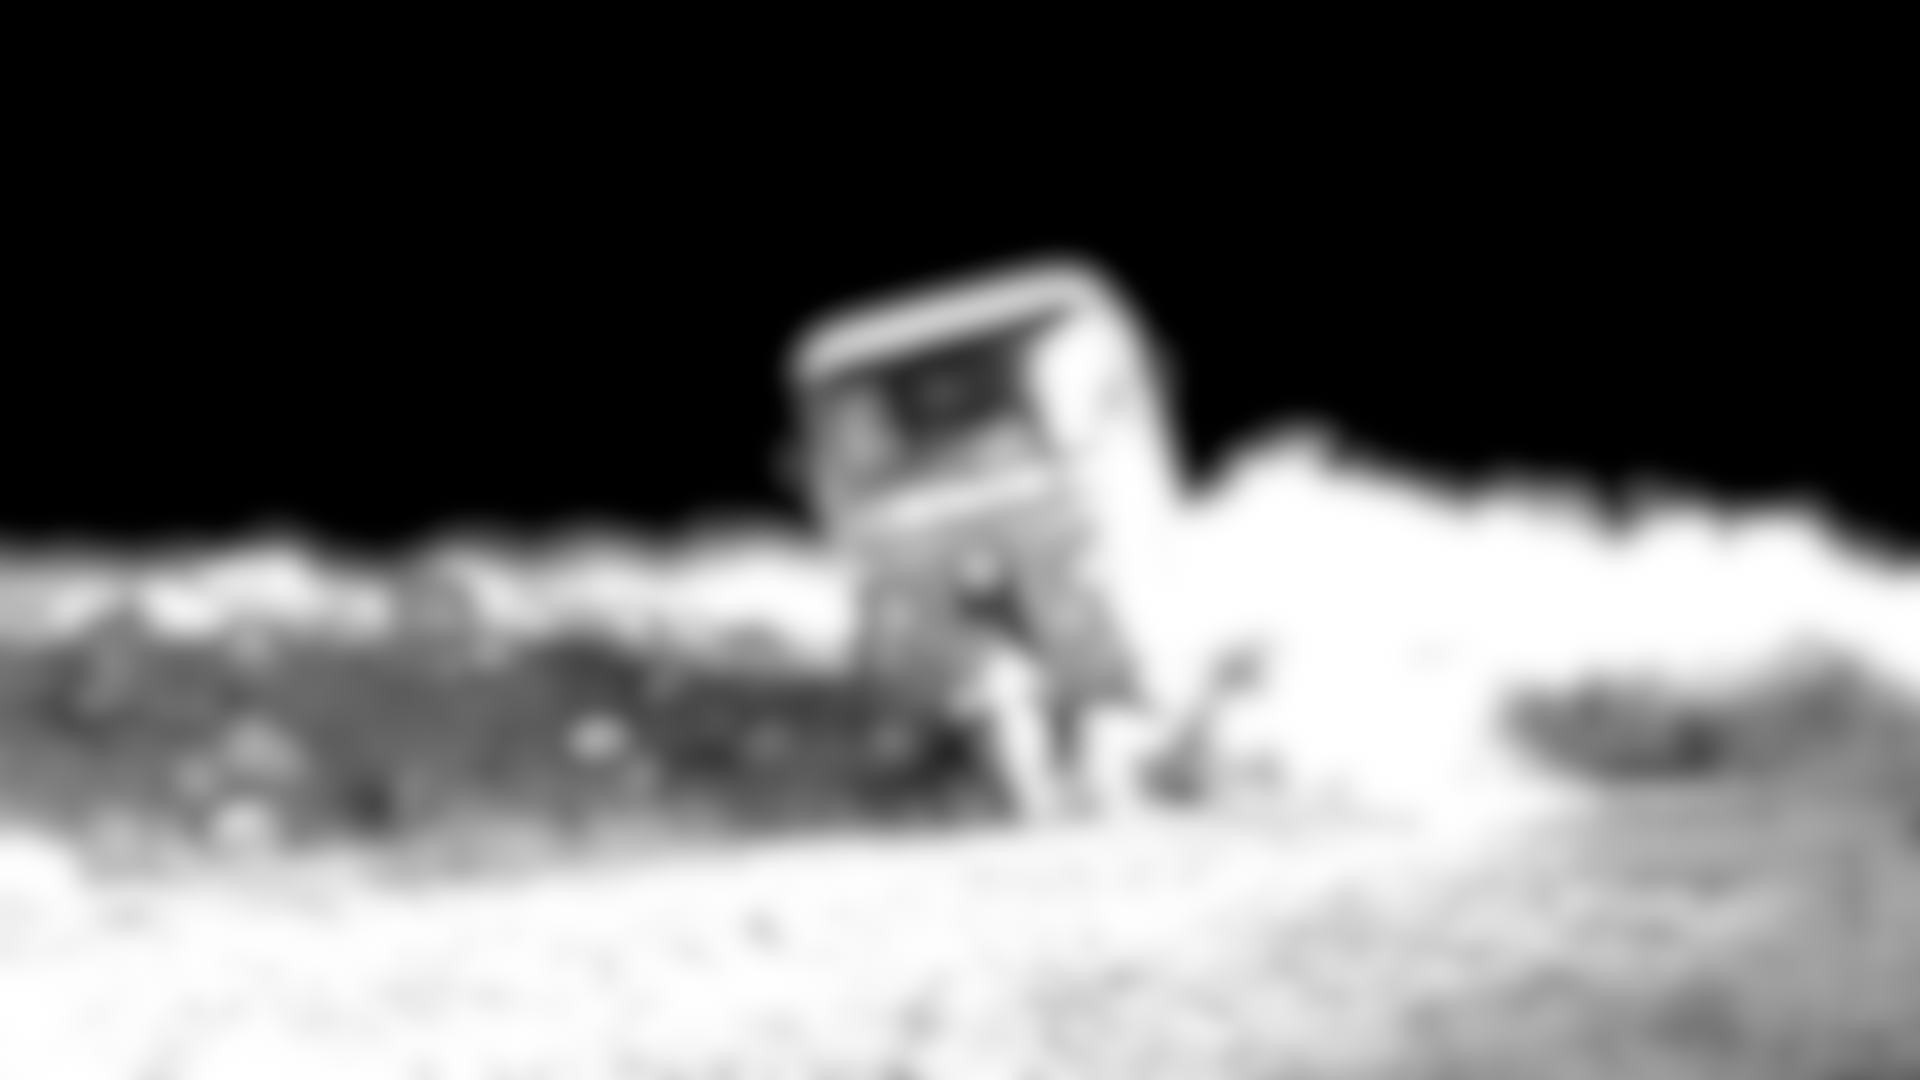
blur
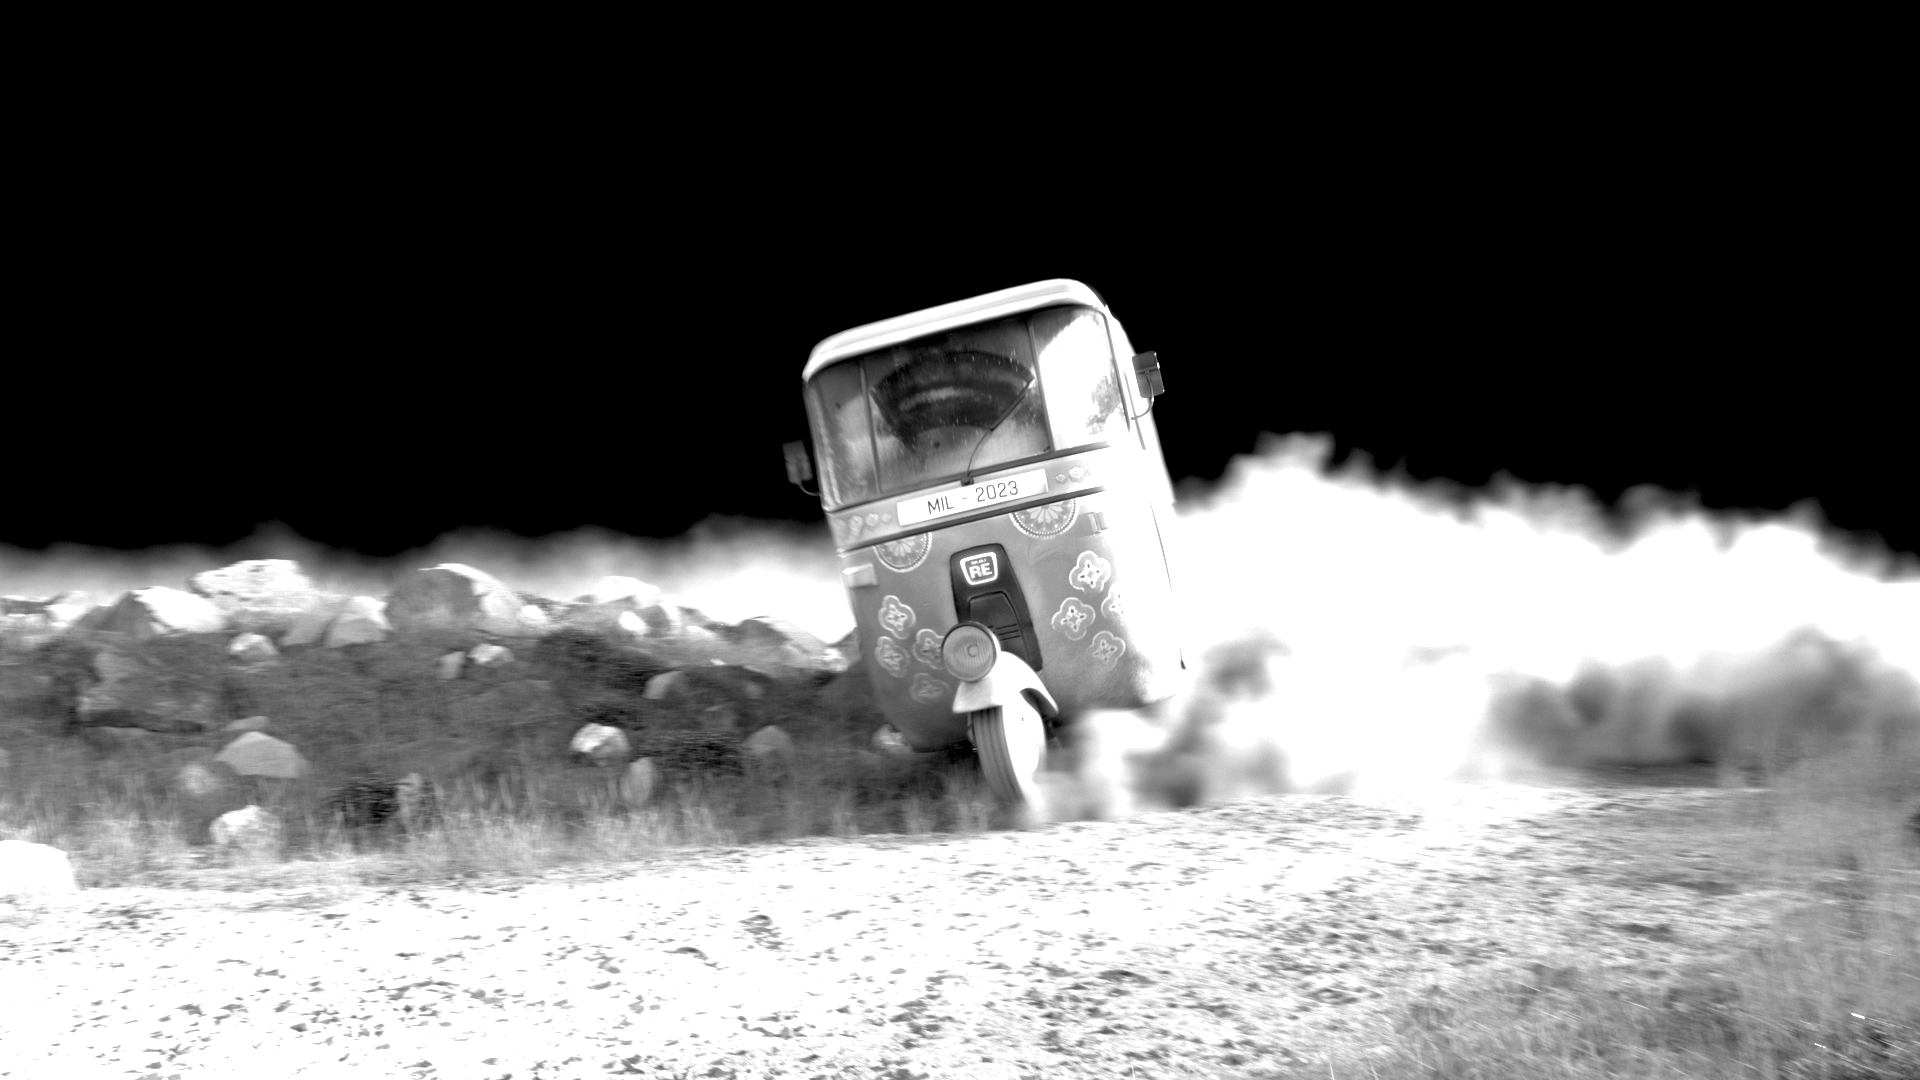
foreground
Then by using the foreground i was able to create lightrays so i can incorporate them to the foreground and middleground to make the scene feel like the sun was coming up
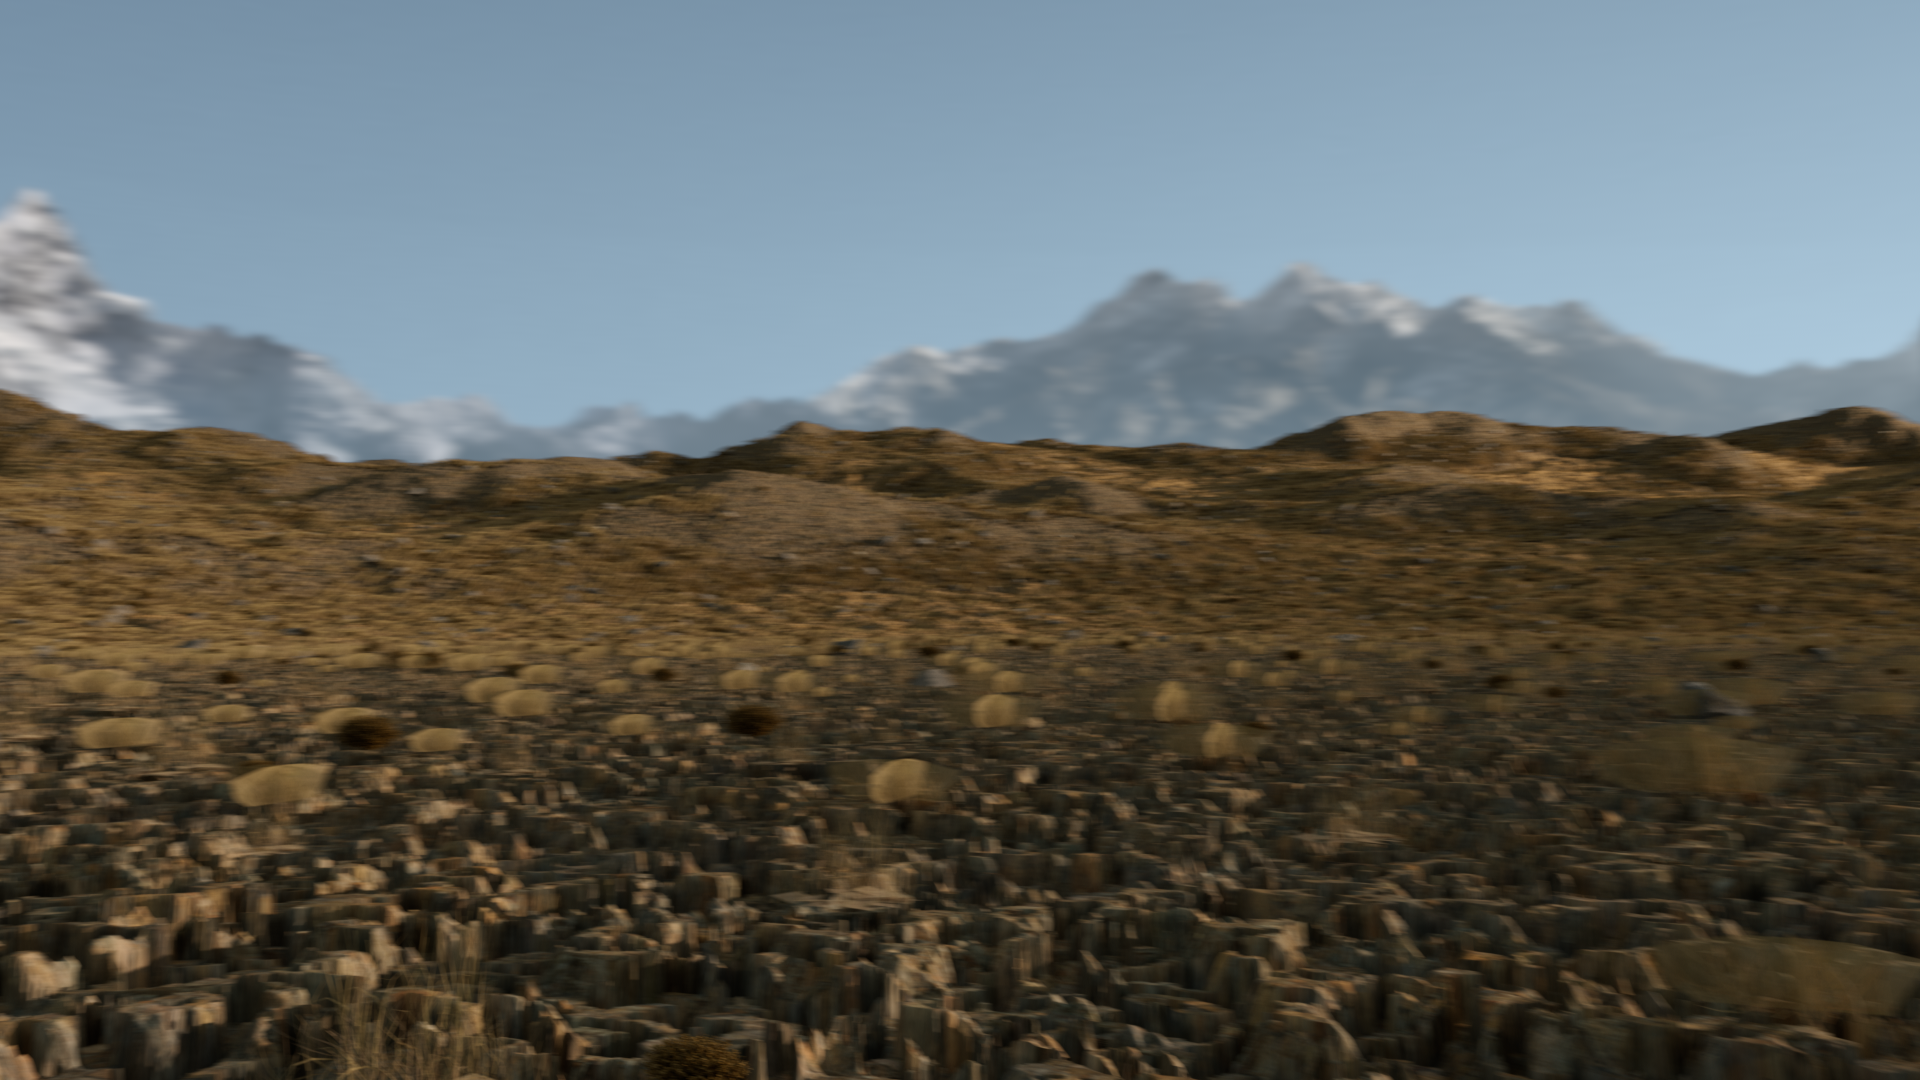
middleground + background
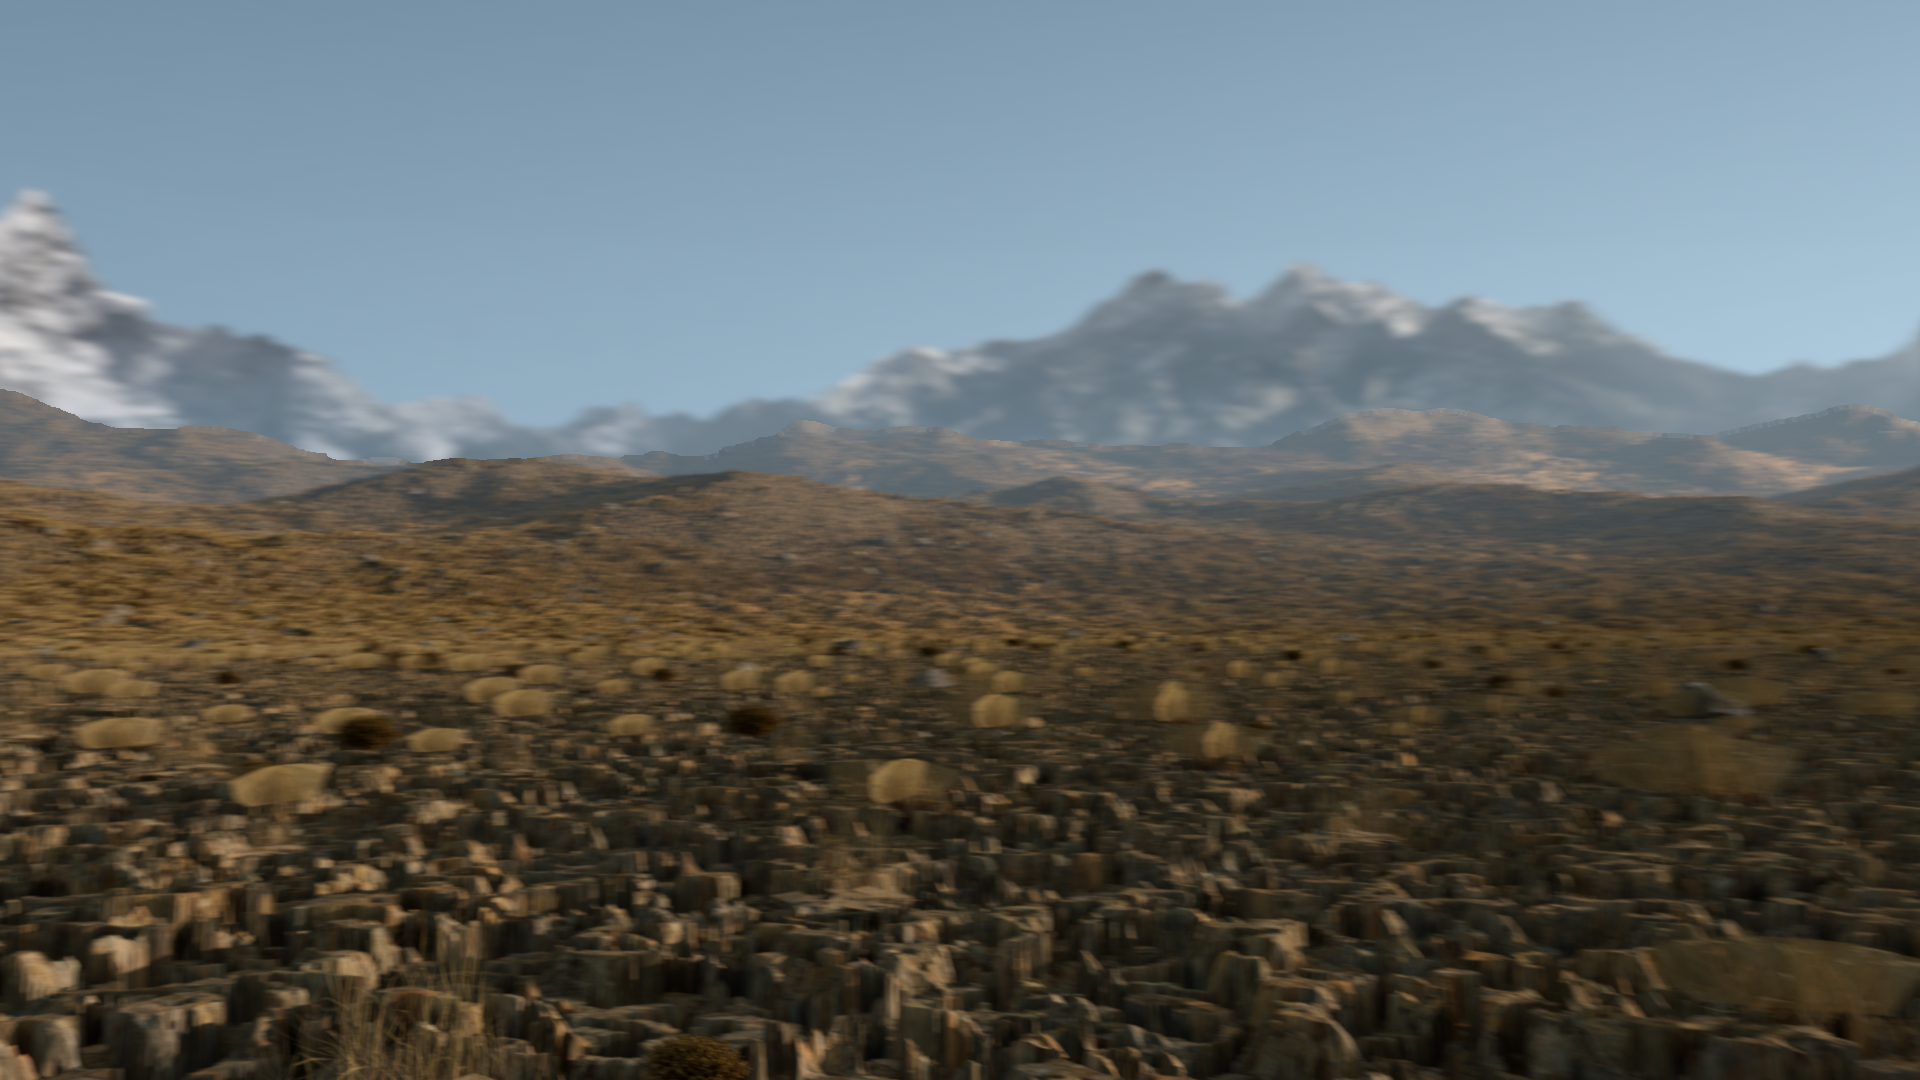
athmosphere matching
After creating the background and middleground. i matched the athmosphere on the middleground so it blends with the background using the deoth channel and the plate of the sky as color
foreground breakdown
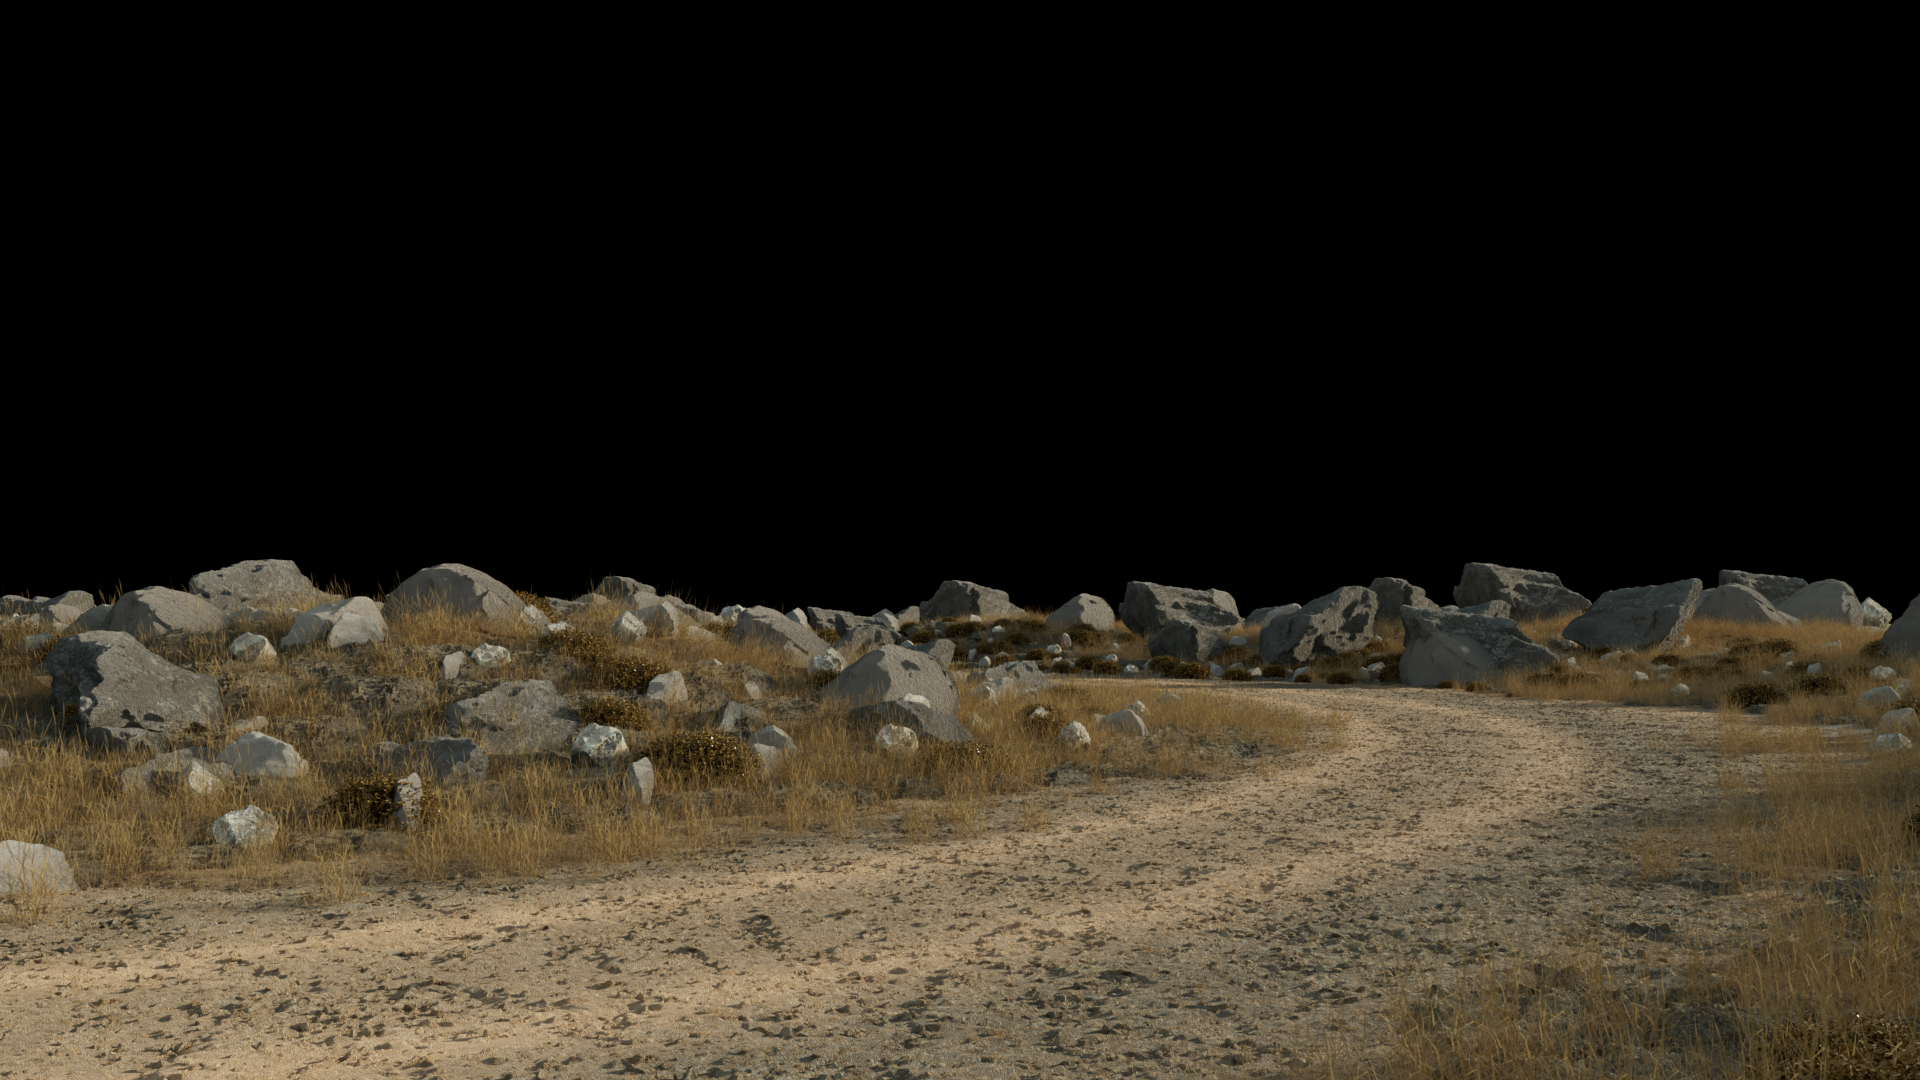
grass
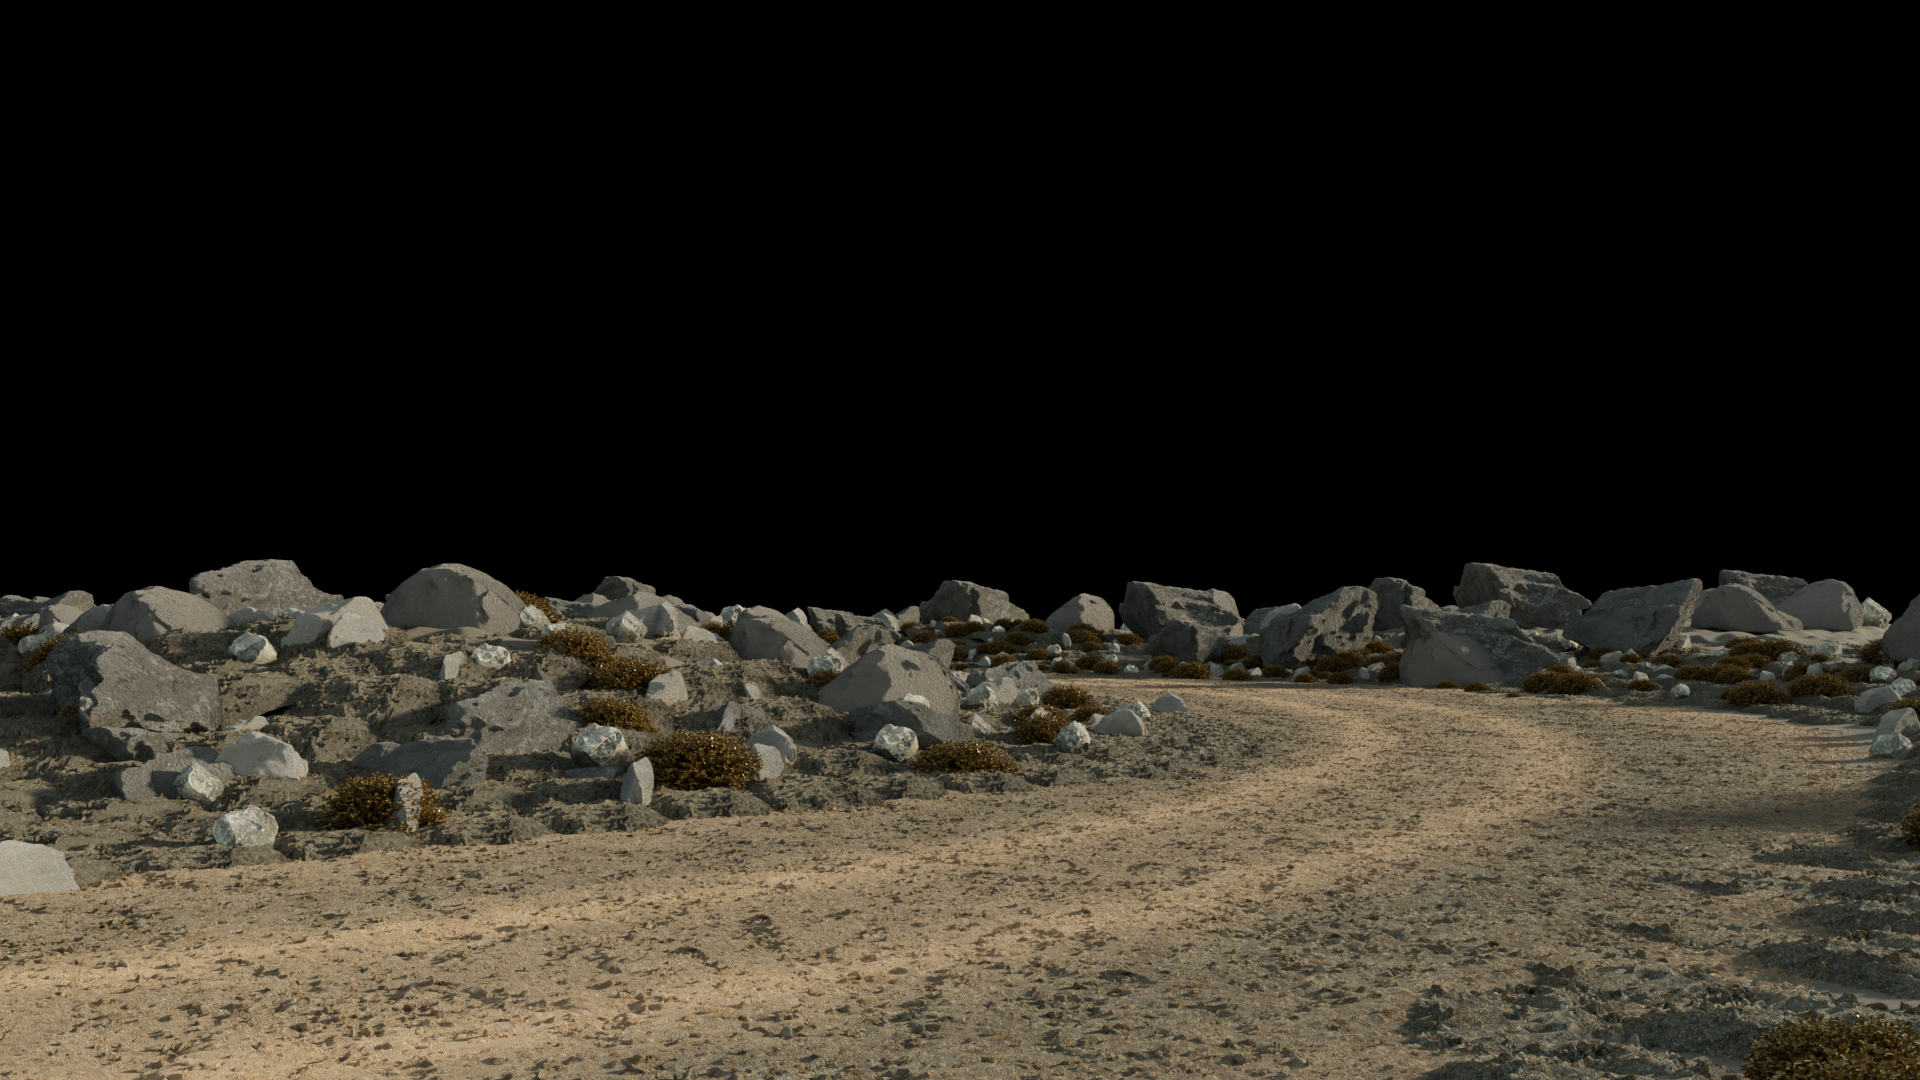
bushes
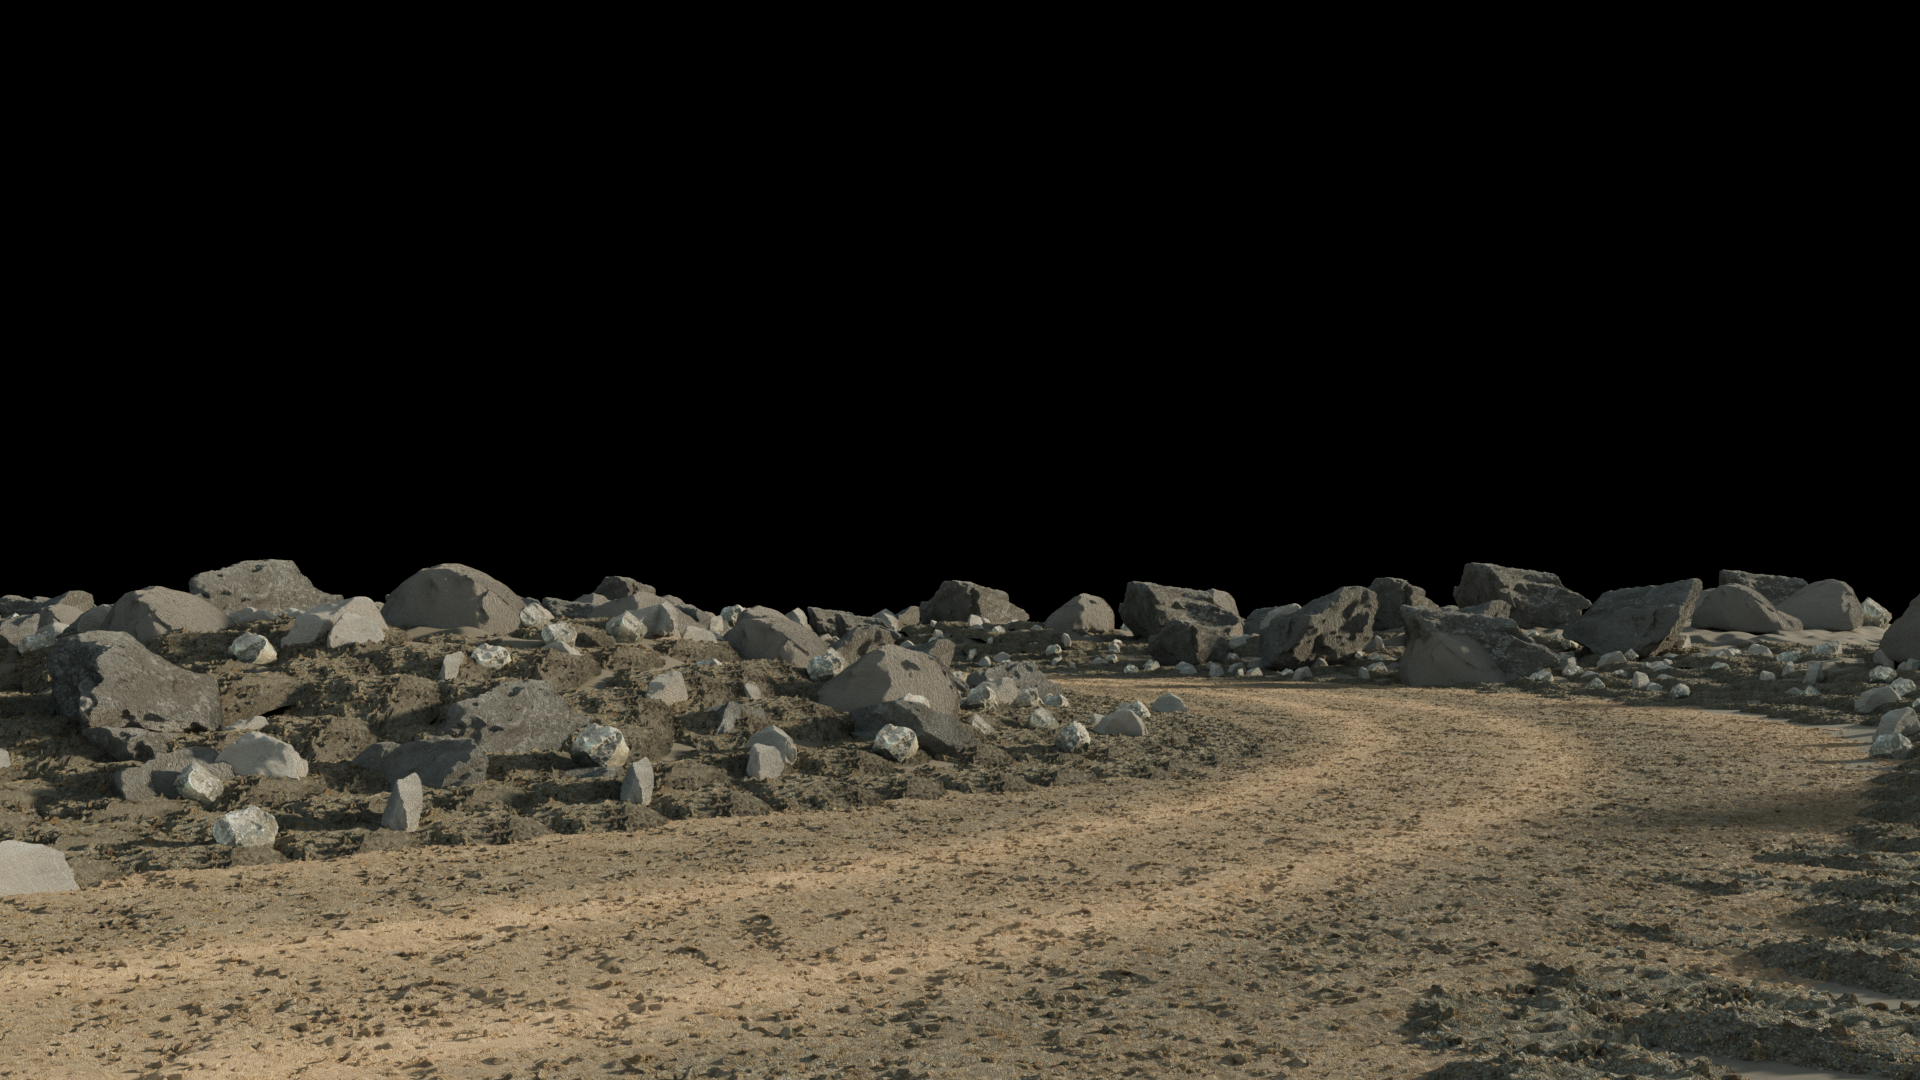
small rocks
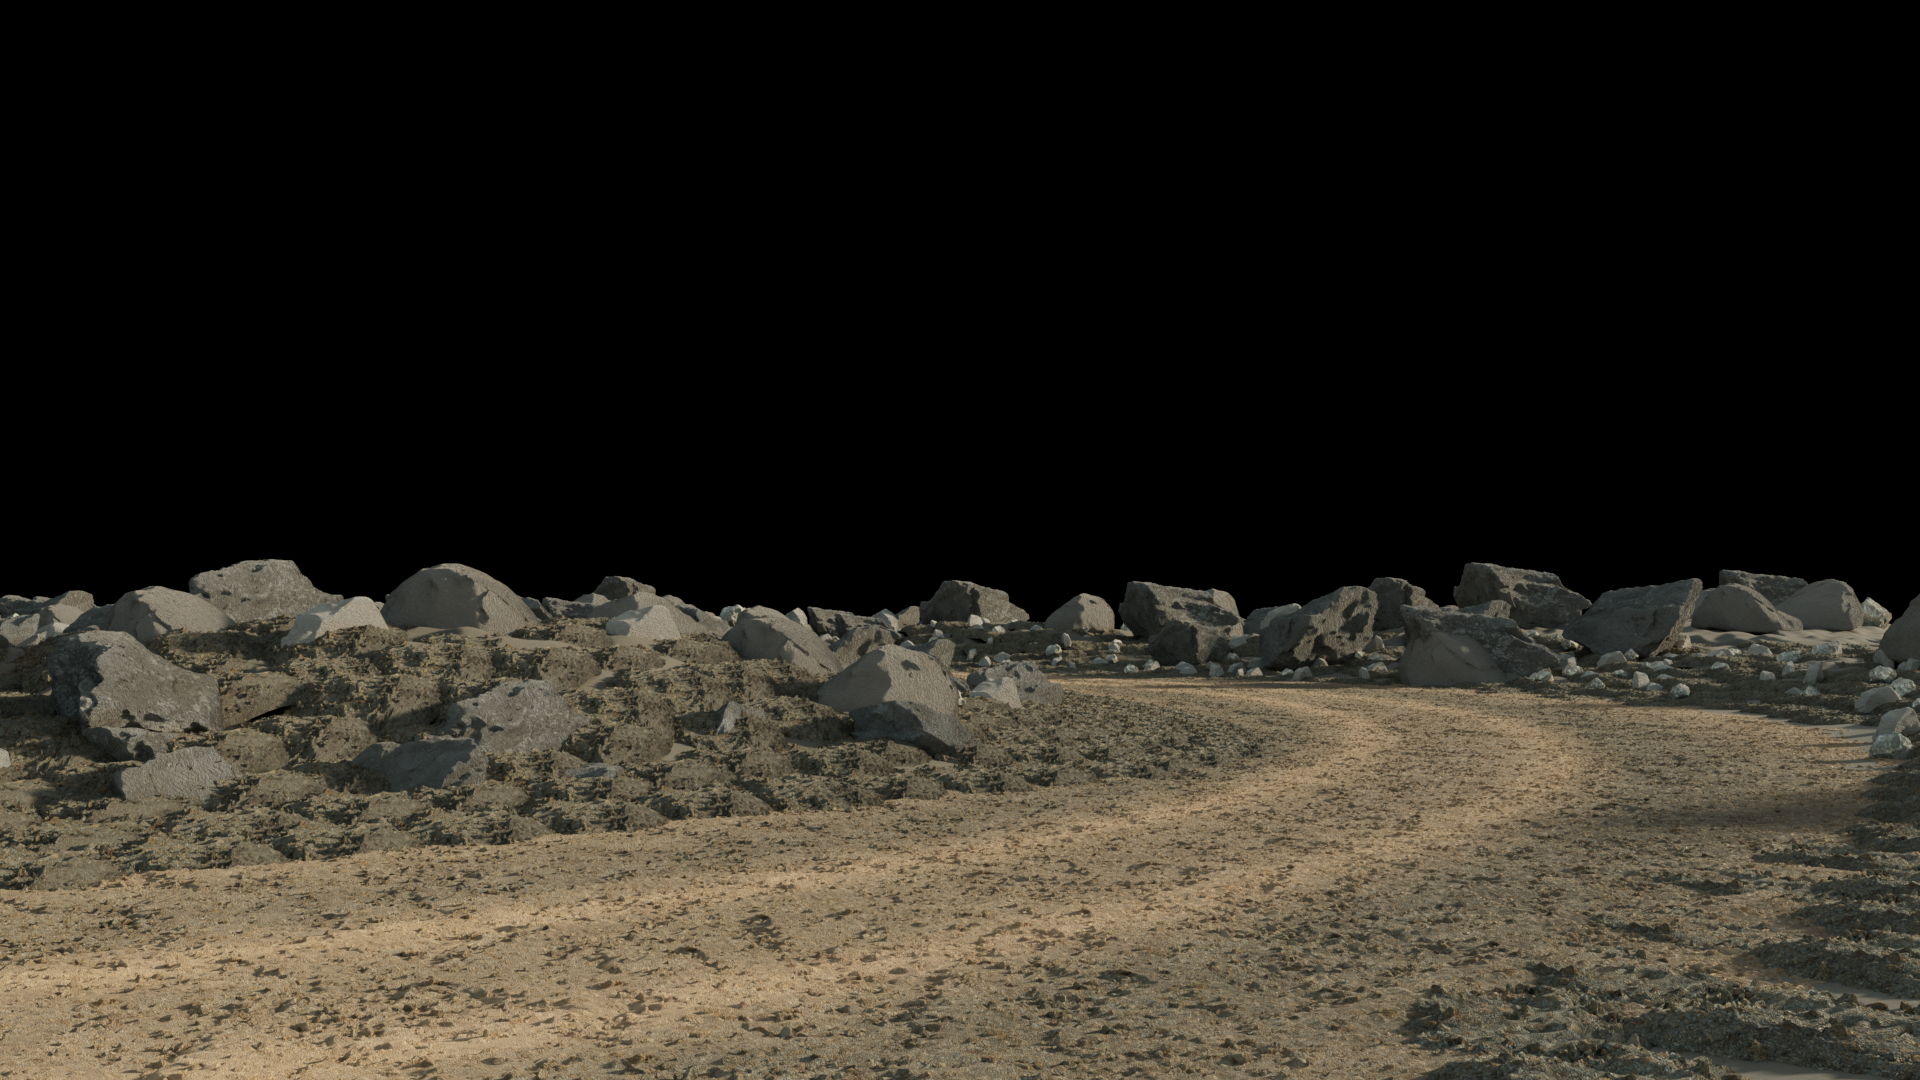
rocks textured
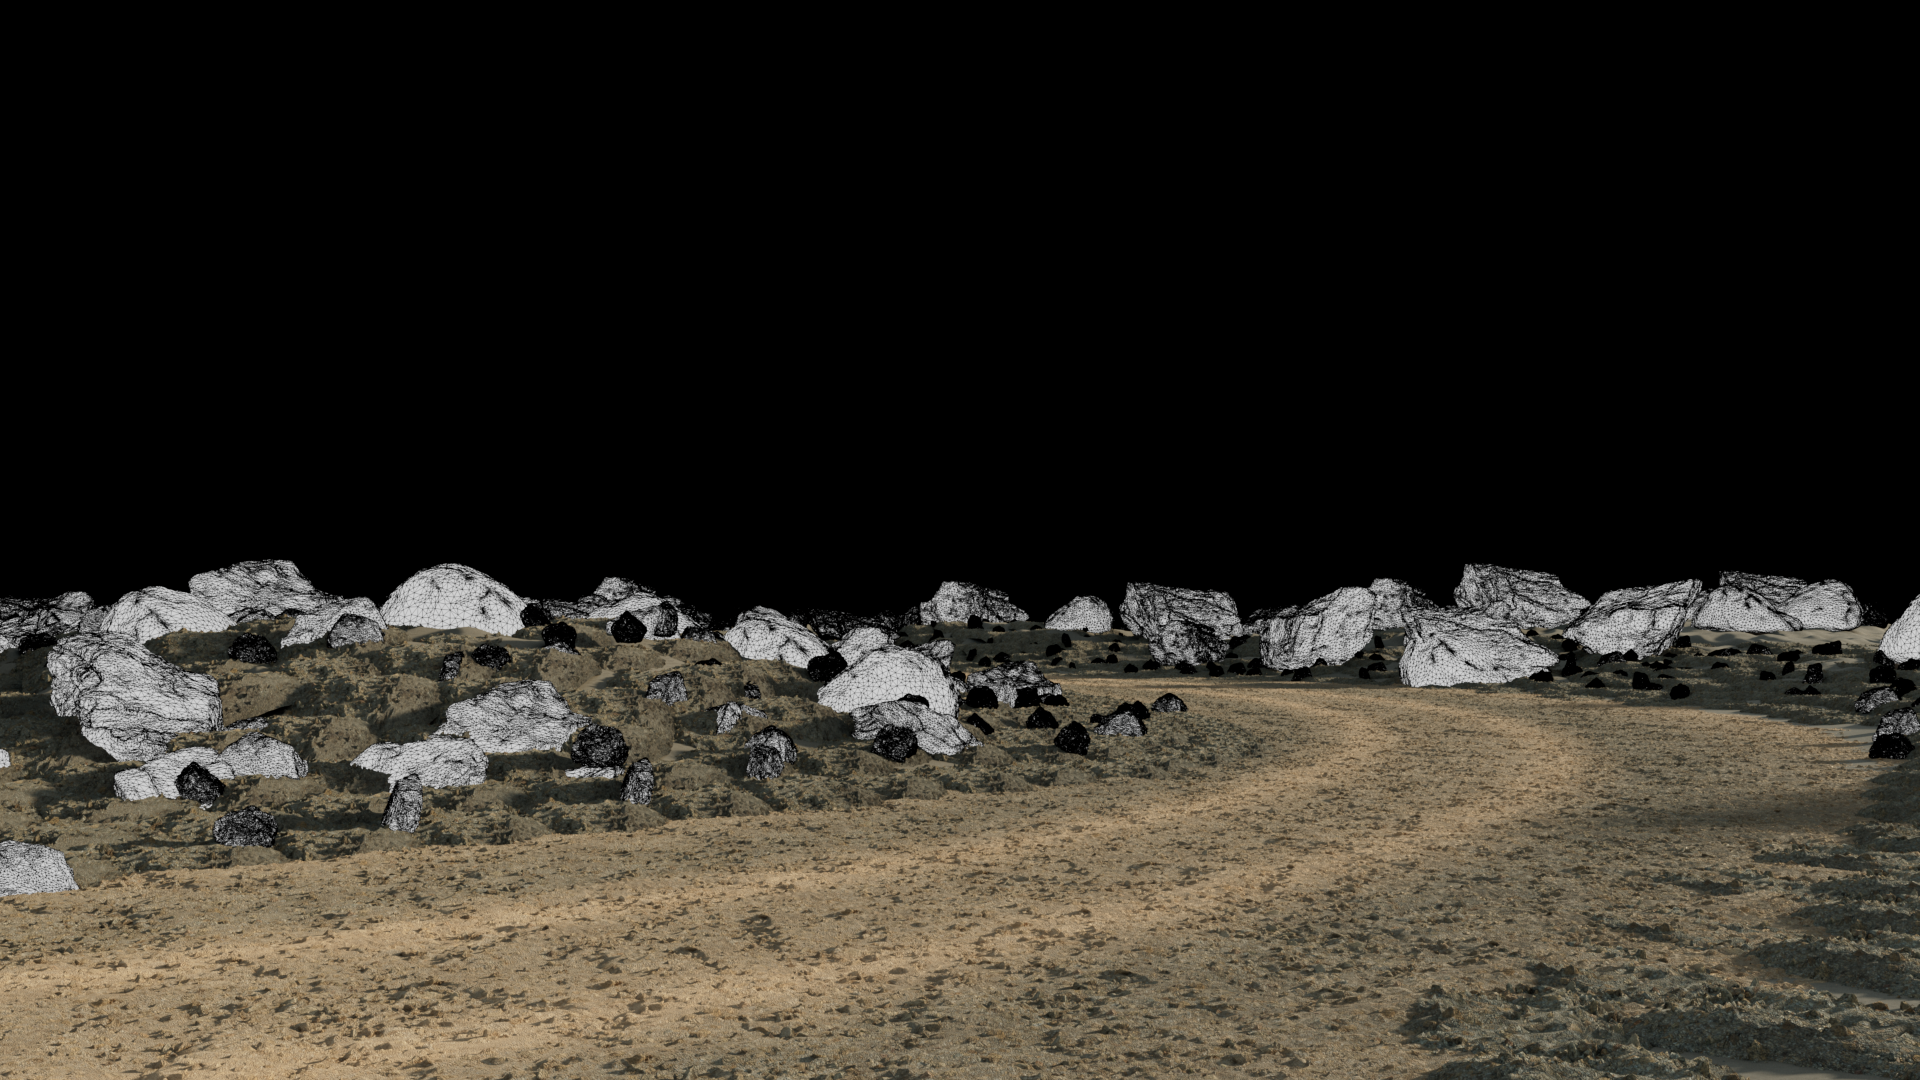
rocks
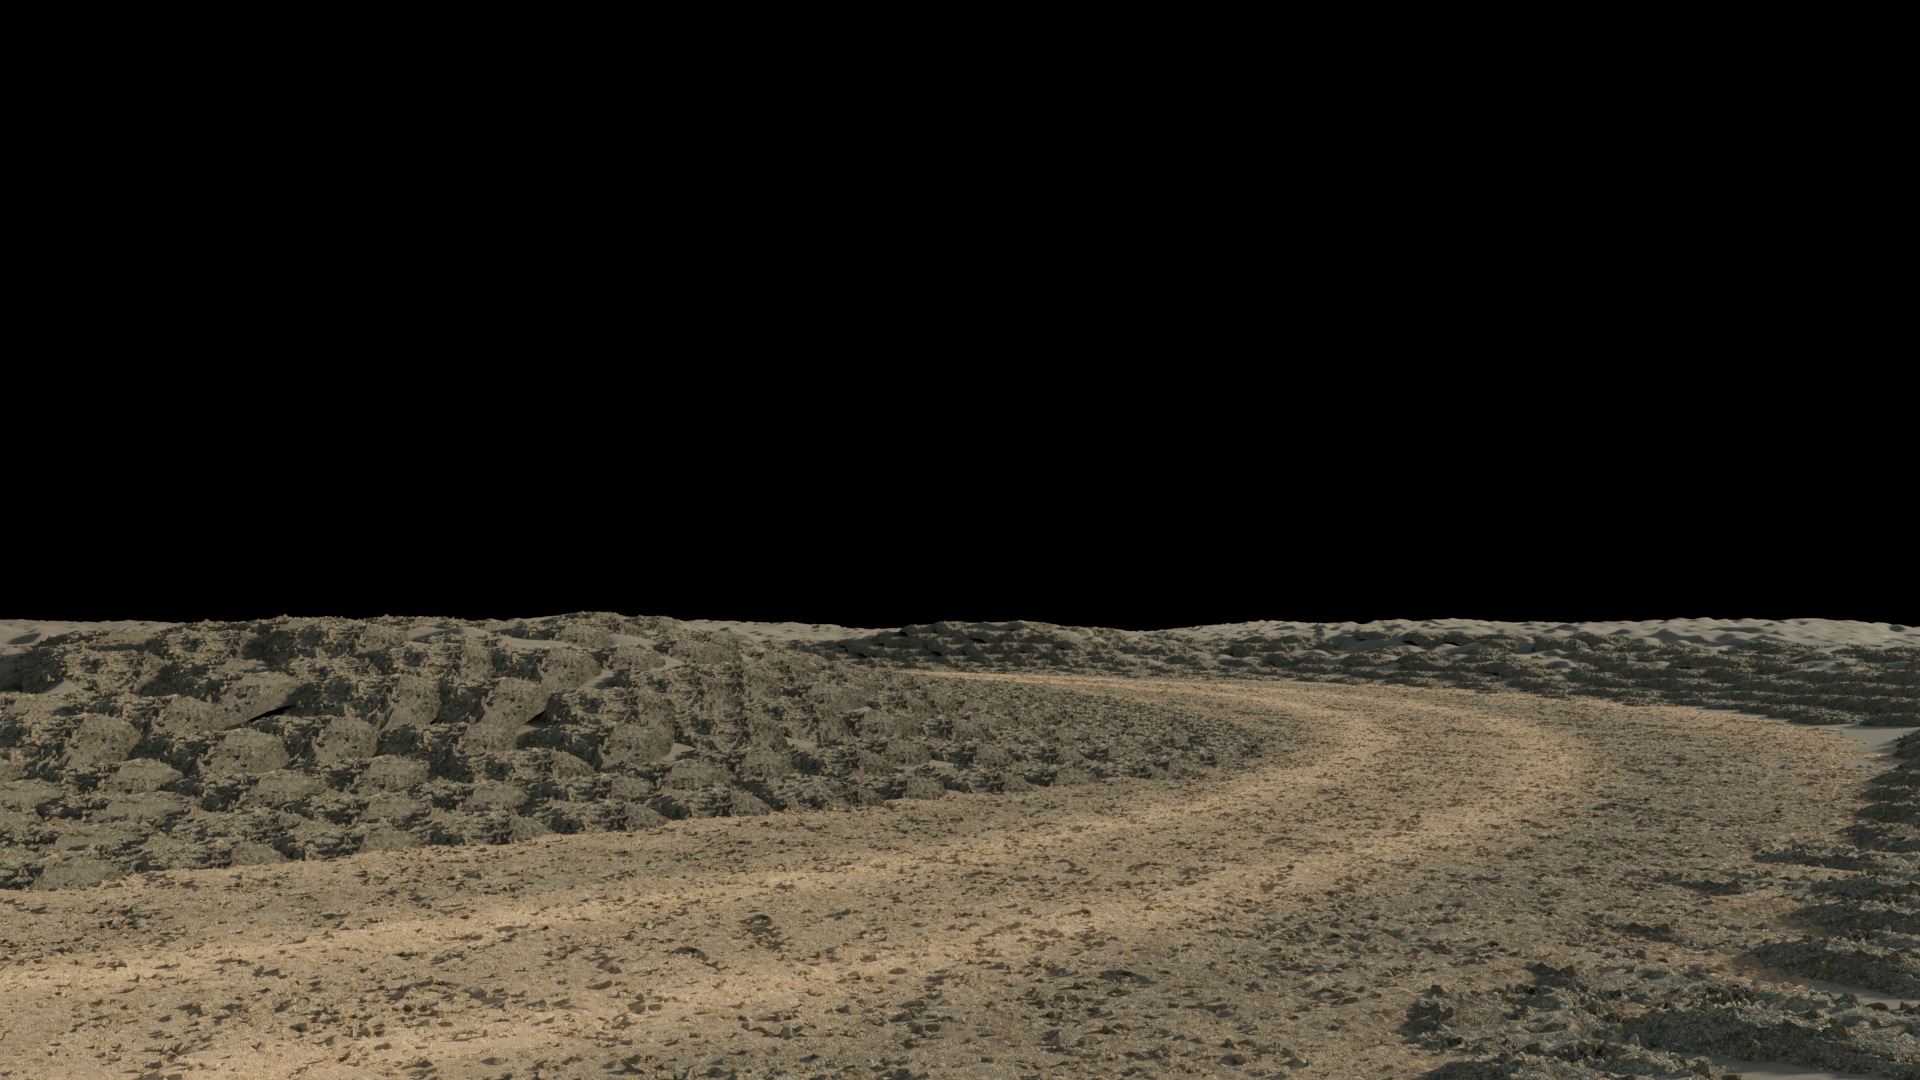
detail ground textured
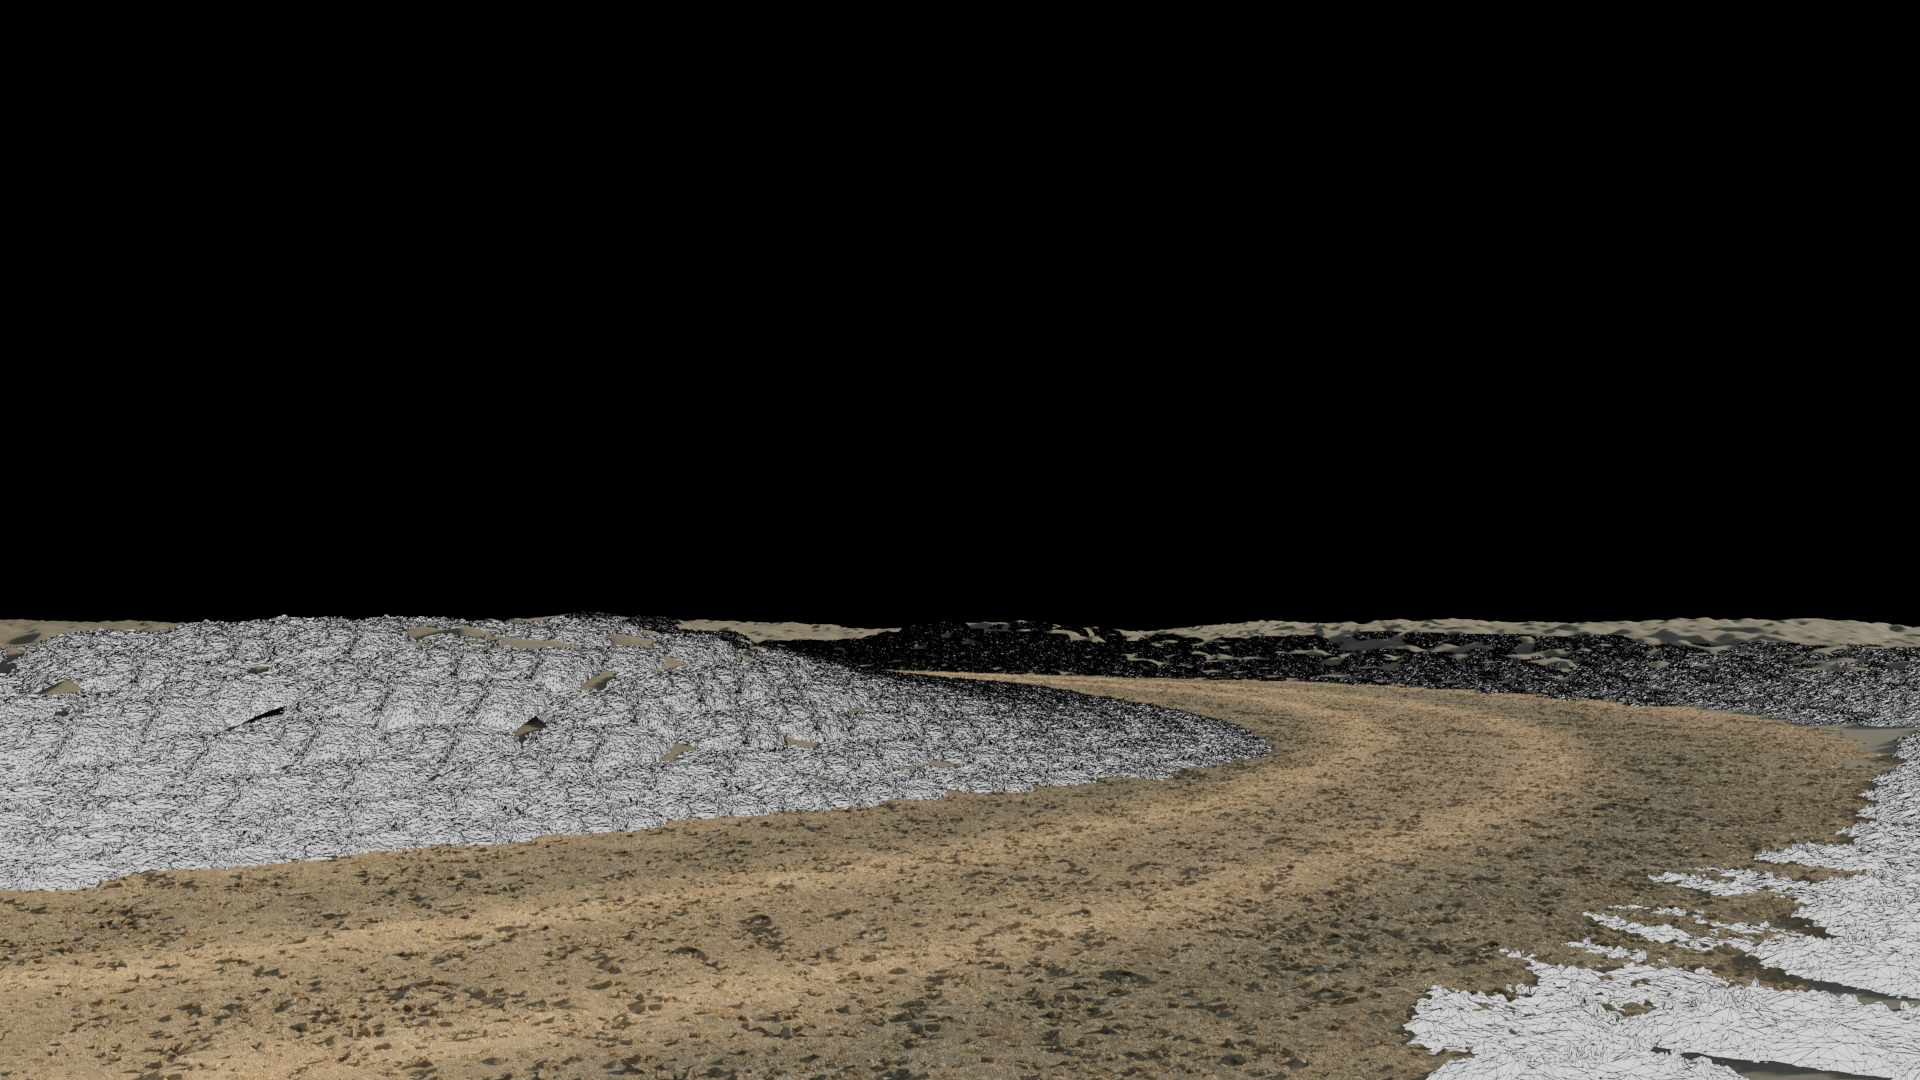
detail ground
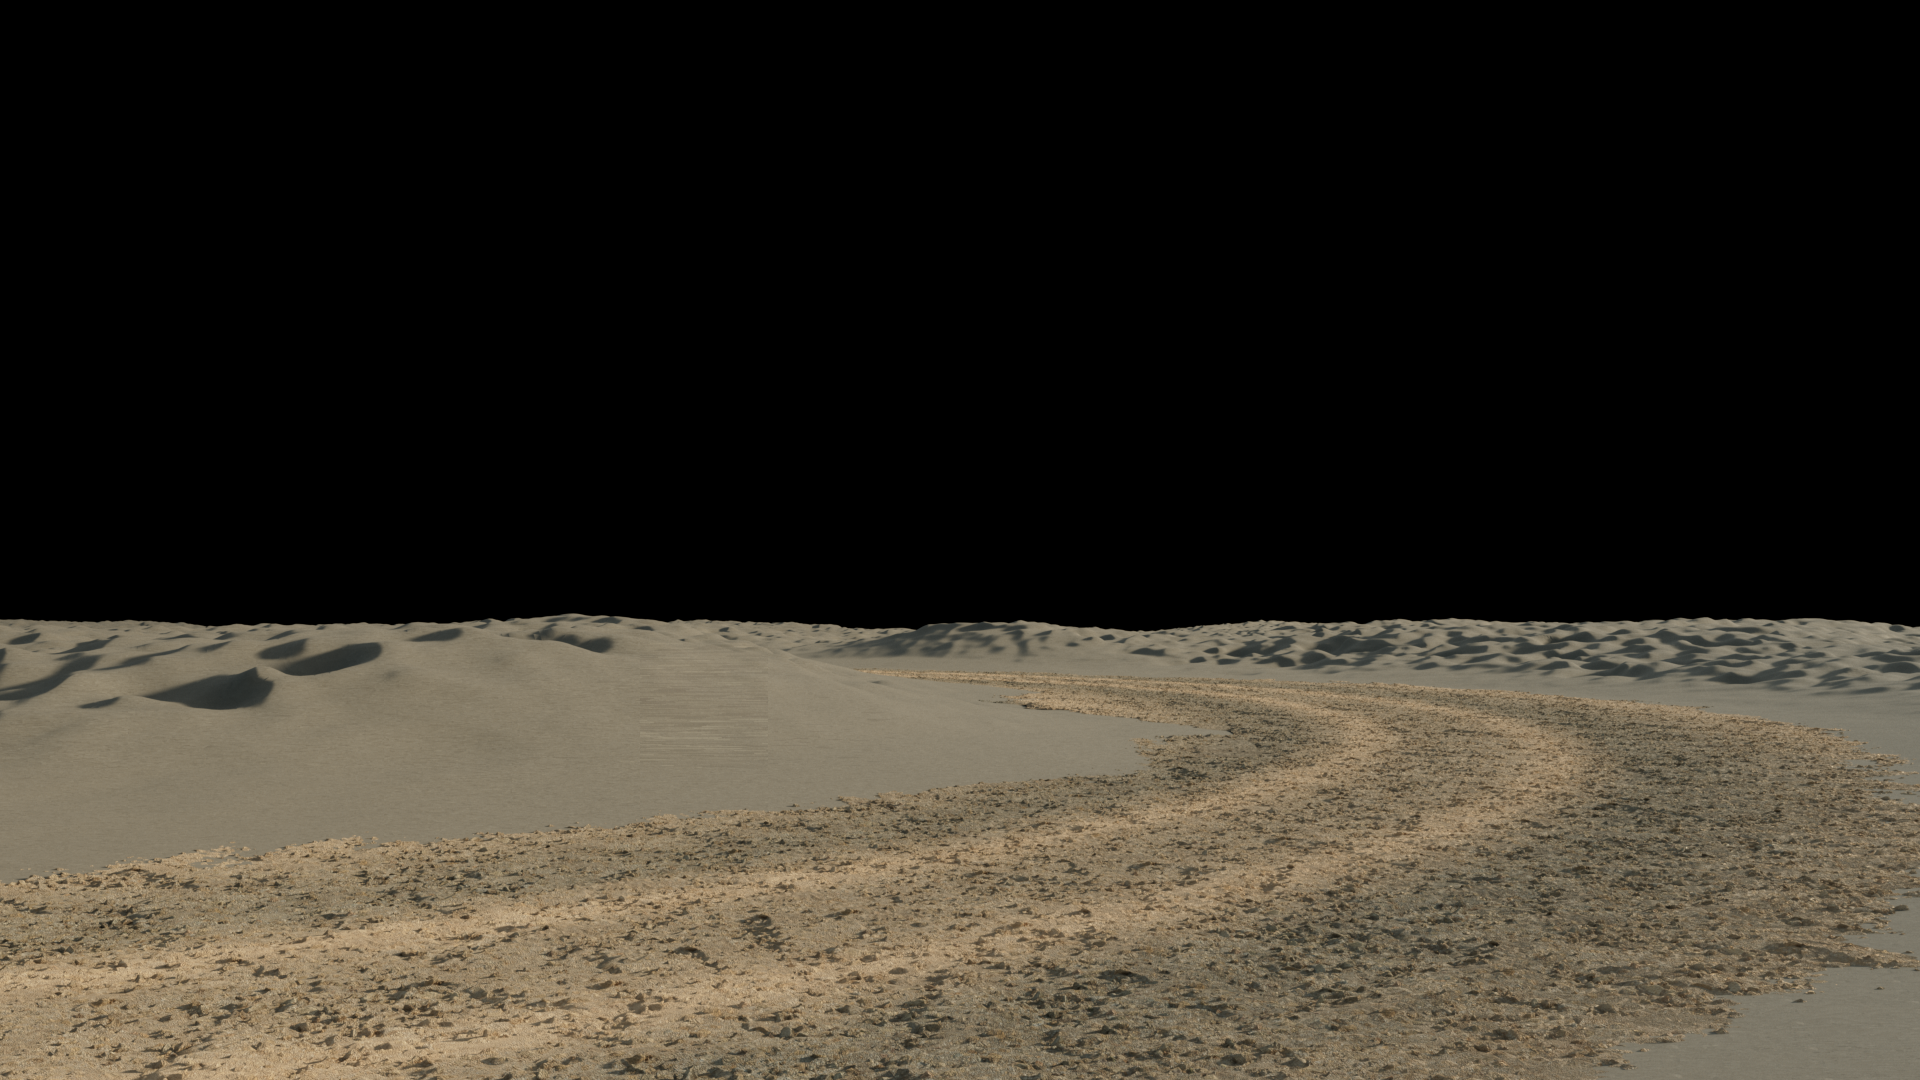
planes textured
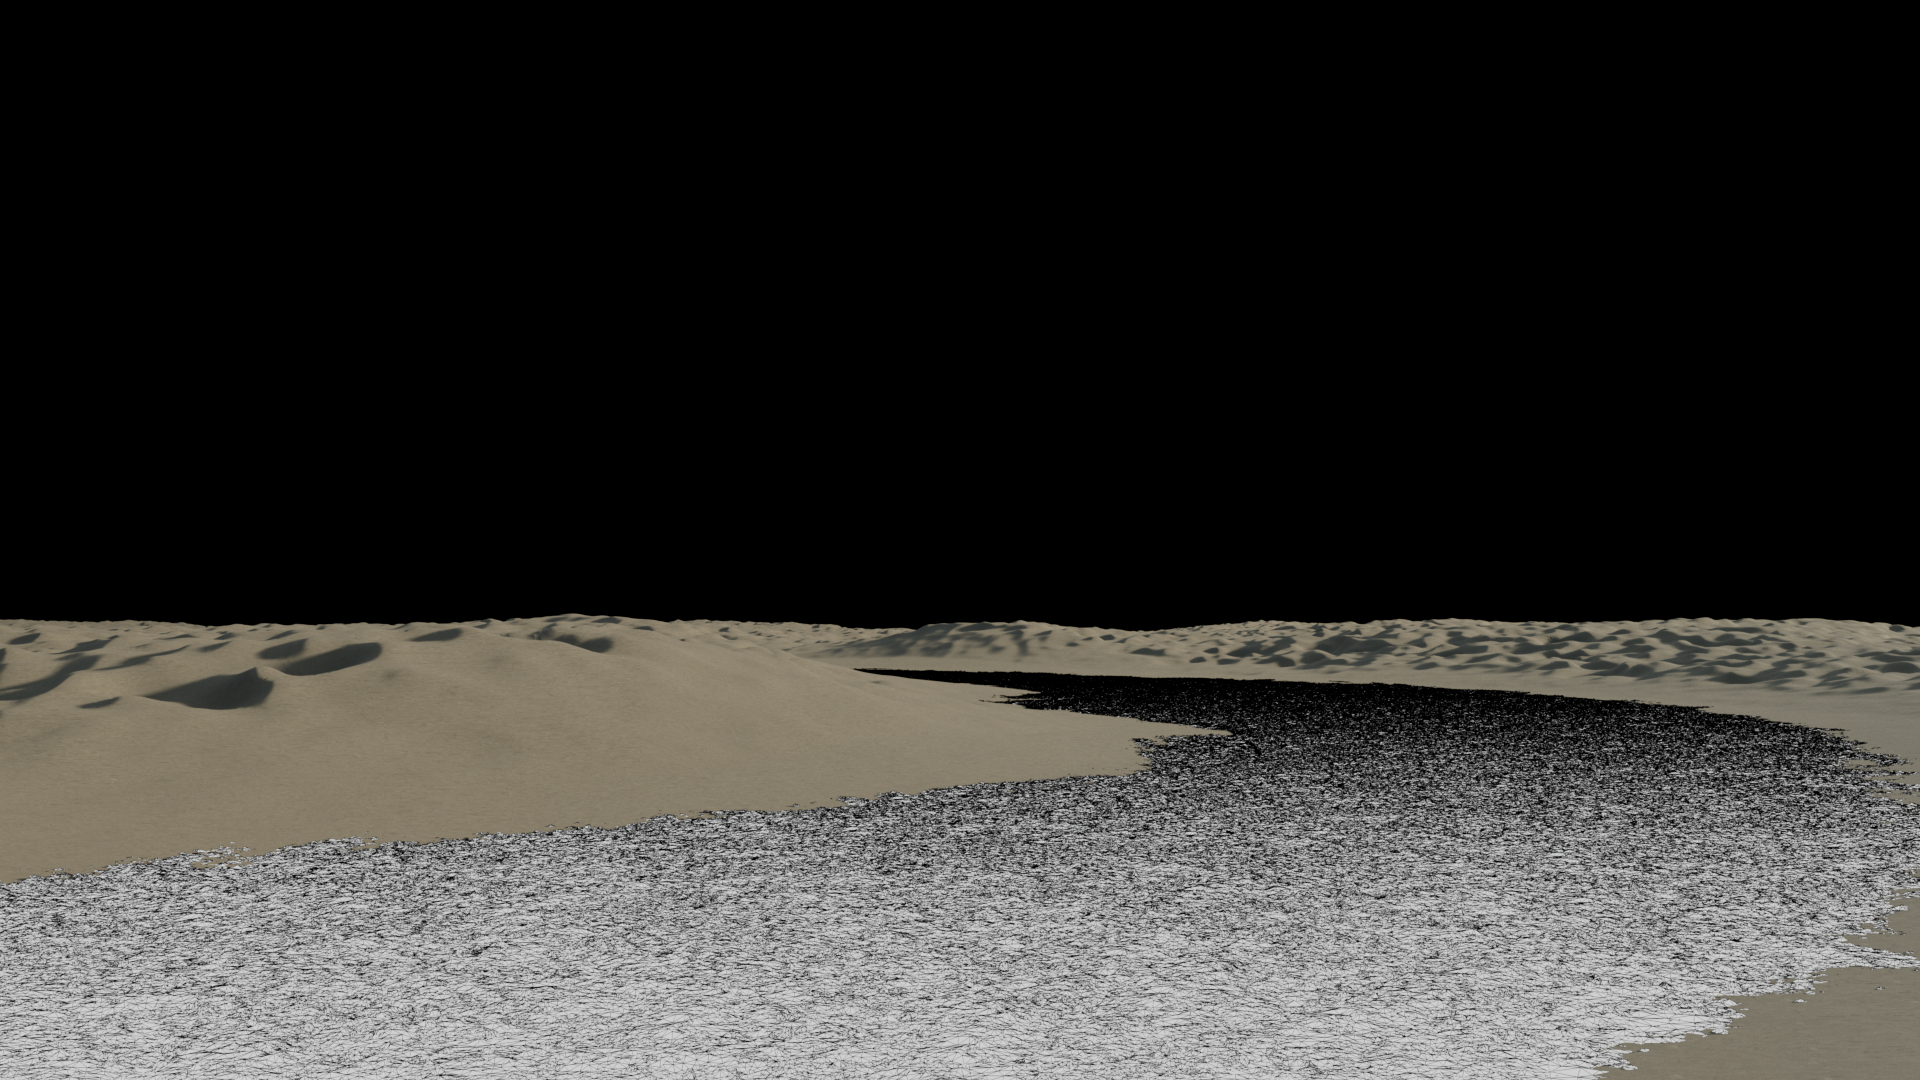
scattered planes
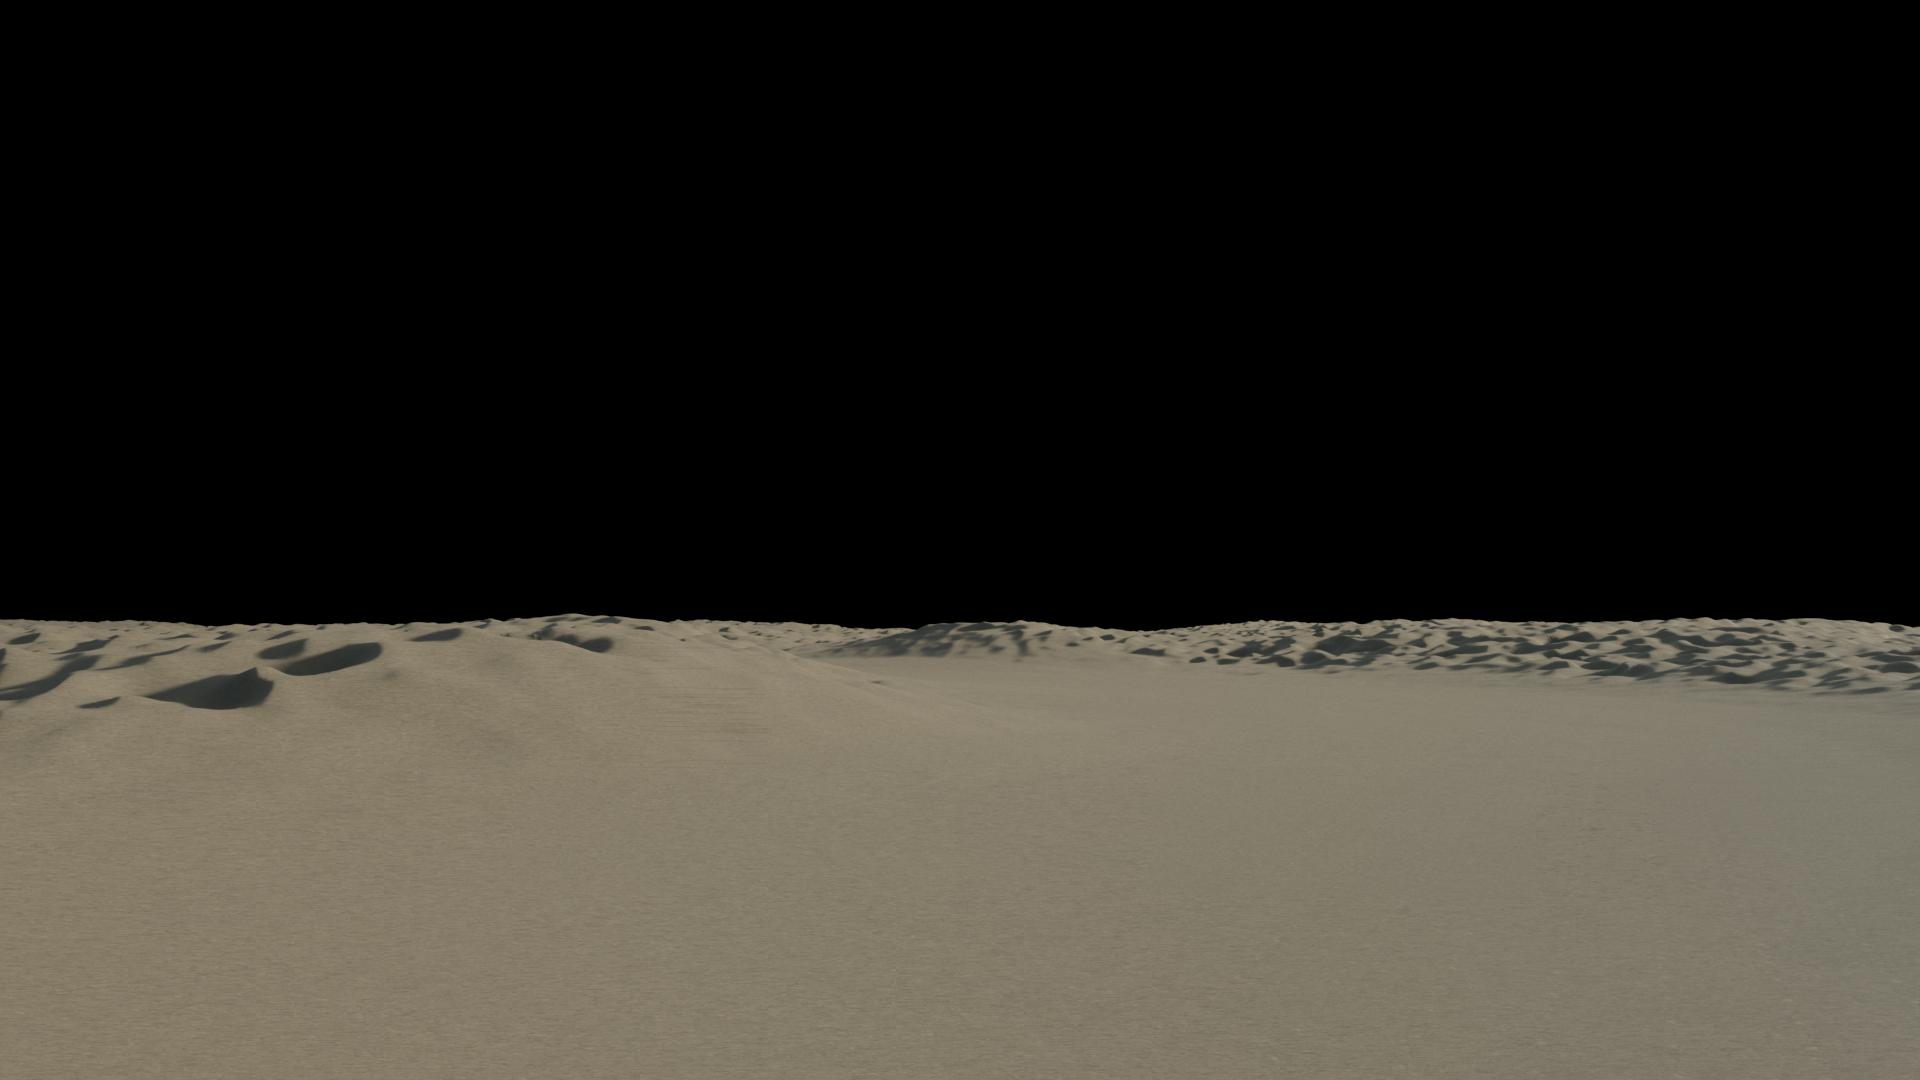
ground textured
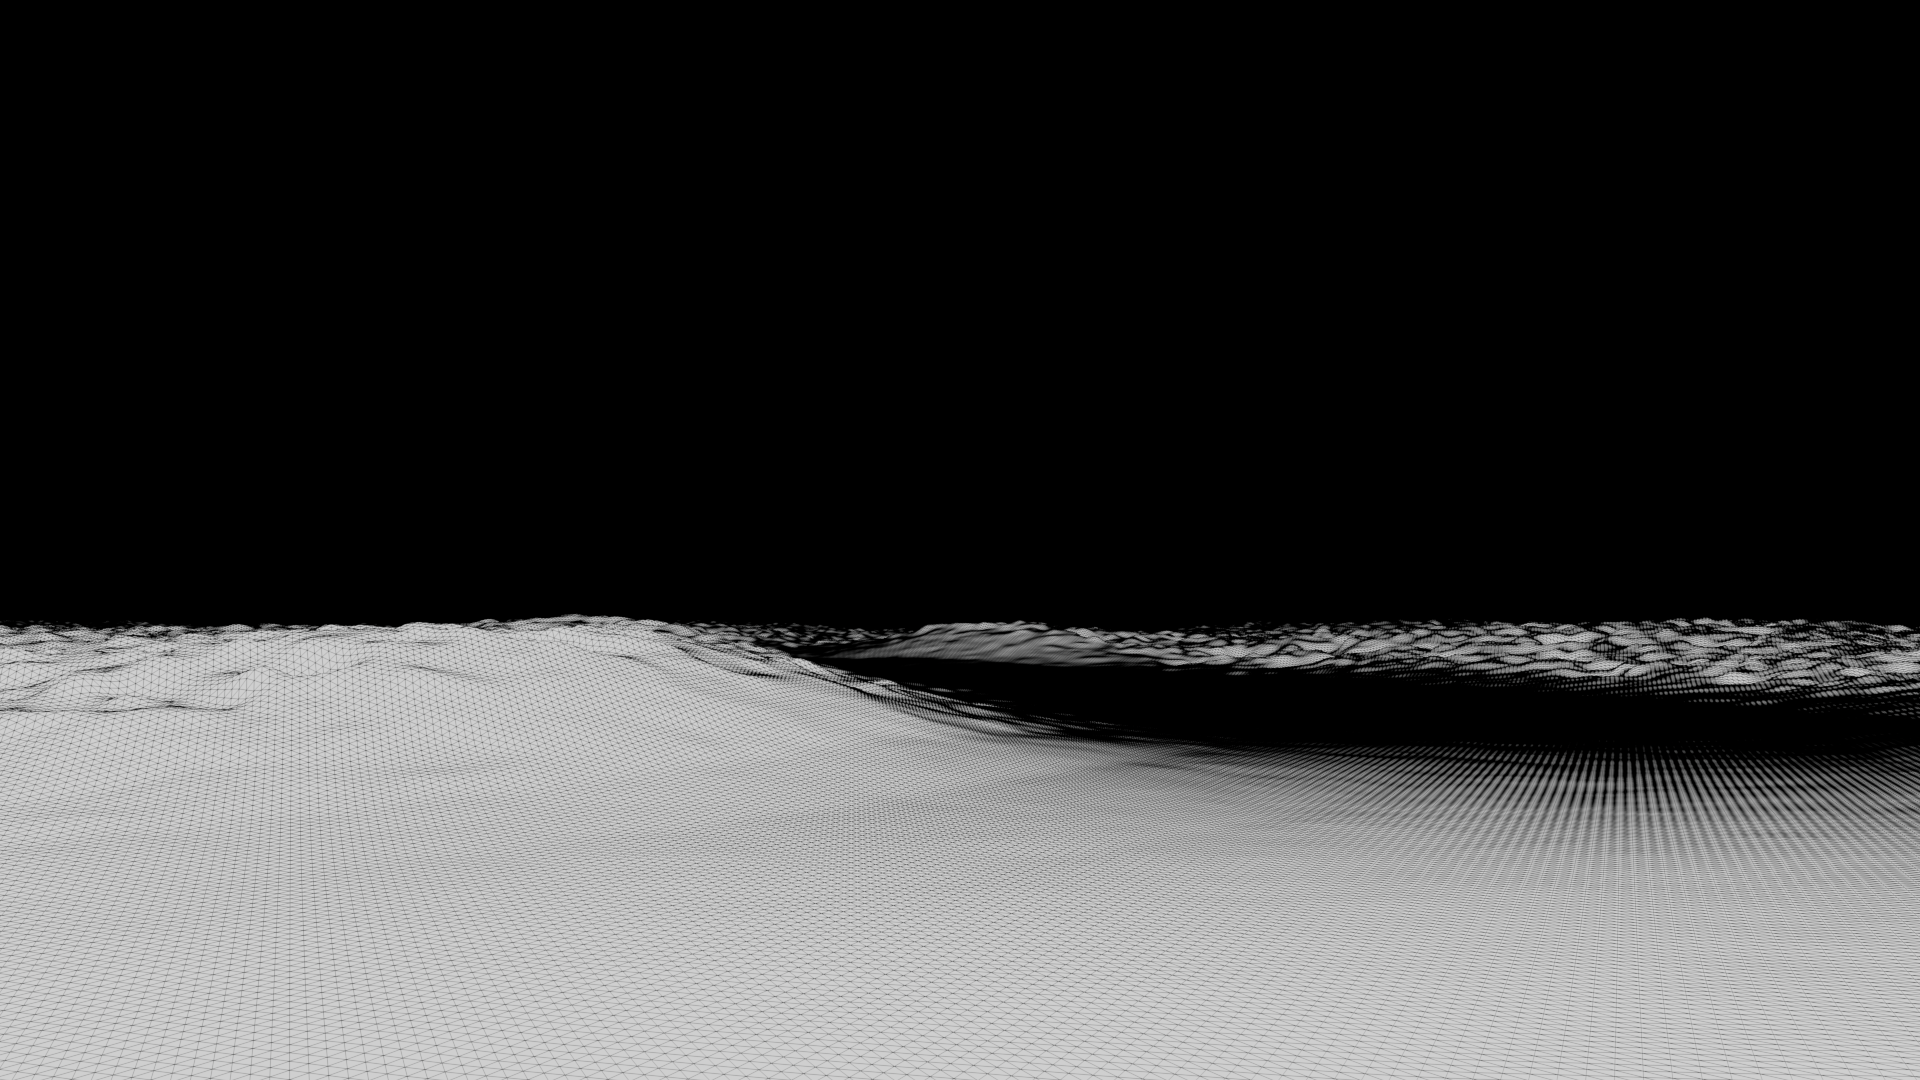
ground
for set dressing the foreground i gathered assets from the quixel market, i had to modify the textures in houdini to match our references and the colors of the other objects.
i started with the ground that i did with a moutain node and creating a spline mask for the road
then using the same spline i created a shape that i scattered points on and copied the planes. for the car-like marks on the ground i did the same mask technique.
then i scatered rocks and bushes using a spline as a mask of where i wanted the rocks to be
i added the grass by scattering points on the ground, but ommiting where the rocks and bushes were.
final render of middle ground
this is theresult of all of the mentioned techniques.
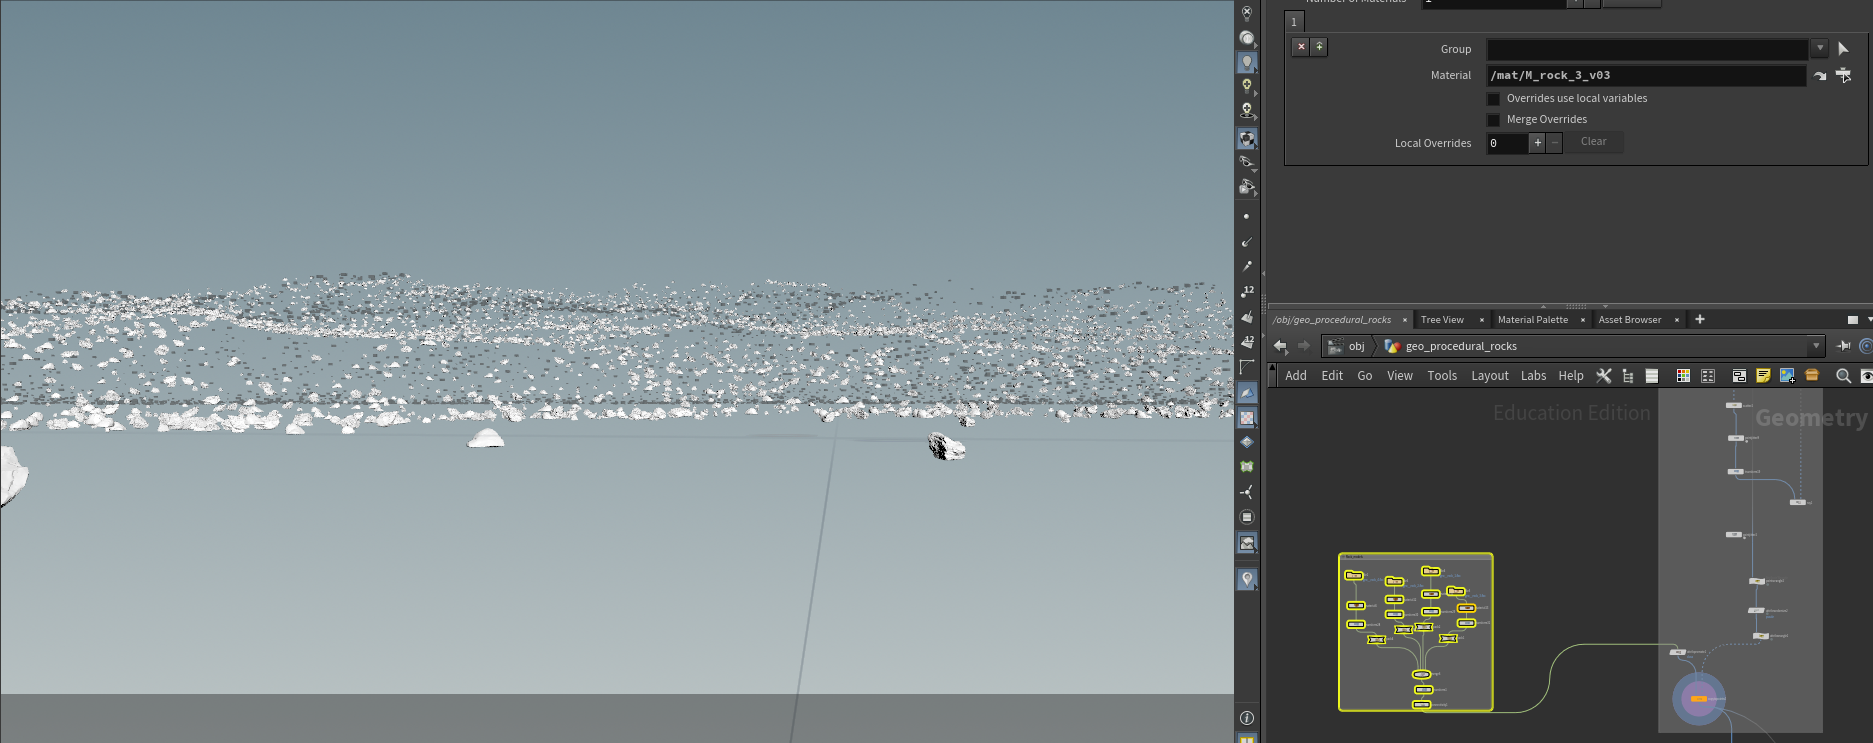
rock scatter to points
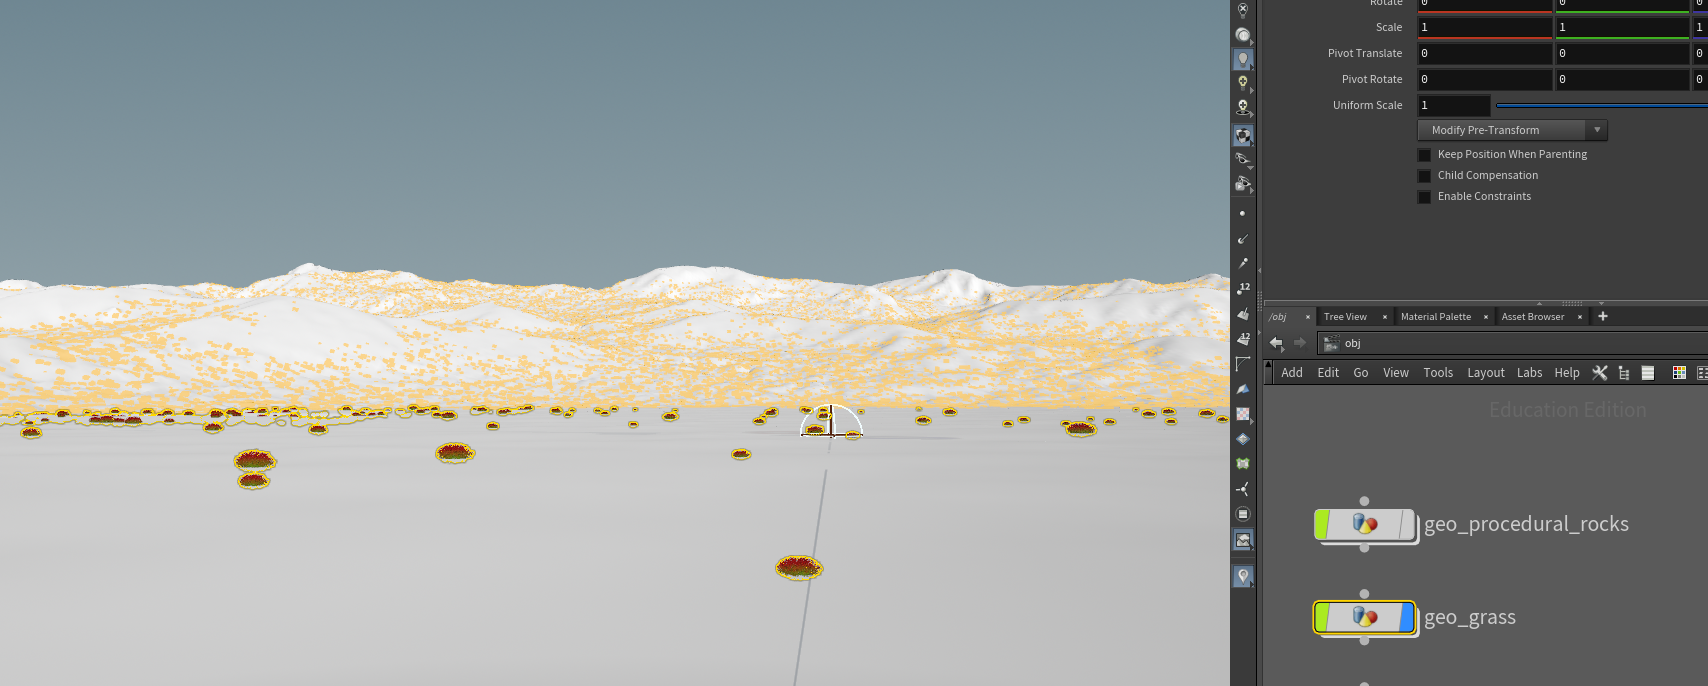
bushes scatter to points
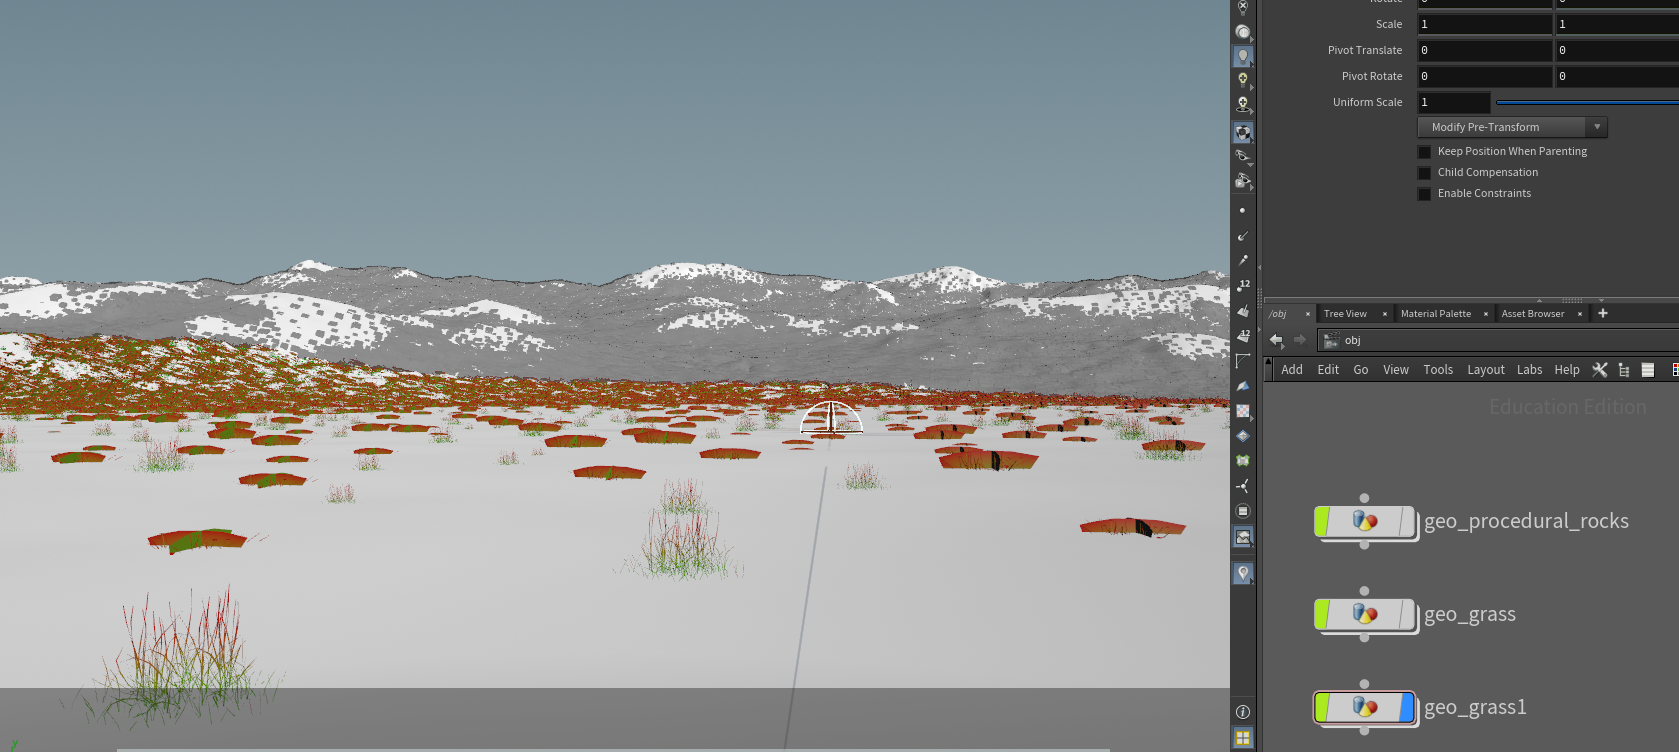
grass scatter to points
with the different masks i was able to get rocks, grass and bushes in the scene
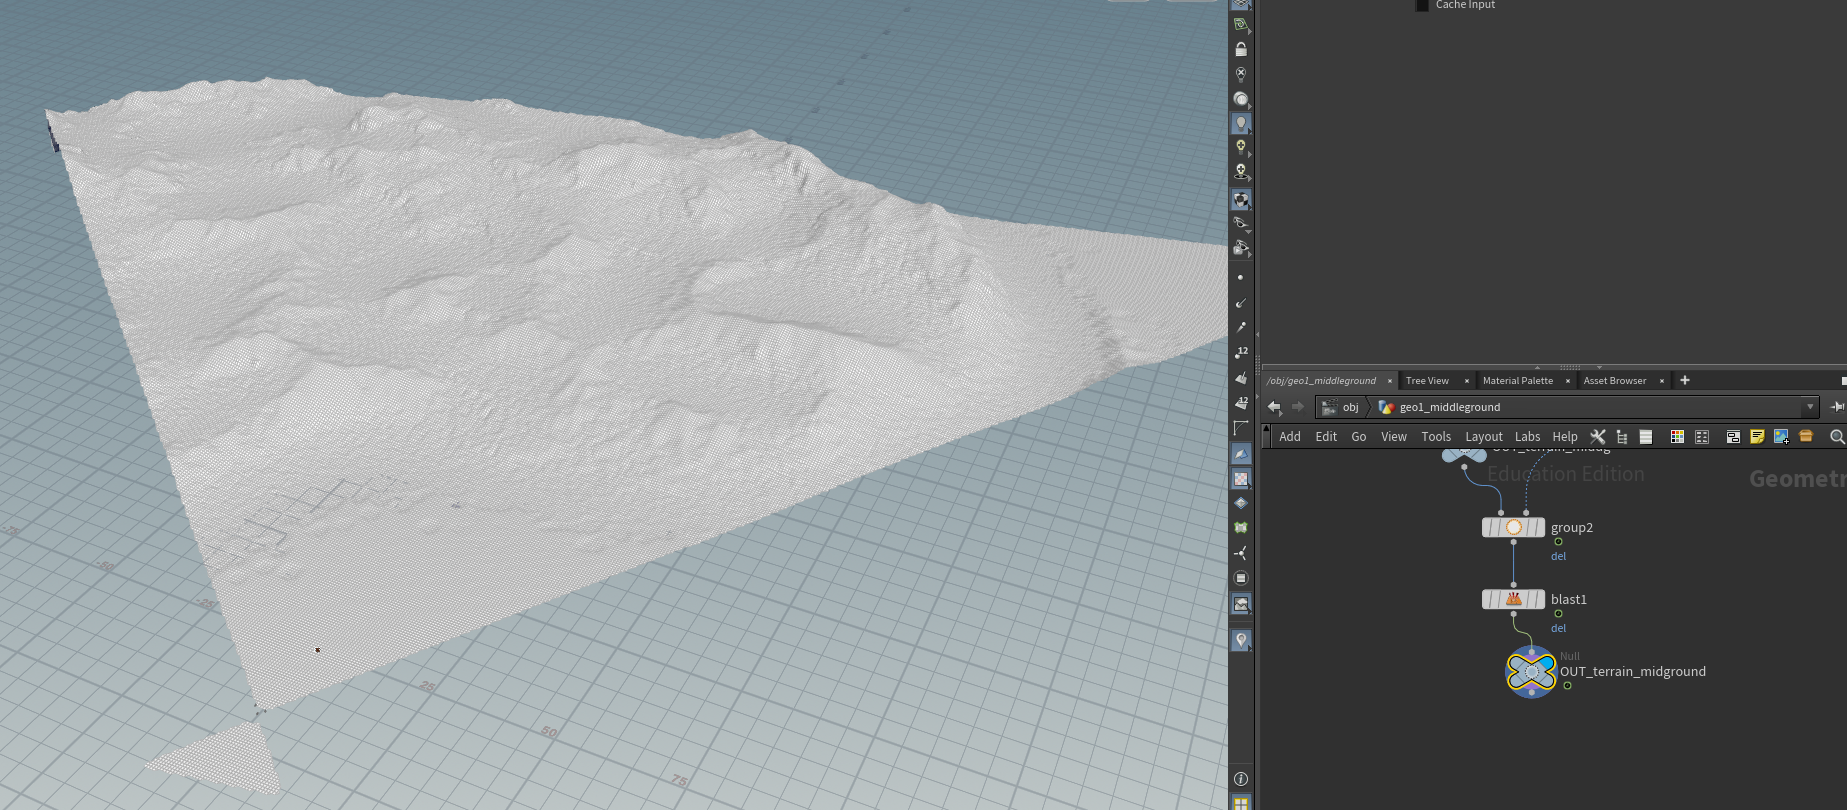
camera calling for terrain, rocks and grass
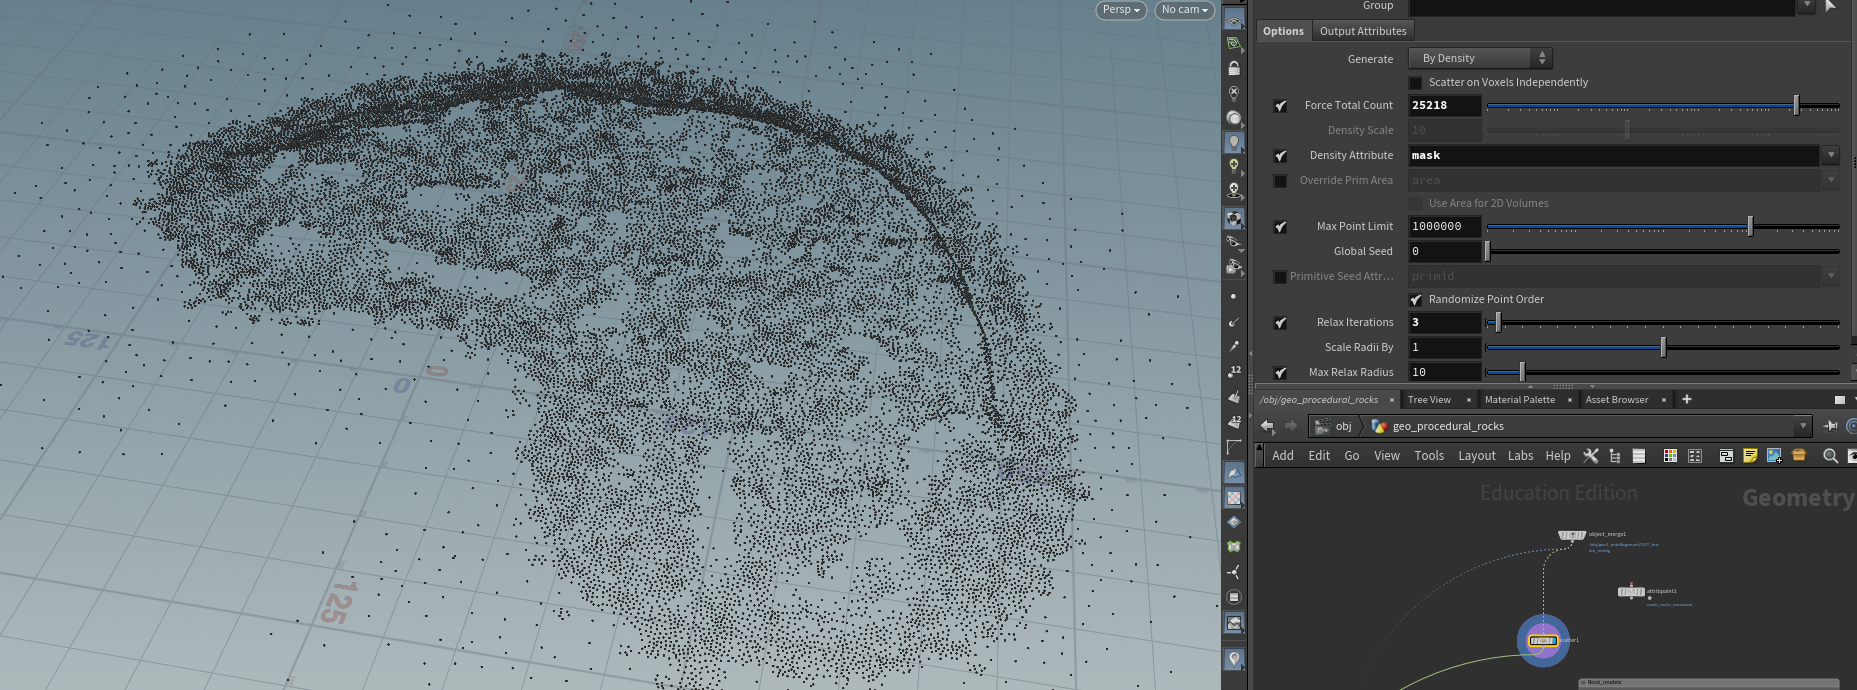
point scattering based on masks
i was able to scatter two types of grass and randomize the height and rotation.
also i camera called the scene so it renders faster.
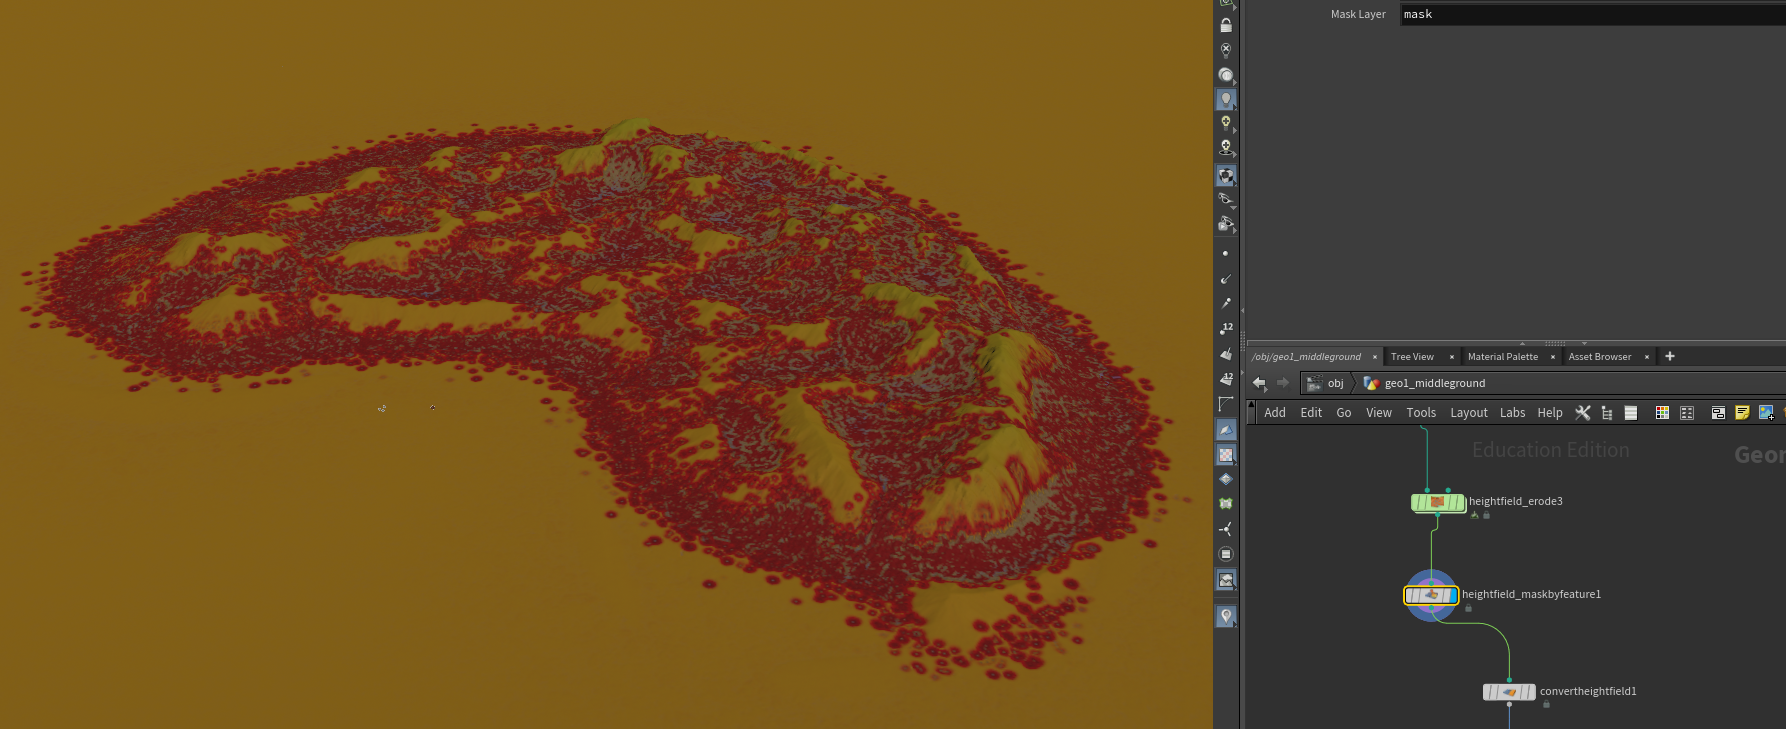
debris mask

height mask
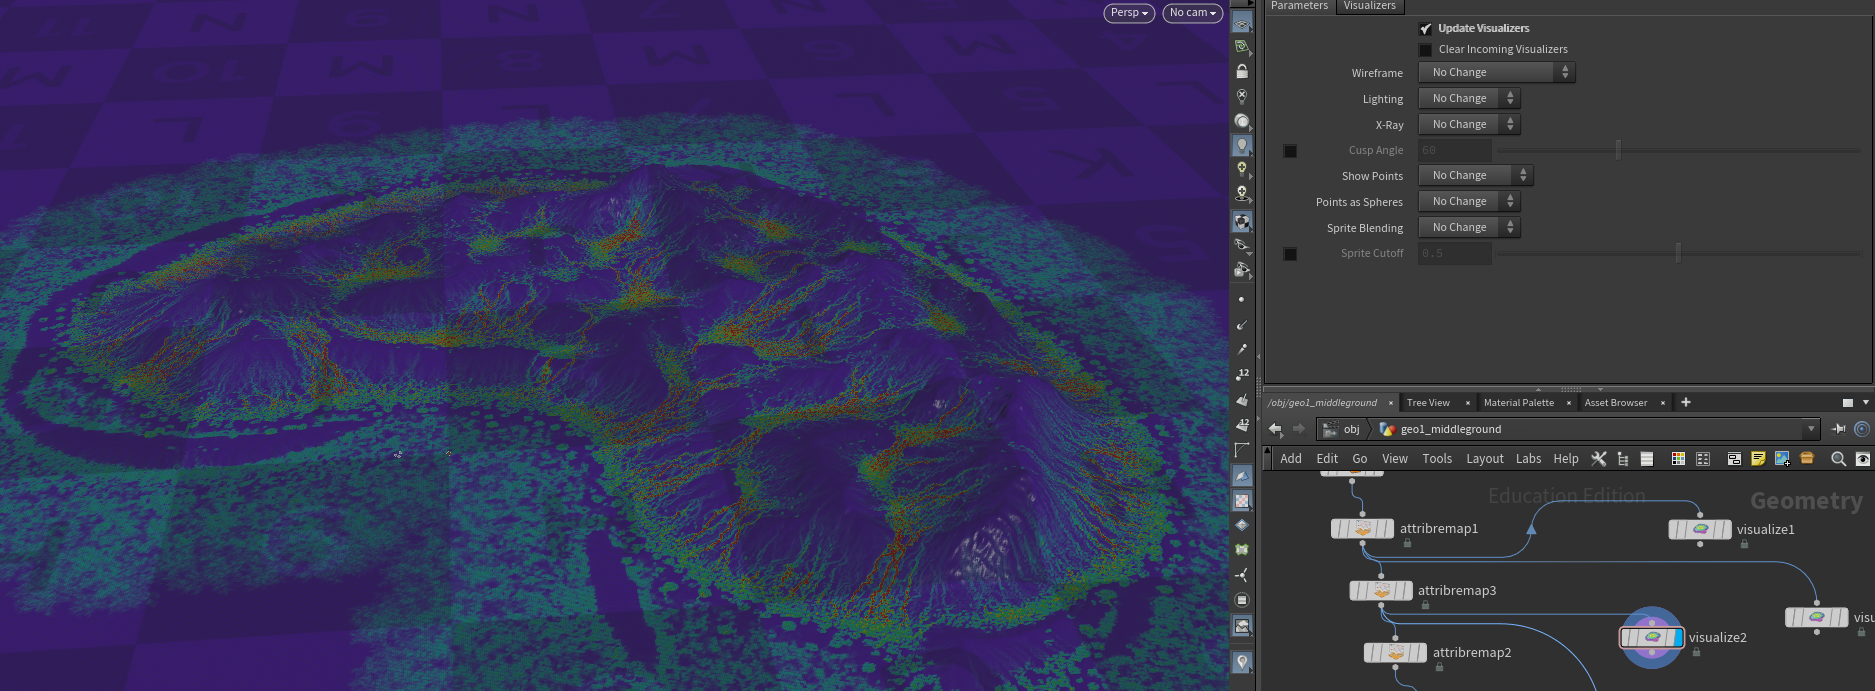
erotion mask
inin the erotion node i was able to extract different float information in which i had various mask types like height, erotion and debris.
-after figuring out the names of the masks i was able to modify them as i wanted with ramps. then with the help of zach i was able to get those masks into the redshift shader so i can create different textures based on those masks.
- also i used those masks to scatter grass and rocks
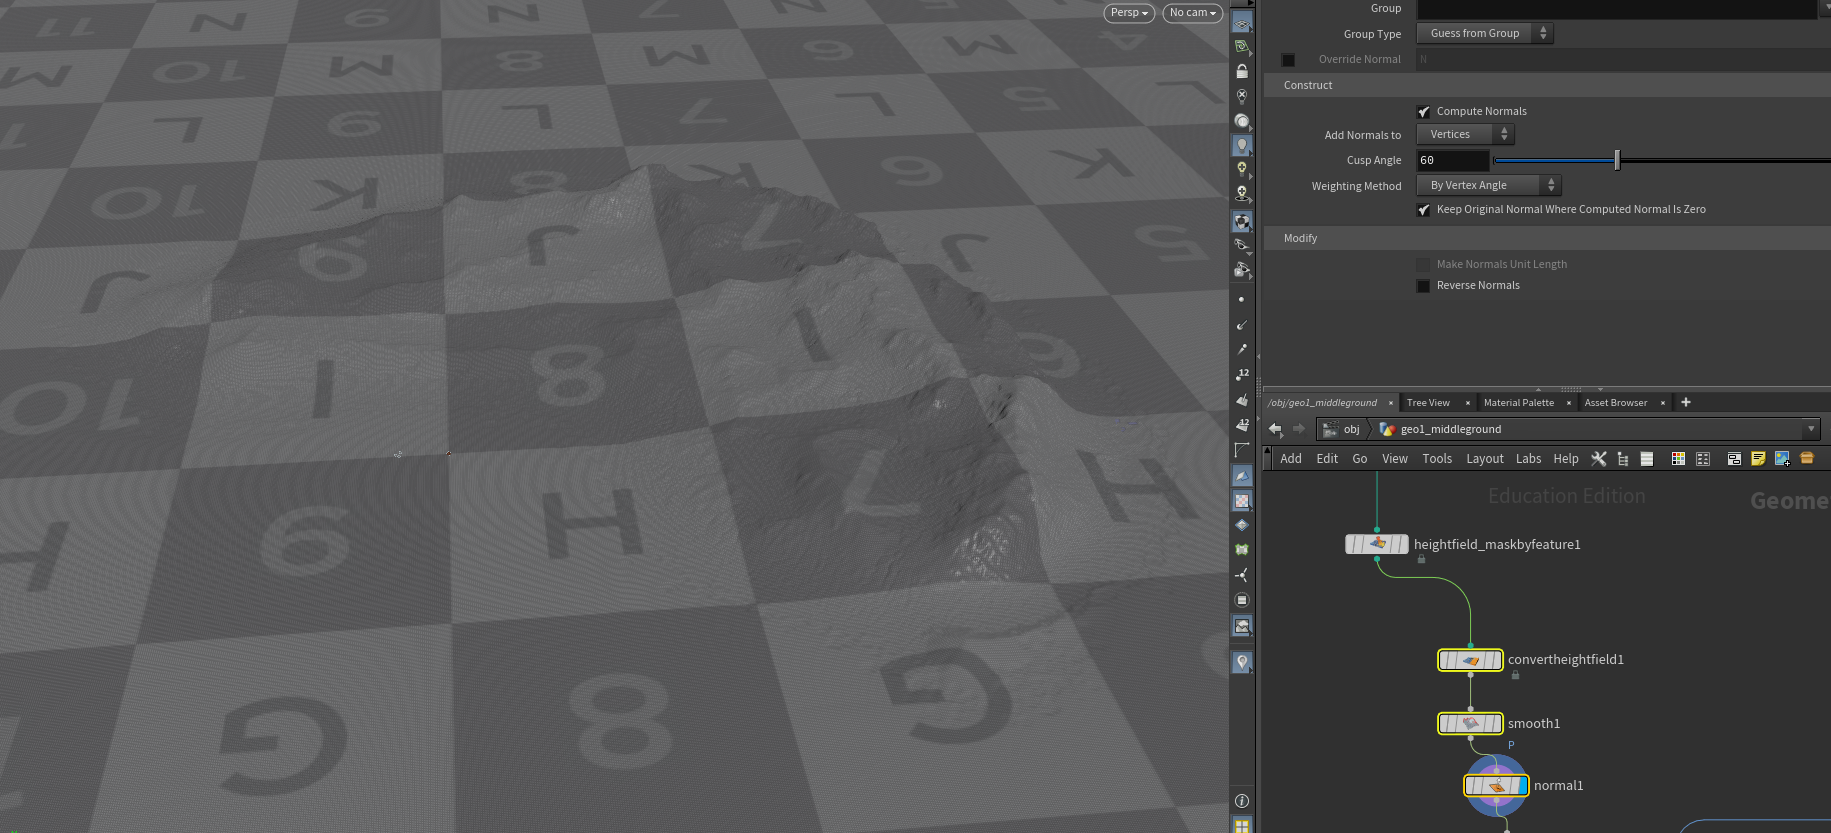
mesh
ithen i transformed the height field into a mesh, uv the terrain and added a nromal node to get the normals correct.
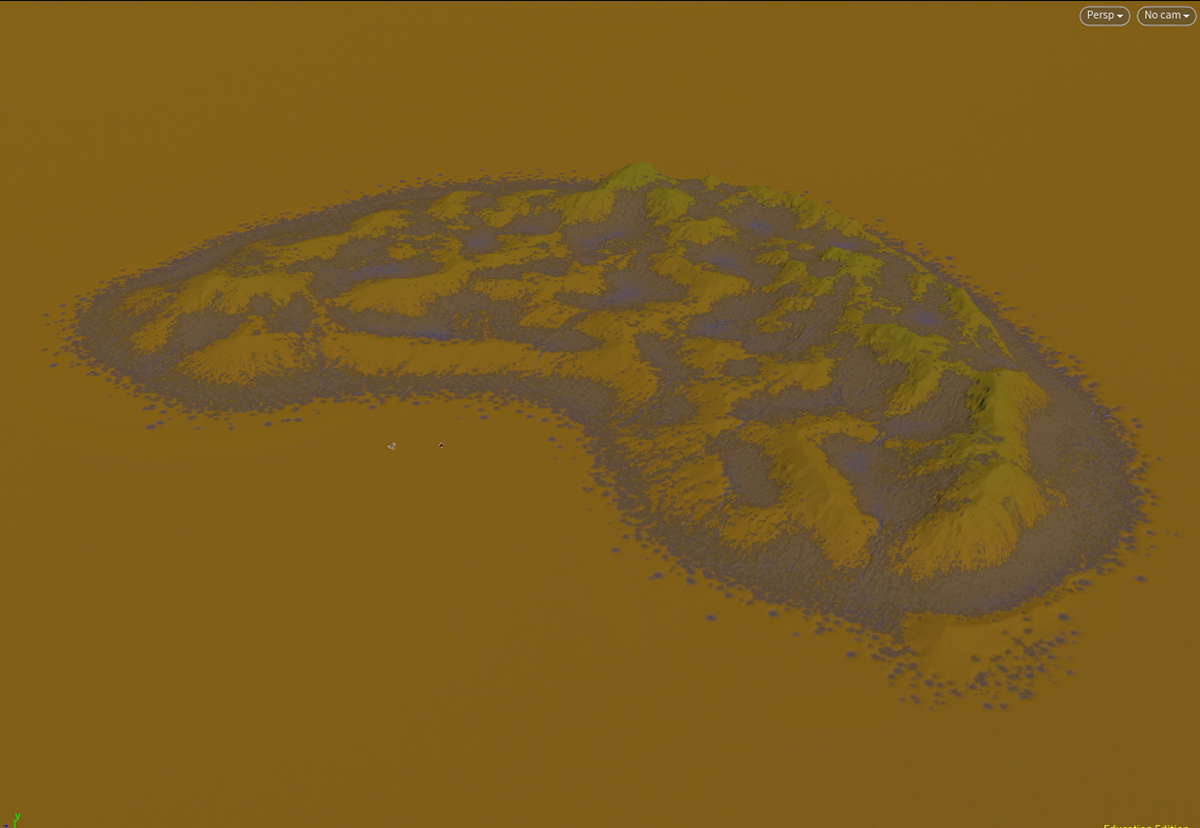
result
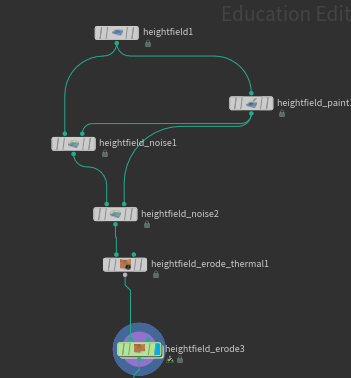
node
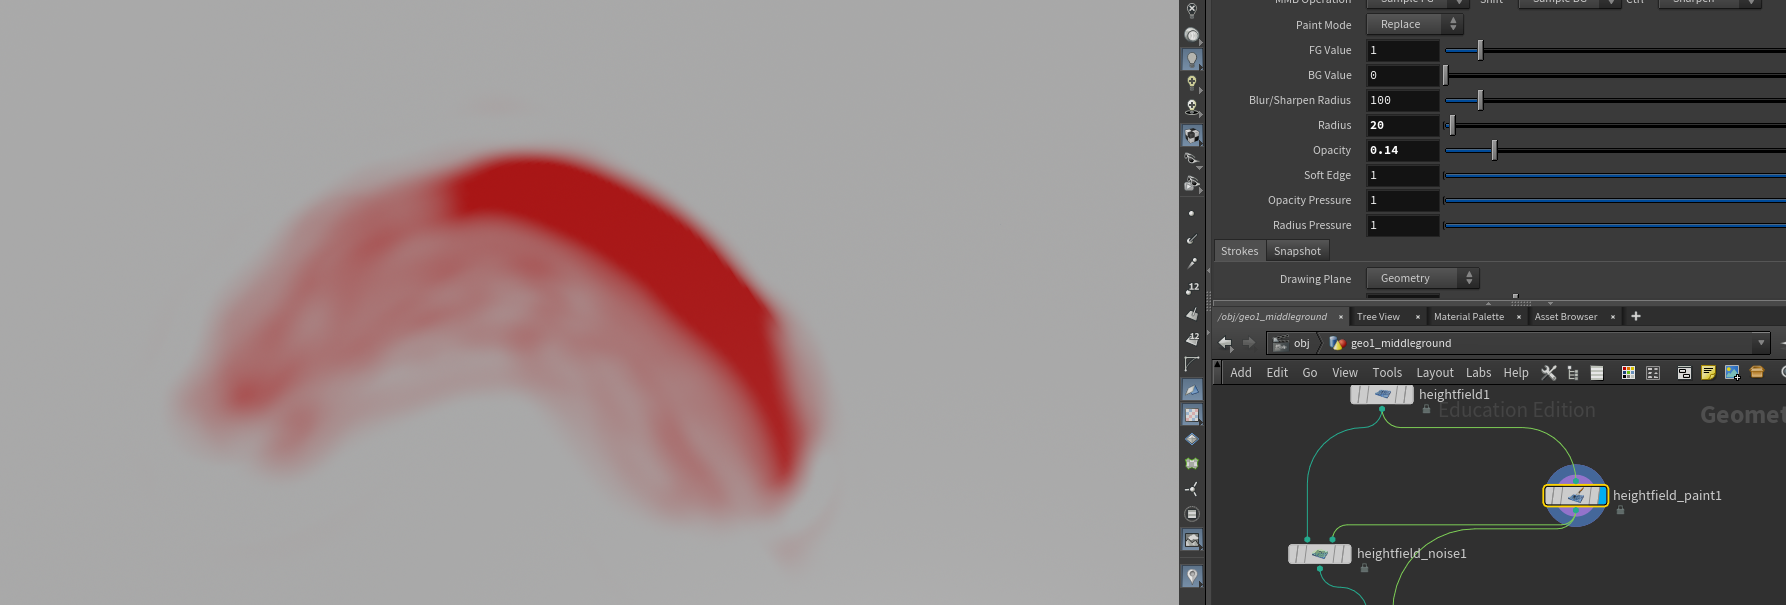
paint mask
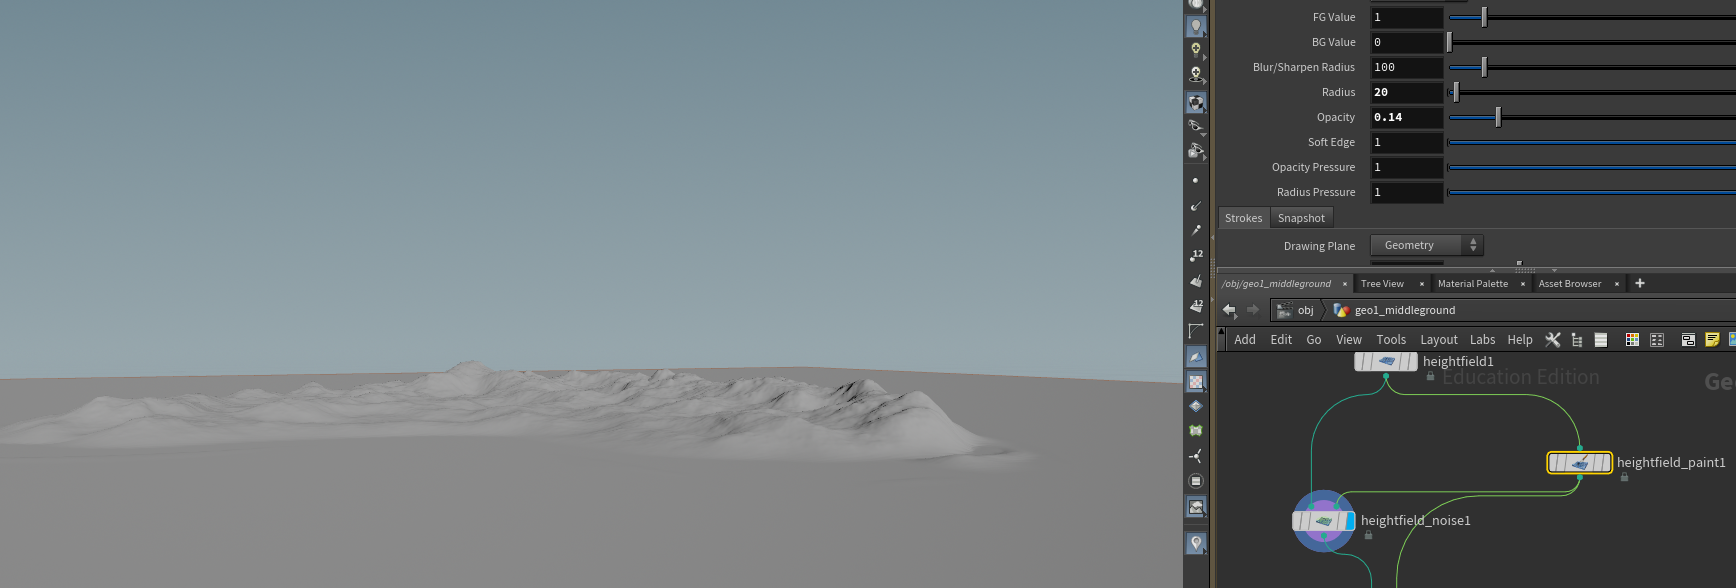
height map

detail map
for the middle ground i played with the height field node in houdini. by using noise i was able to get the main shape of the mountain.
- by painting a mask in a plane on the desired mountain weight i wanted, red respresenting the most weight and grey representing less weight
- then i added another noise node to add detail and finally add an erosion node that gives the terrain natural detail.
background breakdown
dmp rendered with the camera of shot 005
Similar process for the environment shot shot 001
projection of dmp
mountain athmosphere
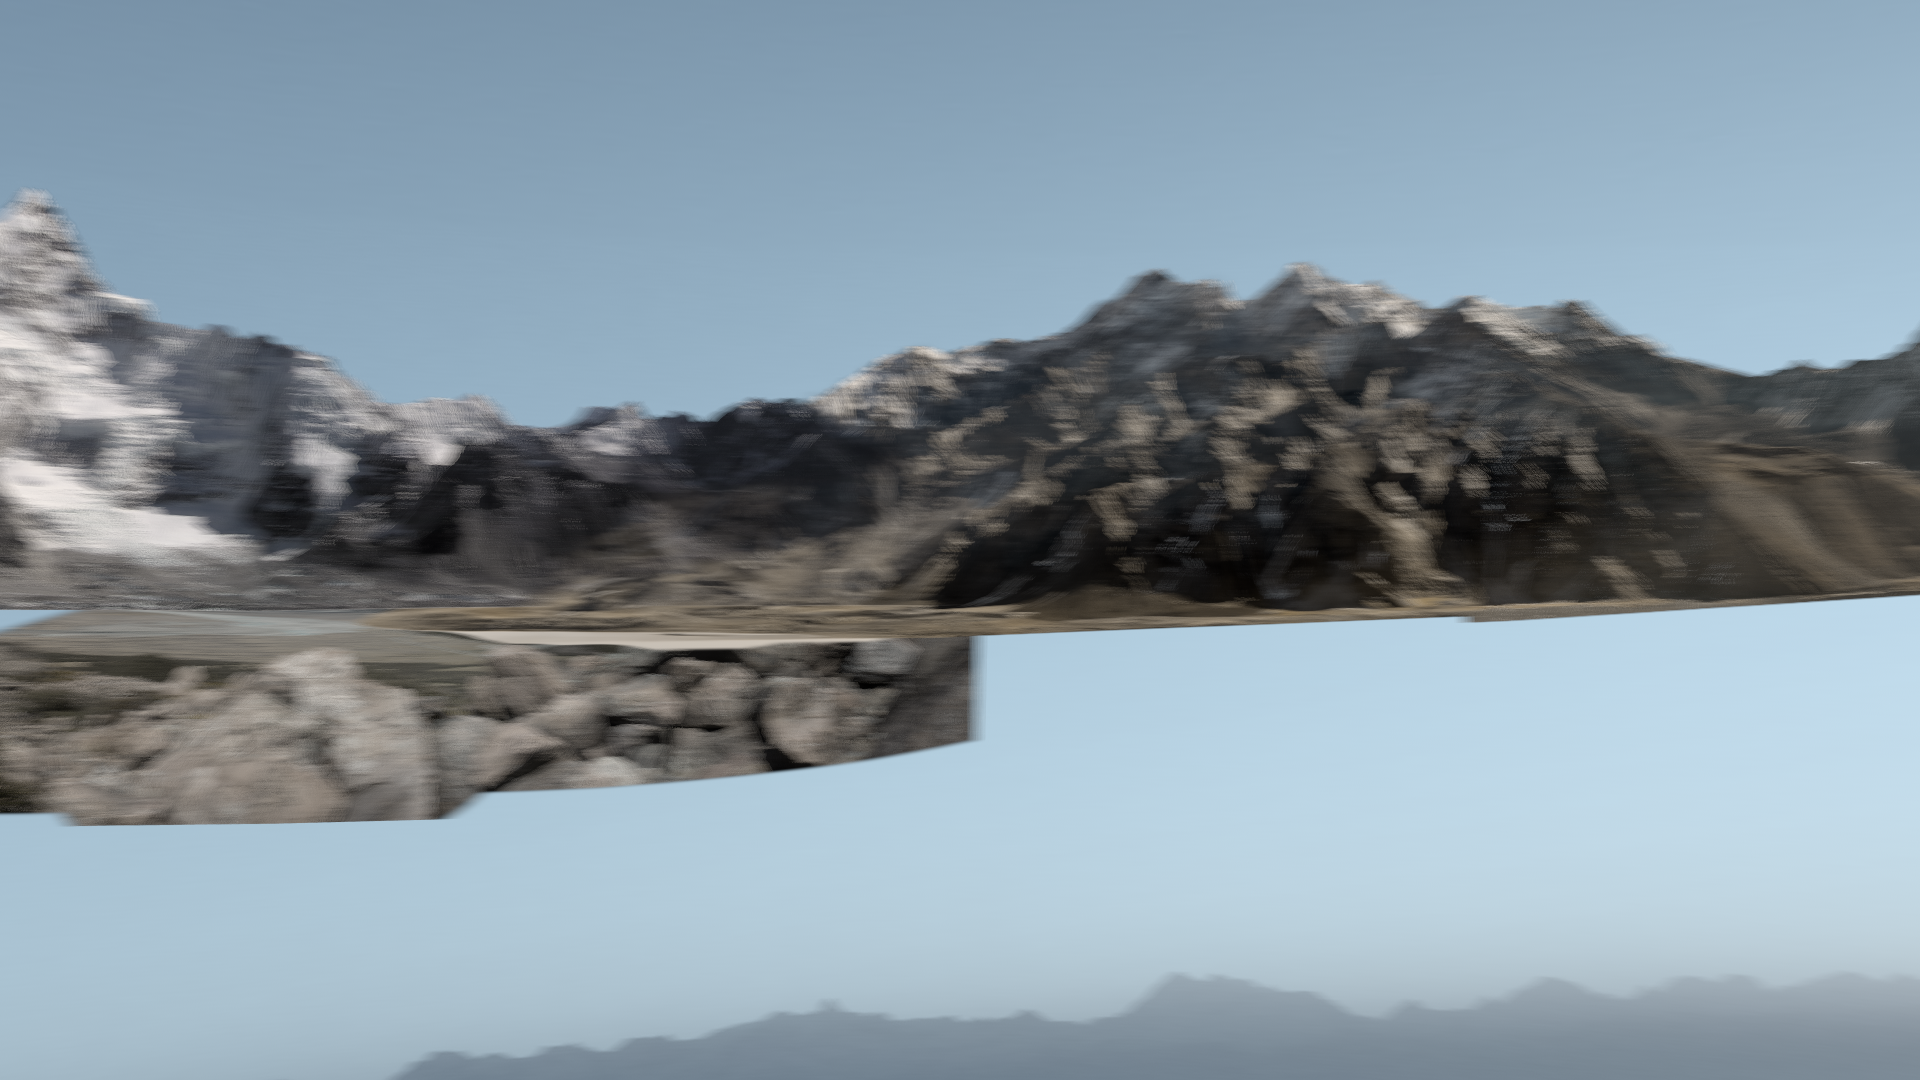
mountain projection
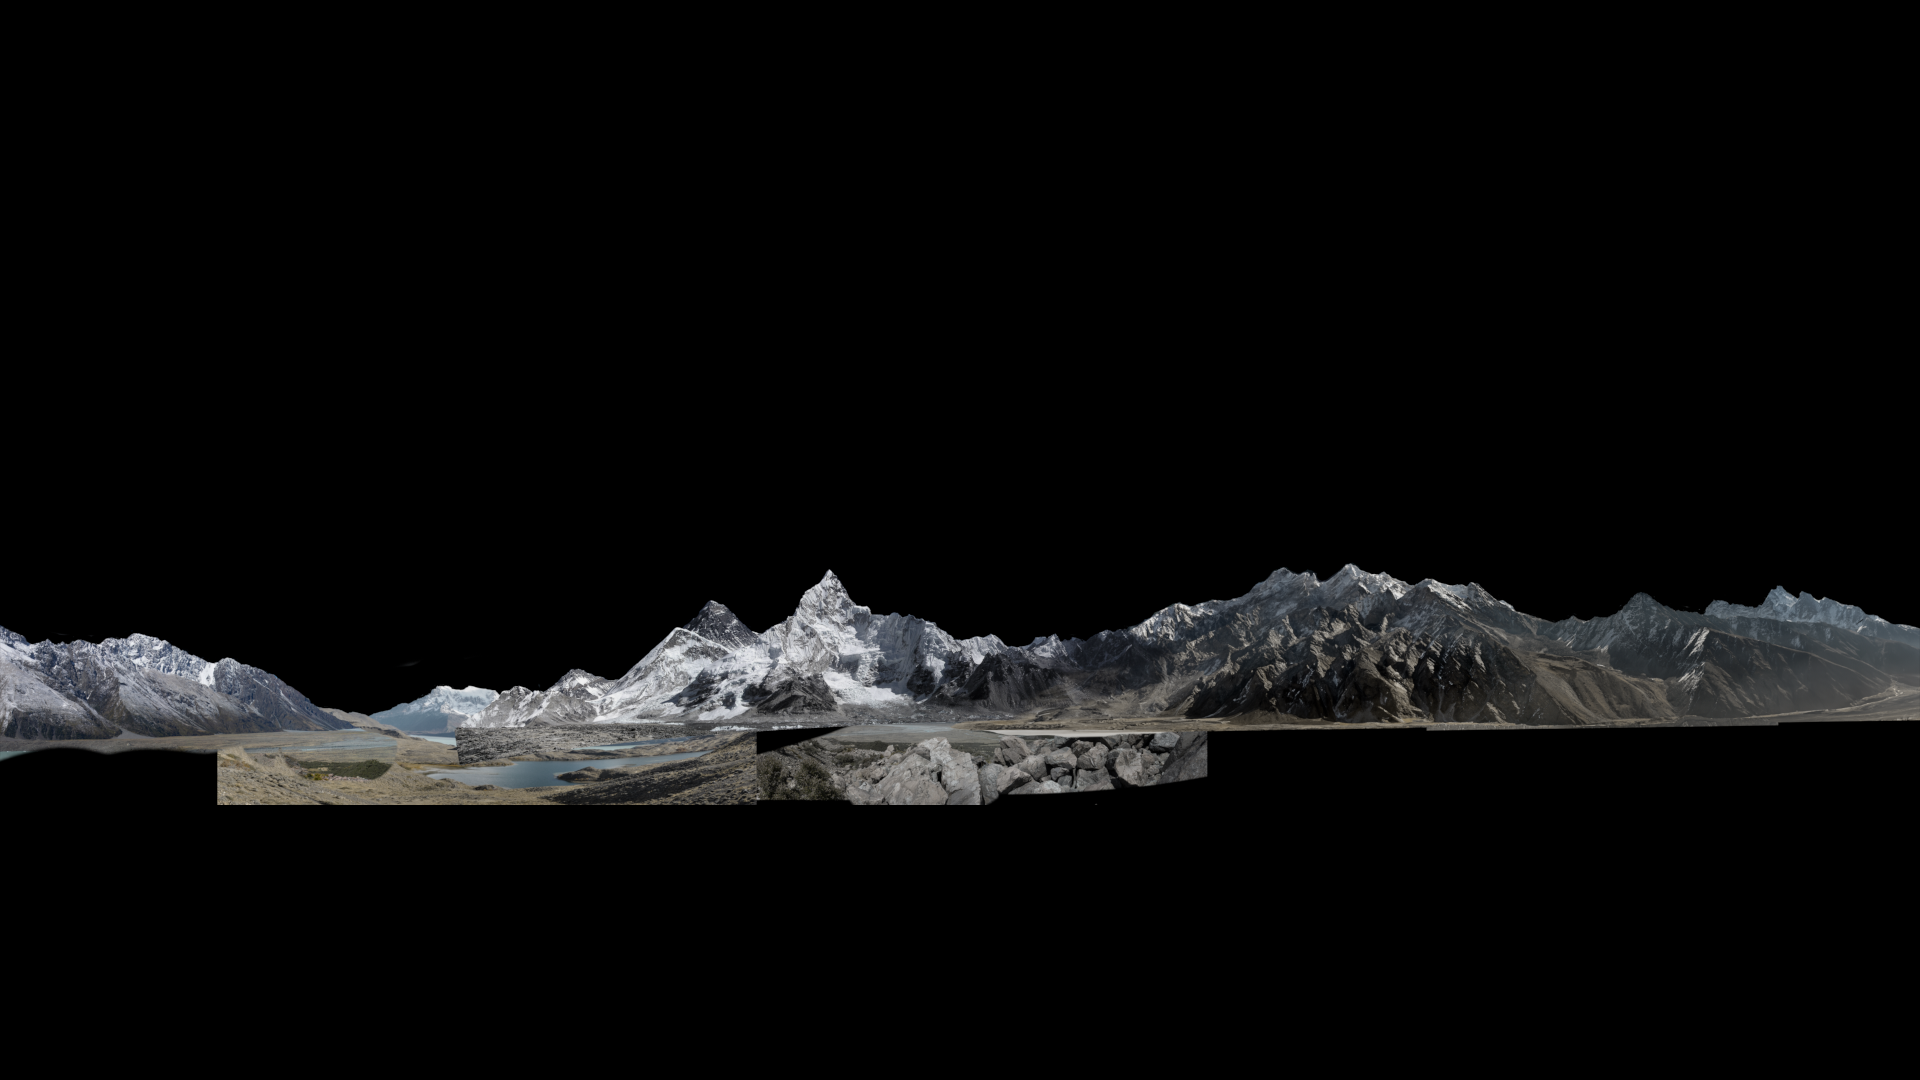
mountain plates color corrected
sky projection
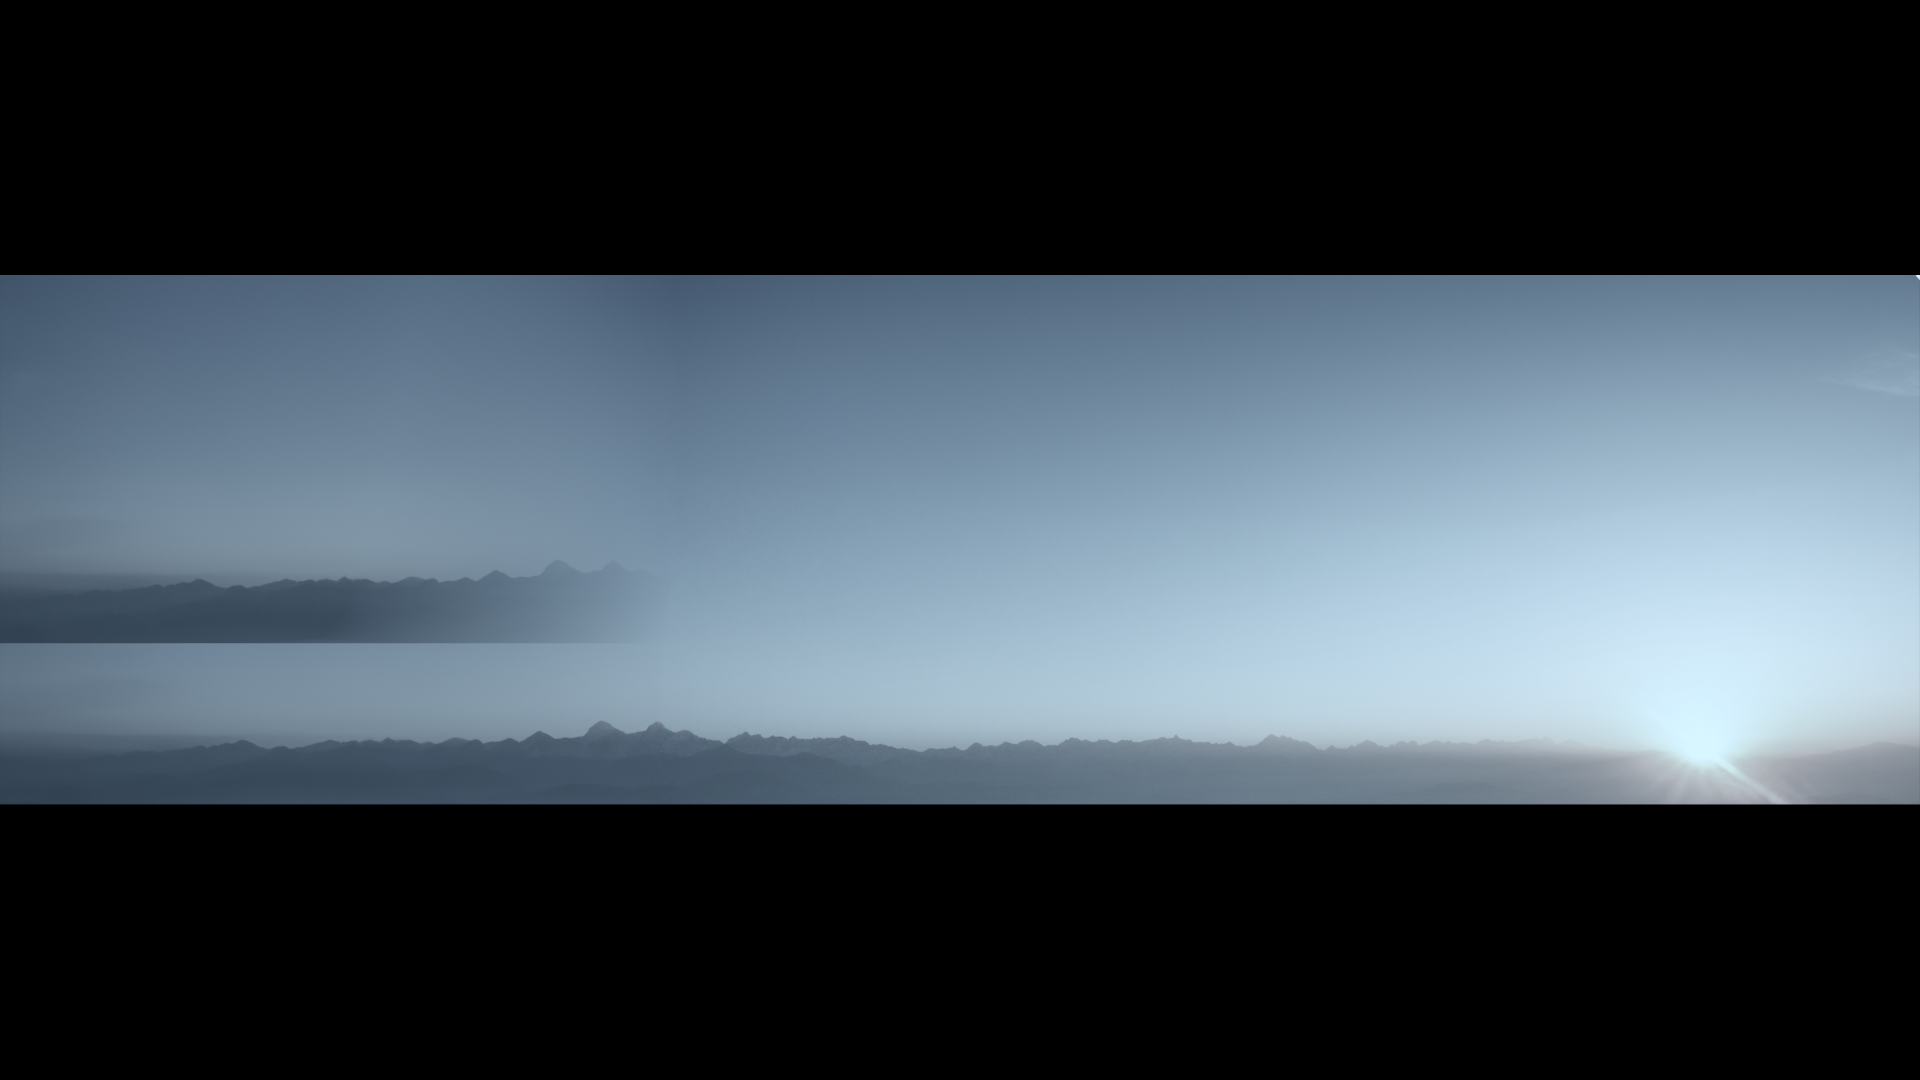
sky color adjustment
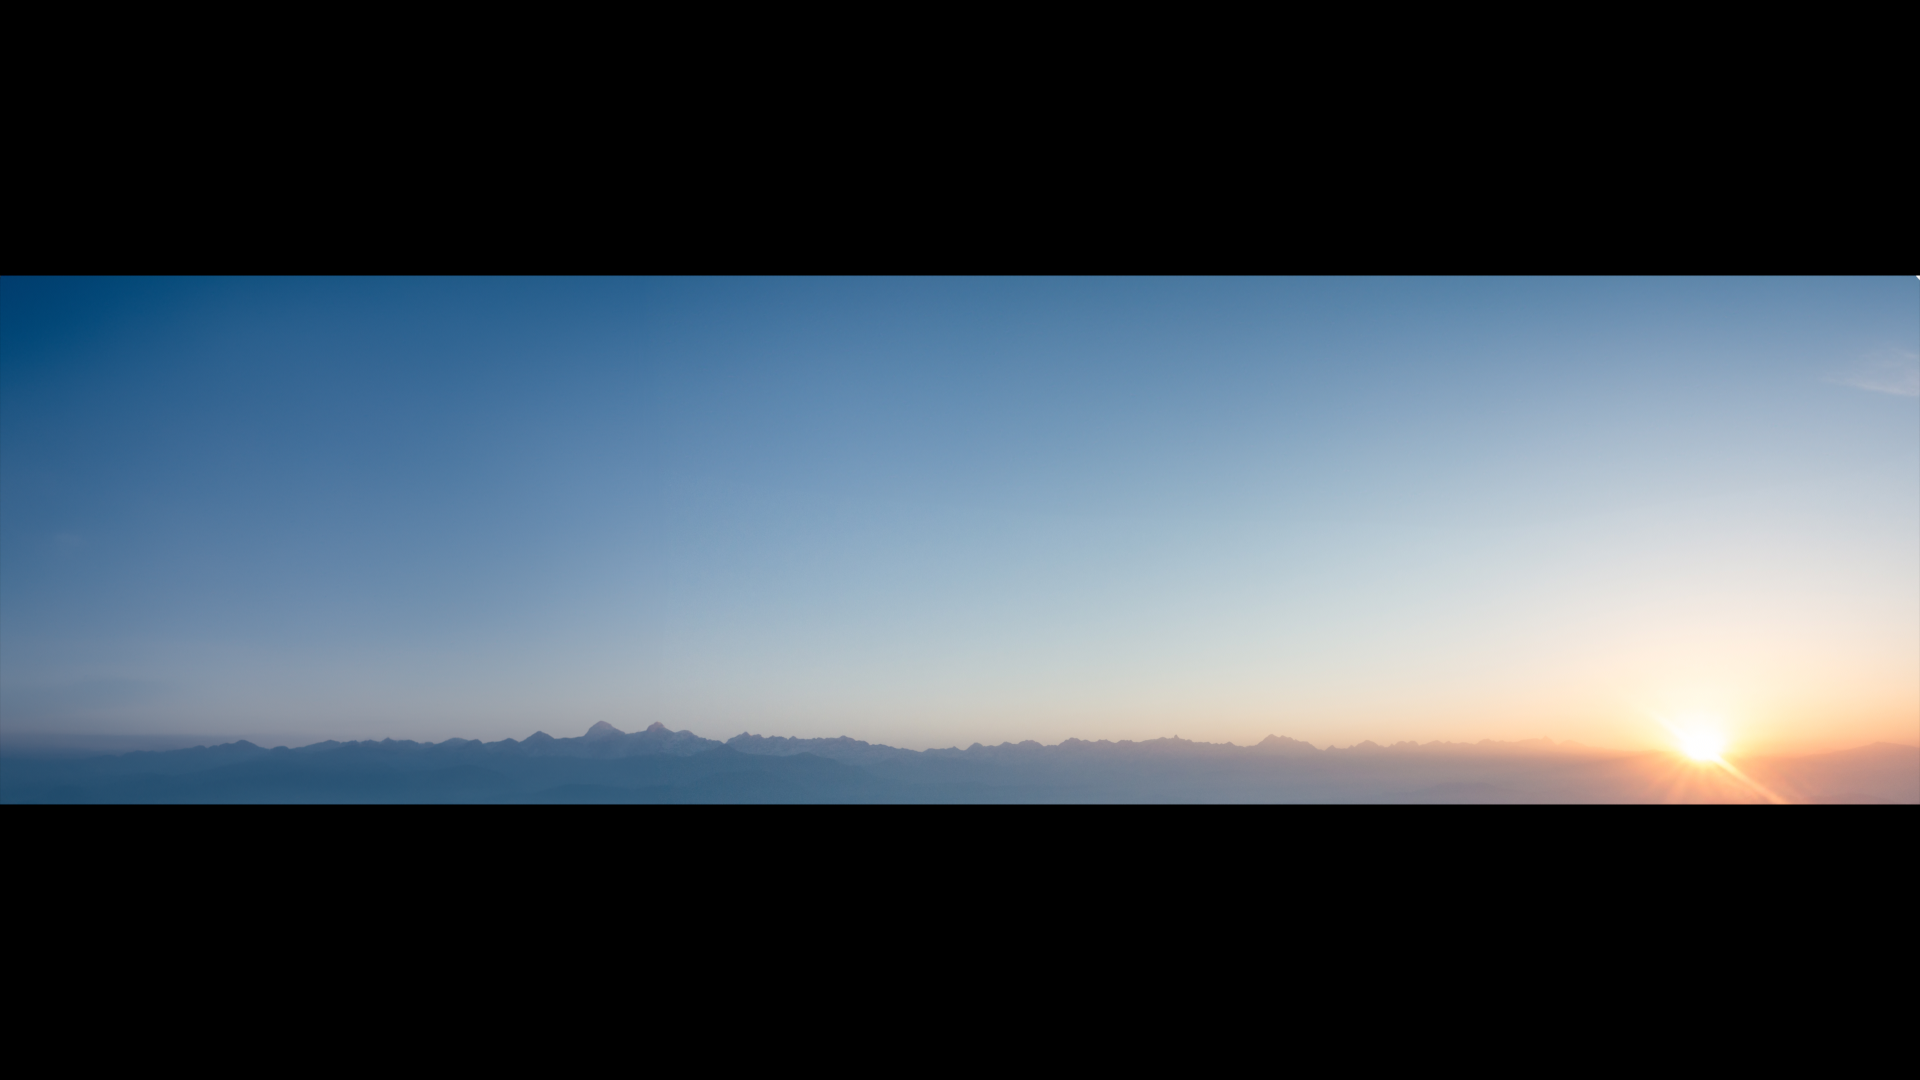
sky
After having the plates in photoshop i exported them into nuke and projected them on half-spherical planes so when the camera we created for the shot can render the same animation

DMP test

Sky + mountains

Sky + mountain

Sky
First i started in phothsop doing a pre'viz of the background
then i was able to match color of almost all the assets (mountains)
so this was a preparation to then sent the plates to nuke
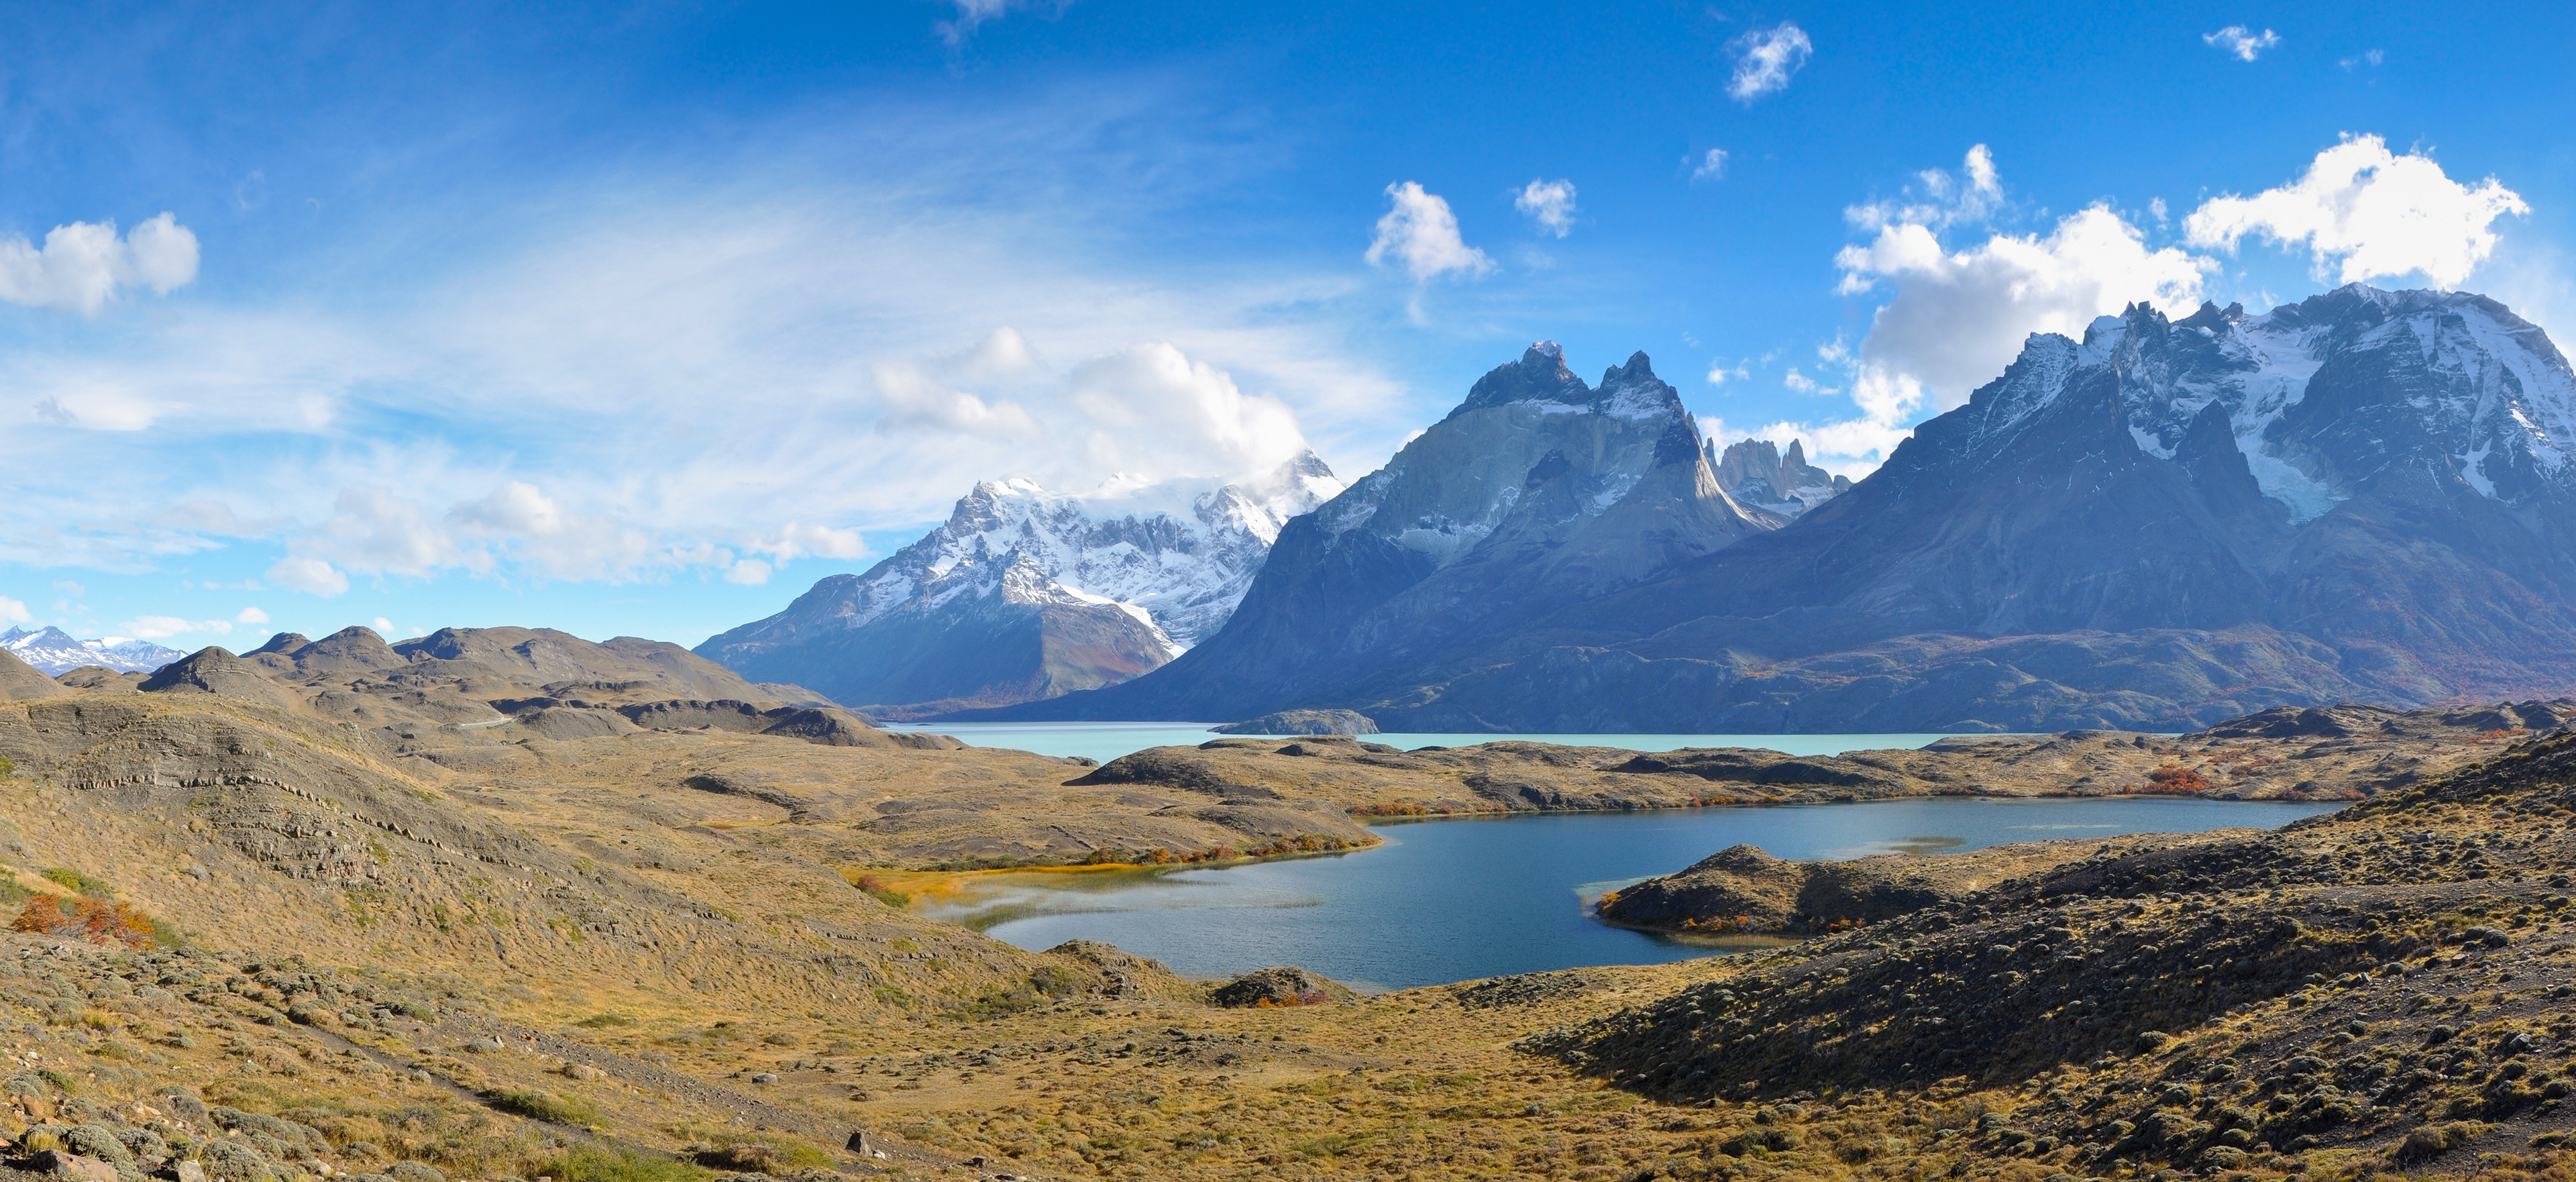
DMP plate 2
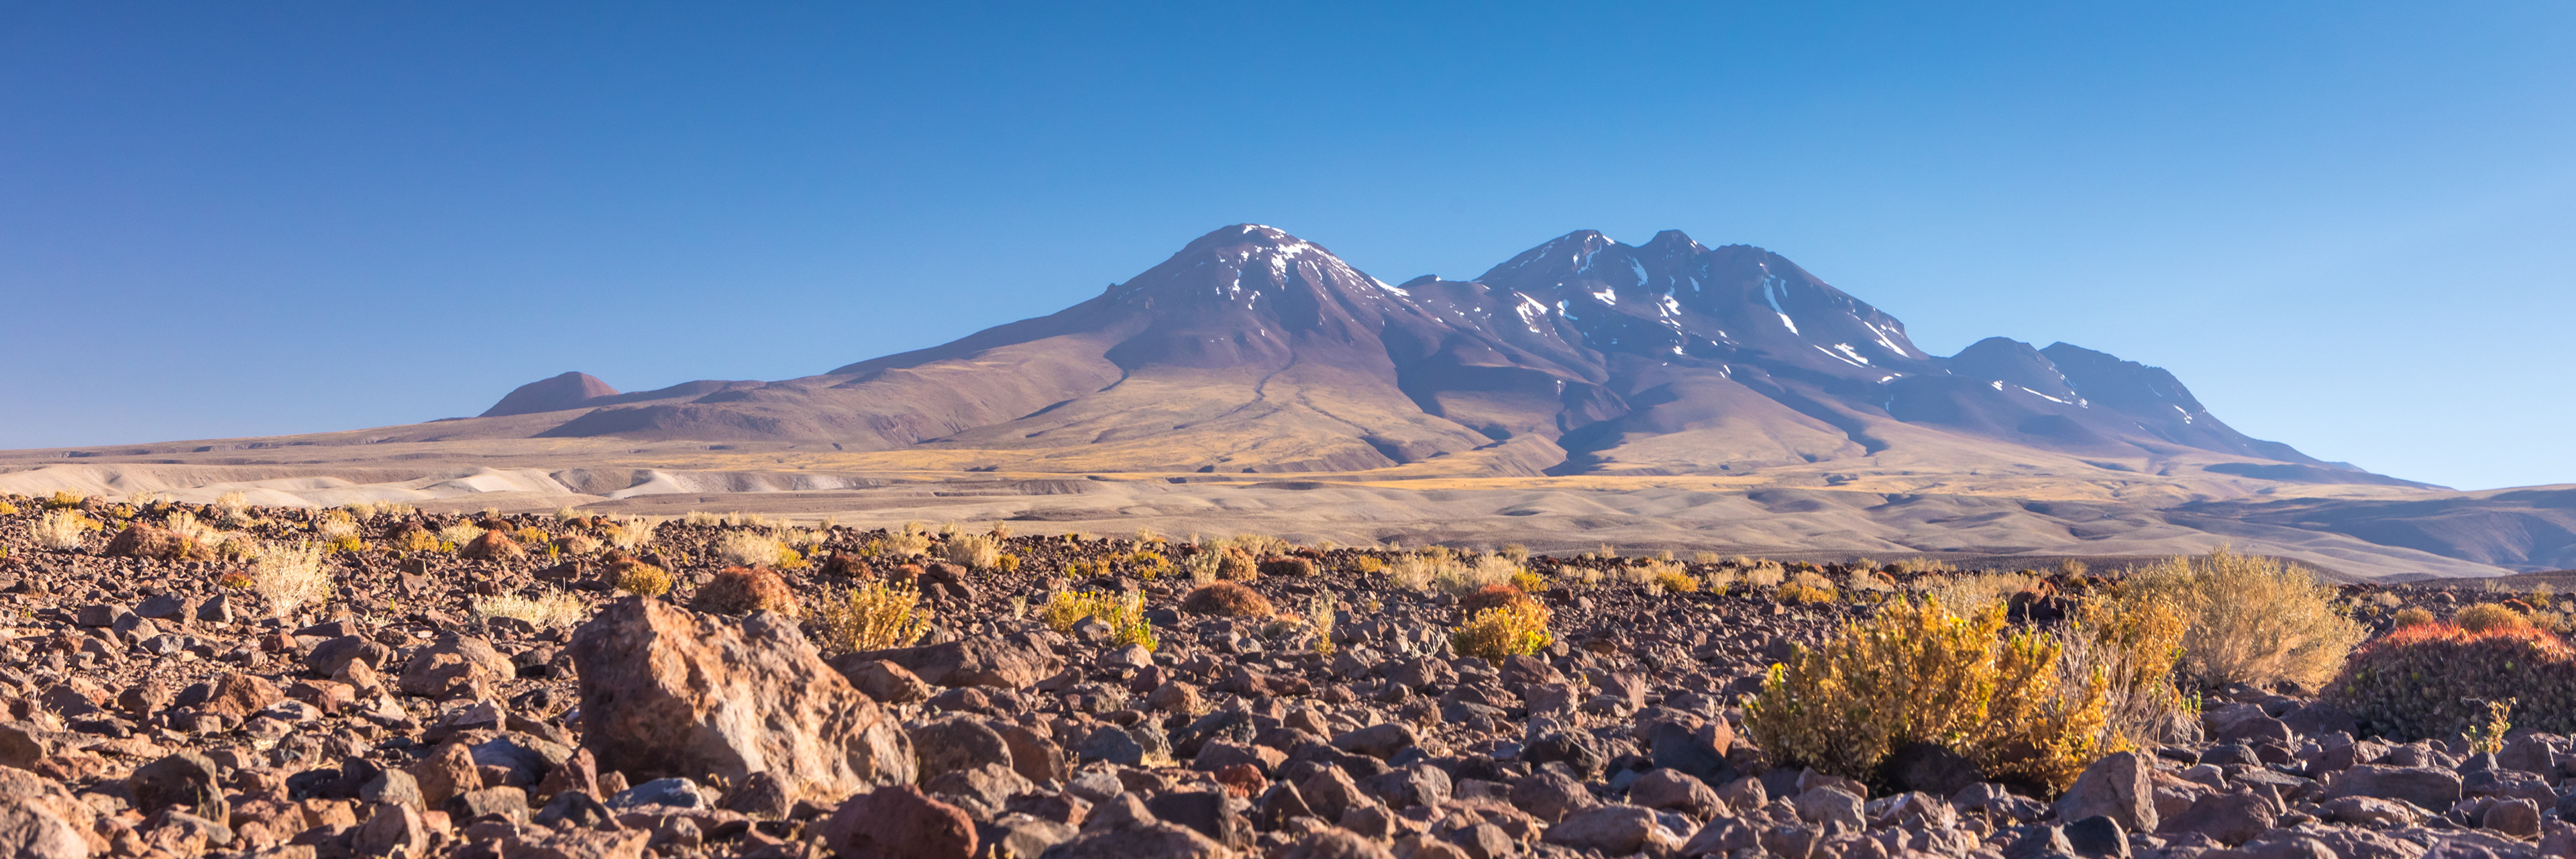
DMP plate 3

DMP plate 1
Here are some plates that i used for the mate painting of shot 005
Earlier version of the video (i was resonsable for edtiting these videos from the begining)
TEAMMATES BLOGS
